• Please only use these forums for blogs, they are not a discussion forum

Mark's 1.0L

8362115509_0dbd081517_o.jpg


Some of the other stuff, both shonky old tat, and really nice:
RR Gatecrashing Classic car night at the Ace
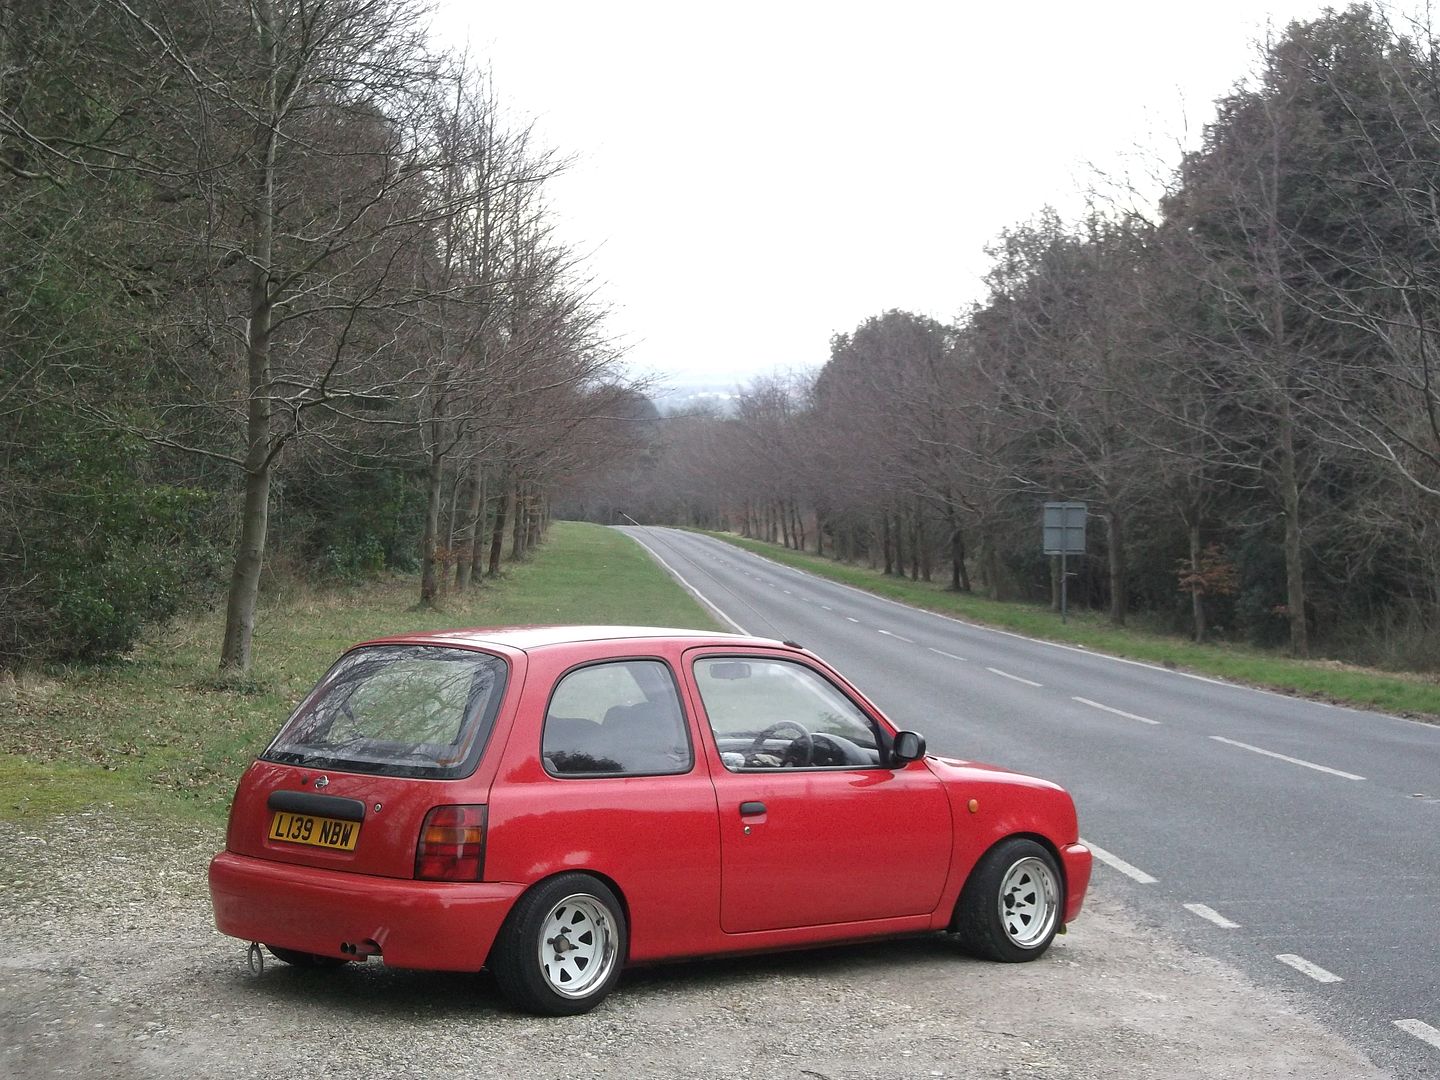
 
haha, think ill stick to alloys, just be easier only thing im struggling to work out is if i go from 13" to 15" i know i need to get lower profile tyres obv but cant work out the sizes :p

Just noitced a line across the front bumber, im guessing thats where the plastics were?
 
I can remember when I was looking into buying a car and my rules were "I'll take anything but a cinquecento or a micra" and look at me now haha :rolleyes:

Sent from my R800i using Tapatalk 2
Haha. When I was doing driving lessons I was "eyeing" up a Cinquecento because it said sporting on the boot and had aftermarket speakers on the parcel shelf
 
Haha. When I was doing driving lessons I was "eyeing" up a Cinquecento because it said sporting on the boot and had aftermarket speakers on the parcel shelf

haha its funny things you look back on considering purely because you want your first car asap :rolleyes: i went and viewed a Clio which was an absolute state, moss and dampness growing along the roof lining and chairs , fag burns everywhere, rusted to fook and i was just like 'its fine , just needs a little tidying up' and they were wanting 850 for it , glad i came to my senses and got the micra :p
 
I've been getting an ebay cheepy deep dish steering wheel on over the last few days. One problem I had was that the horn ring on the eaqually cheepy boss was in the wrong place to cancel the indicators. I came up with a plan to use an OEM ring from a stock micra steering wheel.

First I had to turn a spigot on th end of the boss - this fitted into the moulding of the horn ring.

DSCF6819.jpg


The interference fit was pretty good, but I re-enforced it with araldite.

DSCF6820.jpg


Then tidied up the outside with some plastic pipe covered in matt black vinyl.

DSCF6821.jpg


I've also fitted a tow strap.

DSCF6822.jpg


There will be some more yellow at some point.
 
Last edited:
DSCF6823.jpg


The wheel has still got it's sticky pad on the horn push. It's a bit too large a diameter for the fruit machine button I thought I could stick on there, so I'll have to think of something else.
 
Cheers Scott. De-bumpstrip is a definate must do. Though i've never been 100% about the Super-S bumpers, though they work best with ongoing "plans" than the black stockers.
 
Strip the paint off - I'm pretty sure that they have the same texture as a base spec bumper under the paint. I saw a pic of a march once that had what looked like unpainted super-s bumpers.
 
Cheers Scott. De-bumpstrip is a definate must do. Though i've never been 100% about the Super-S bumpers, though they work best with ongoing "plans" than the black stockers.
I will defiantly do it soon :). Really? I think they look much better than the stock ones. I got a front super s bumper but its green :rolleyes:. I might just fit it and see what it looks like anyway.
 
I've never tried to bend my biatch, she'd clobber me back. The wheel does have some flex though. Hopefully if I crash it'll bend out of the way rather than knocking my teeth out. The boss will do that job.
Lol fair enough! tbh tho mate.. it does look smart, for that money i might try bend my mrs aswell! ;)
 
Absolutely loving this look, Mark. The Super S kit looks infinitely better now you've got the white Wellers!
 
The turquoise LX? Yeah, that's my old one. The wing/fender mirrors were bought from a Thai seller on ebay.com. Just search "fender mirror datsun" and you'll start comming up with some hits.
 
The turquoise LX? Yeah, that's my old one. The wing/fender mirrors were bought from a Thai seller on ebay.com. Just search "fender mirror datsun" and you'll start comming up with some hits.

Cheers , I'll keep looking, sure I'll come across a set eventually!

Any chance you're willing to sell yours, if you've got them? :rolleyes:

Sent from my R800i using Tapatalk 2
 
I've made it go prarrrrp. A lot.

181051_10151567805195921_893961898_n.jpg


The pipes actually exit right i the middle of the bumper cut out, they just look really off centre with the angle of that pic. Video will come at some point.

521525_10151568219530921_96951281_n.jpg


Here's a pic mid build - I'll post a couple more when they are off my camera. The axle hump actually ended up rotated away a fair bit further. I managed to re use the front hanger of of an oem back box which got welded on about half way down the stainless pipes.
Shotgun style... i like it a lot!!!!
 
There's not much boso going on there, more kyusha/shakotan (without enough lows). I think that it's not supposed to extend further than the bumper, but I'll chance it for now.
 
I mentioned that I had some pics of how the pipe came together, well i finally got my camera out and uploaded them.

First off the stainless pipe ends were cut at 67.5ish degrees, and two short sections of mild were cut to 67.5 one end and 45 degrees the other. This meant that they could come together in the middle.

DSCF6992.jpg


DSCF6994.jpg


After the angled joiners were welded onto the lengths of stainless pipe I laser cut a couple of jig pieces out of 4mm MDF to hold the pipes parallel while the end pieces were welded. These were joined on the top and bottom - but all the way down the v of the join couldn't be welded at that point because the nozzle of the gun wouldn't fit.

DSCF6995.jpg


Once the splitter section was welded the end was cut off to leave a circular-ish opening for the inlet pipe. This opening was also used to gain access to the inner part of the v so that the join could be fully closed.

DSCF7003.jpg


After a quick trial fit to check the angles the over axle pipe was welded on. This had been extended because with the original back box the inlet is near the top, and outlet near the bottom, the extension meant that the pipes would be positioned in about the same place as the stock tail pipe. A lot of this was very lucky guess work because I just didn't have time to keep going out and test fit.

d70efd61-b2c5-4dd9-baba-14e2ede3eb2d.jpg


This is just before I welded up the remaining join on the extension piece. I then welded on the original back box rearmost hanger bracket - but upside down so that the V shape dropped the pipes down slightly. I didn't get a pic of this because I was rushing to get the exhaust back on the car and it was about 15mins to the start of Y10 parents evening!
 
Yeah, I've all the toys of a fully equipped workshop and barely any time to play with them. Since there was a small incident a while back that resuted in me having to discharge a CO2 Extinguisher in the store room, I'm now not allowed in to play on my own at the weekends/holidays :(
 
MUCH better wheels the first time round! I really miss those slots. I'm sure they must still be out there somewhere, though I think that they moved on after Shaun and McK had them.
 
Back
Top