• Please only use these forums for blogs, they are not a discussion forum

Project Turtle the Turquoise Miicra!

Status
Not open for further replies.
Thanks Dave (Y) p.s cheers for the knockhill passenger ride :p

You're very welcome bud!

P.S. This is bringing back a lot of memories now, making me want to do it all again, but I will stick with the Almera for the mean time.

If I was to do it all again, I would go with a K10 this time....hmmmmmmm, ideas!
 
You're very welcome bud!

P.S. This is bringing back a lot of memories now, making me want to do it all again, but I will stick with the Almera for the mean time.

If I was to do it all again, I would go with a K10 this time....hmmmmmmm, ideas!

We had considered the K10 route as there was one in the local scrappy about to go through de-contamination. It would never have been road legal though, so alot more cost involved!
The K11 came up cheaper and it would be a road legal so it was an obvious choice.
It would be great to see Little Bandit re-created, just wish i was around when the original was :(
 
Hi scott, i attempted to remove the part for you but theres two bolts behind the steering rack that i cant get into. Ive tried being in the most unconfortable positions but still no luck especially the top bolt (still havent seen it)
 
Hi scott, i attempted to remove the part for you but theres two bolts behind the steering rack that i cant get into. Ive tried being in the most unconfortable positions but still no luck especially the top bolt (still havent seen it)

Ok well how about just the brake master cylinder?
Undo 2 bolts in the engine bay an the brakes and remove. Much easier than removing everything.
 
Update:

Tonight the gearbox mount was fabricated up. I removed the Gearbox mount form the Almera.

IMG_0551.jpg

IMG_0550.jpg


Almera GA14 mount is the one with the odd angle and the Micra mount is the relatively straight one.

So the Almera mount was used due to it being beefier than the Micra one as you can see,
IMG_0573.jpg


The Almera mount was cut up, The section with the bolt holes was grinding off and offered up to the mount holes on the gearbox. Unfortunately 2 of the 3 holes lined up, but one was a few mm out so the bolt wouldn't go in.... Back to the drawing board (or whiteboard in this case).

This cut section was then used as a template to make a mount from 5mm thick steel. The steel was cut and the holes on the original mount were drilled through onto the steel and with a dremel, the offending small hole was bored out so it could be bolted up.

Once bolted up to the gearbox, the rubber mount and metal holder was cut from the remaining bracket and grinded down to fit into the current micra mount on the chassis. Once this was done, another piece of steel was cut and positioned using magnetic clamps. It was tac welded into place and then removed from the car to be properly welded.

The mount was then giving some extra bracing for strength and fully welded up then bolted back onto the gearbox.
Then slotted a bolt through the mount and chassis and tightened up.

End product of the mount :

IMG_0571.jpg

IMG_0570.jpg


Its quite close to the clutch arm, so this may need to be rectified later on once a clutch cable has been fitted

IMG_0569.jpg

IMG_0568.jpg


Which resulted in this :

IMG_0566.jpg

IMG_0565.jpg

IMG_0567.jpg


The engine is now sitting in place on its own, no engine hoist, nothing.
It will be left for a few days to see if the mount is strong enough (which it should)

So 2 mounts down, 2 to go. The next 2 shouldn't be too hard (Y)
 
awesome man! well done you lot, this will be good reference for future sr20 planners

have you got a deadline or is it just as you go type thing?
 
awesome man! well done you lot, this will be good reference for future sr20 planners

have you got a deadline or is it just as you go type thing?

Thanks.
No real deadline really, but we would like to have it finished by summer and by the very latest september so it can be taken to JAE (hopefully).
 
No updates just yet, waiting on a bracket for the rear engine mount to then get it sitting on all 4 mounts (Y)

And it will be running Almera GTi brakes (Y)
 
With any luck the missing bracket should be here tommorrow so i can weld the front panel on on saturday and have the engine on all 4 mounts
 
So the missing bracket is sitting at the post office awaiting collection, so should be picked up on monday and then the front panel can be welded on and we can have the engine mounted up possibly monday/tuesday and then we can move onto the wiring.

So...

Next piece of the puzzle was delivered today, in the form of a Hotshot gen 5 exhaust manifold...

Primary runners of 1.75 inches.

IMG_0577.jpg


And the downpipe : with a bore of 2.5 inches (Y)

IMG_0578.jpg


And also on a scrapyard jaunt last weekend, i picked up these :

IMG_0582.jpg


Mazda MX-3 skirts/spats from a US import model (I think)

These are prety much a direct fit onto the micra (no pics as i couldnt get it to stay on and hold camera at the same time)
 
didnt even see this thread on here till i came through to get the fog lights it looks quite cool to see it in person, but i got home and searched this straight away i need to see this up and runnin and i really want to do this now, whole reason i never was the thought of cuttin chasis but you told me you dont so think its a big plan :p
 
didnt even see this thread on here till i came through to get the fog lights it looks quite cool to see it in person, but i got home and searched this straight away i need to see this up and runnin and i really want to do this now, whole reason i never was the thought of cuttin chasis but you told me you dont so think its a big plan :p

Thanks. Yeah it isnt as hard as people make it out to be. I must admit though, i wasnt expecting you to have a GA16 in yours lol. Get an SR20 for like £100 and off you go (Y)
 
So tonight was mostly spent on wiring and adding some stuff to the engine.

So far on the wiring side of things all is looking good with everything from the front of the car pretty much working and a few things from the back like the rear lights.

The missing brackets were also put onto the engine ready for it to be put into place and the crossmember fitted.

Before testing the wiring for the fuel pump we need to source an ECU, Nats box and key chips. Or unless anyone knows how to bypass NATS 2.0?
 
Thanks. Yeah it isnt as hard as people make it out to be. I must admit though, i wasnt expecting you to have a GA16 in yours lol. Get an SR20 for like £100 and off you go (Y)

i know i want to do it now and a lot of people dont realise mines is a 1.6 it is quite quick and you prob heard it pull away lol but i would more prefer a sr20 :p think i will speak to my dad about this defo
 
If you have the time, place, equipment and money its very do-able (Y)
 
only money i would really need is to buy engine and wiring everything else me and my dad would do :p got a drive way and got access to all the equipment we need :p so ill need to talk to him lol
 
You can pick an engine up pretty cheap. Got ours for £70 + postage. As long as it comes with full engine loom, all the neccessary NATS stuff itll be fine and all youll need is the interior loom for the almera which is the same on all them within phases (phase 1 or phase 2).
 
yeh that is pretty cheap and aye i would use the almera or a primera wiring loom lol soon see wat ma dad says coz i would need him to help lol
 
if you ever need a hand or that give me a shout and ill pop through ma mate might come to the one i told you about who is nissan daft to lol :p
 
So on tuesday we made a start on sorting out the wiring on the turtle and splicing the rear of the Micra loom (rear lights, fuel pump) into the Almera loom up front ( clocks, indicators, lights etc....)

We started off with this :
IMG_0602.jpg


A laminated spreadsheet of wiring colours for almera and what we knew of the micra. Laminated so we could add to it as we go and change if it was wrong.
As we don't have a proper wiring diagram for the Micra, only an Italian FSM which isnt much use, we need to work out which wire is which and add it to the board.

IMG_0604.jpg


So far we have wired up what has been crossed off the list. Not amazing progress, but its a start. We have a working handbrake light?

Once all the wiring is done, it will be taken off wire by wire and each will be soldered together correctly and heat shrinked.

Next job was to start on the underbrace and crossmember. We have used an Almera 1.4 underbrace here with the SR20 mounts. The back 2 boltts line up pretty closely and only required the hole to be widened a small amount for the bolts to go in.

IMG_0607.jpg


You can kinda see the cut in this picture ^^^

The original plan was to take the advice from Dave Bull and use the lower part of the almera crossmember and weld it onto the Micra to be able to use the front mounting holes for the engine. Unfortunatley, due to the excessive lifting on Ross's car during its many engine swaps, the crossmember has weakened, cracked and is a bit of a rusty mess.

It was then decided that if anything was to happen and the engine was to be taken out for whatever reason, it would require lifting the car off of the engine.

So to make it easier, a custom lower crossmember will be fabricated and welded onto the Micra chassis which we will then made unboltable for ease if the engine has to be taken out in the future and also it should hopefully be alot stronger than the 14 year old rusty almera one..

We have used 2 inch exhaust pole here. It had two holes drilled into where the underbrace will bolt into using nuts and bolts. It was then cut to size for the length of the Micra.

Pictures of crossmember progress so far...

IMG_0613.jpg

IMG_0612.jpg

IMG_0611.jpg


Thats all for now.
 
Pretty much all the wiring from Almera loom to Micra is finished. Only problem currently is NATS. We need to source the NATS keychips, ECU and Control box from the same car or figure out how to disable it completely...?

So with that sorted kinda. We have decided on a deadline date for the engine to be started. And that date will be Wednesday 27th April. This doesnt include finsihing mounting or driveshafts etc but just to have the engine running...
 
this is epic... this is going to be a fully road legal car right?

also the bits came today thank you very much dude look forward to seeing your starting deadline!
 
this is epic... this is going to be a fully road legal car right?

also the bits came today thank you very much dude look forward to seeing your starting deadline!

Yes it will :) It should be in attendance at JAE in September (Y)

And good to hear they finally got there haha. Everything there undamaged?
 
Undecided yet. This isnt gonna be happening straight away. Gather parts over time and do it when money is available and run the car in N/A form for the forseeable future.
 
Yes it will :) It should be in attendance at JAE in September (Y)

And good to hear they finally got there haha. Everything there undamaged?

yup all is undamaged and came in one piece... just need to fine time to fit it really haha
 
Update timeeee :

So tonight was mainly spent on De-rusting the Turtle.

Both Rear innner and outer arches need attention aswell as one of the chassis legs and under one of the wing mirrors.

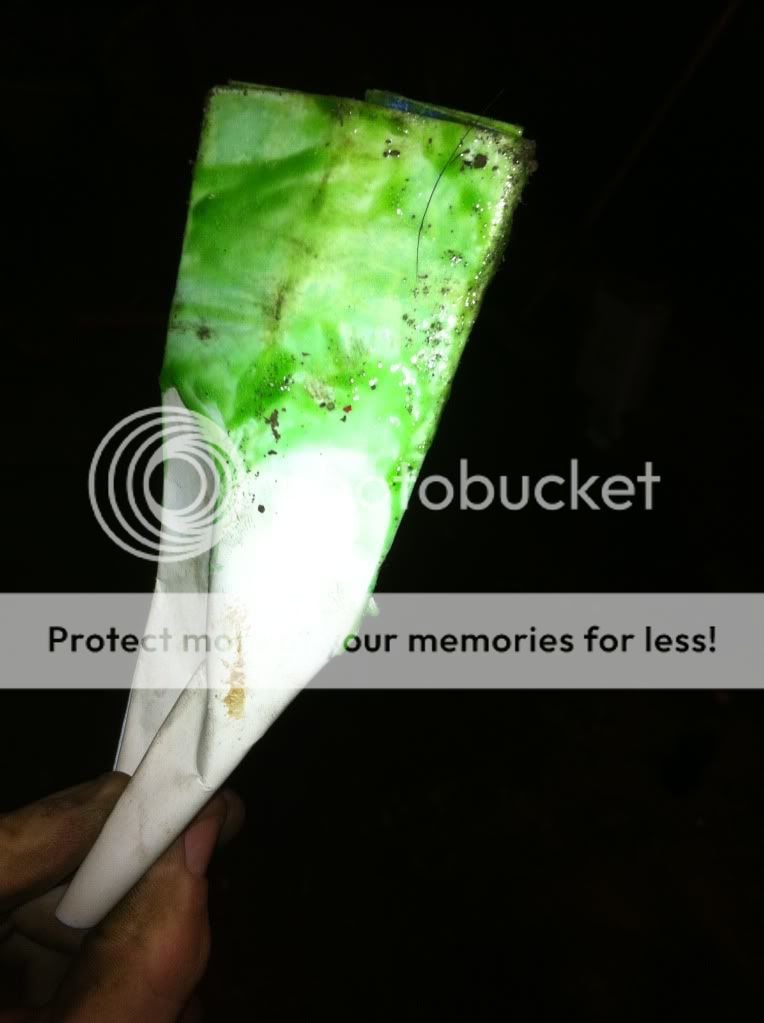
So i set to work with the grinder and flap wheel on removing all the rust. I started on one of the rear arches which wasnt that bad. Just alot of surface rust. So with that grinded down I Put on some Hammerite rust remover gel.

IMG_0632.jpg


And my paintbrush!

IMG_0633.jpg


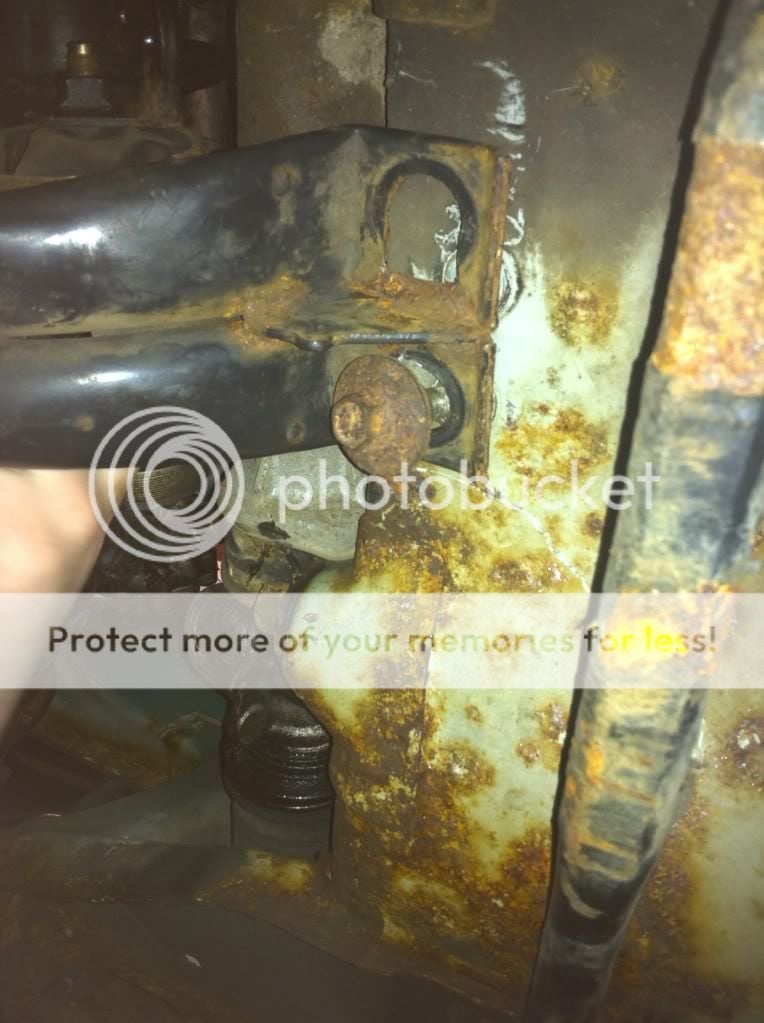
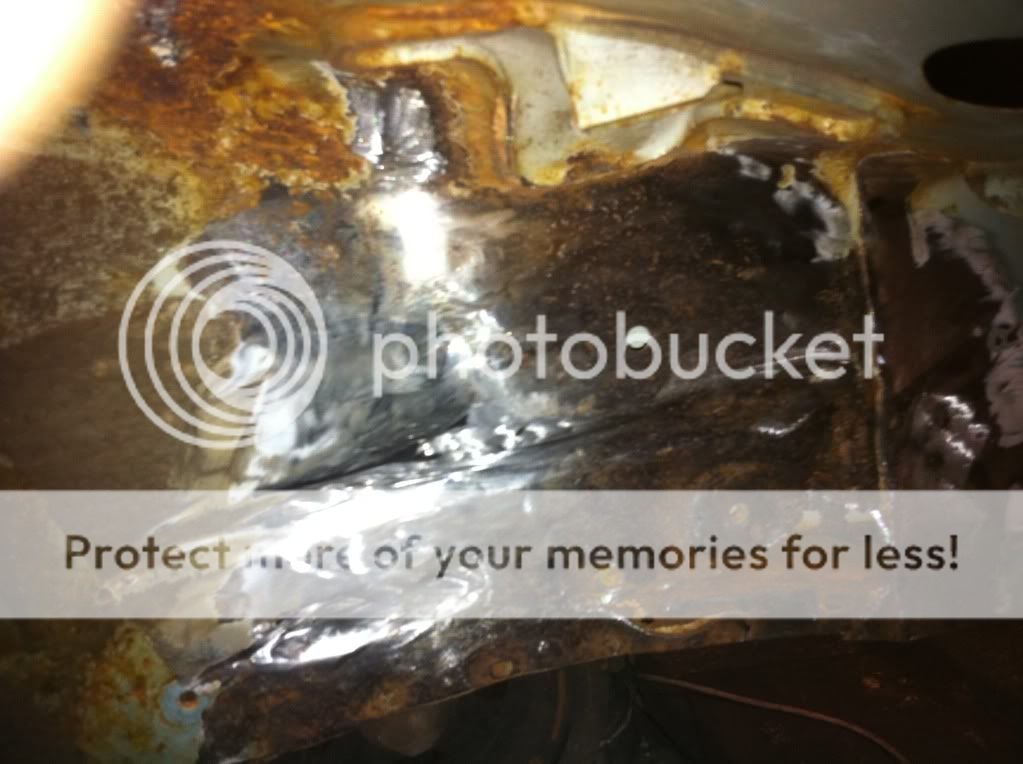
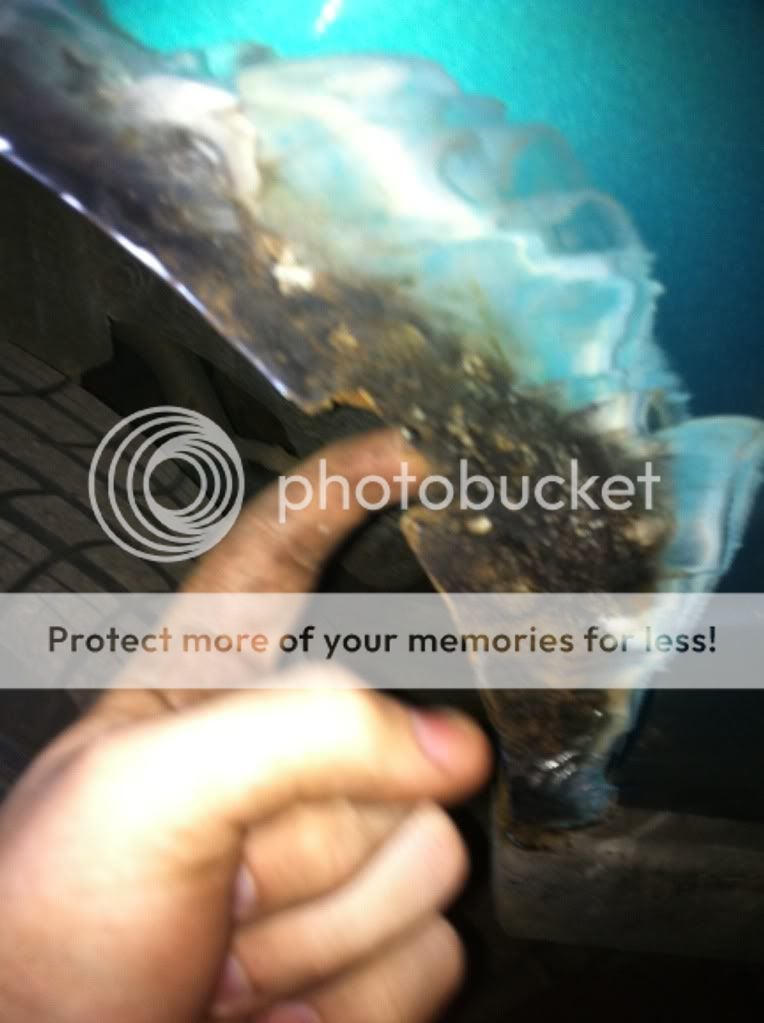
I then moved onto the front chassis leg which had a gaping hole. This needed welding... So grinder again to take back most of the rust for a plate to be welded over the whole.

IMG_0625.jpg


Rusty hole with the metal resembling "biscuit". It was very thin.

IMG_0624.jpg


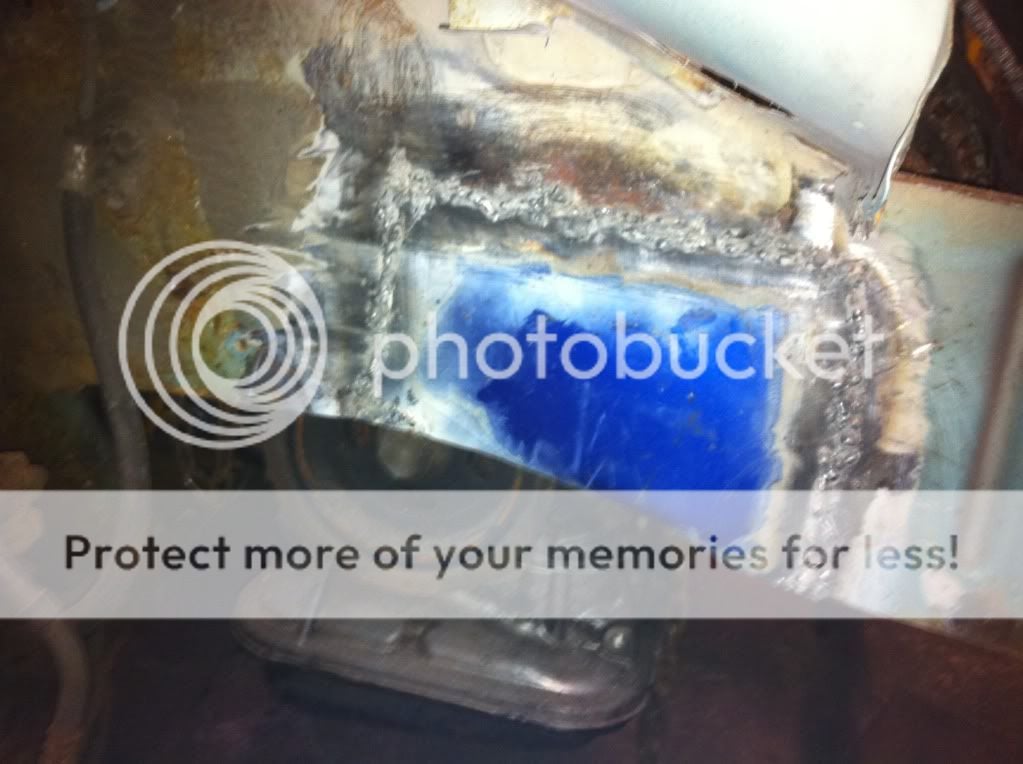
Once the Rust was grinded back, a template was made from the hole and a sheet of metal was cut from a spare wing we had lying around. Welder out and Ross welded the plate on. Yes the welder is sh*te

IMG_0646.jpg


Theres still a bit left to do underneath, this will be done once the engine has been taken out again to have flywheel and clutch fitted.

IMG_0647.jpg


Just needs to be brought round and welded up.

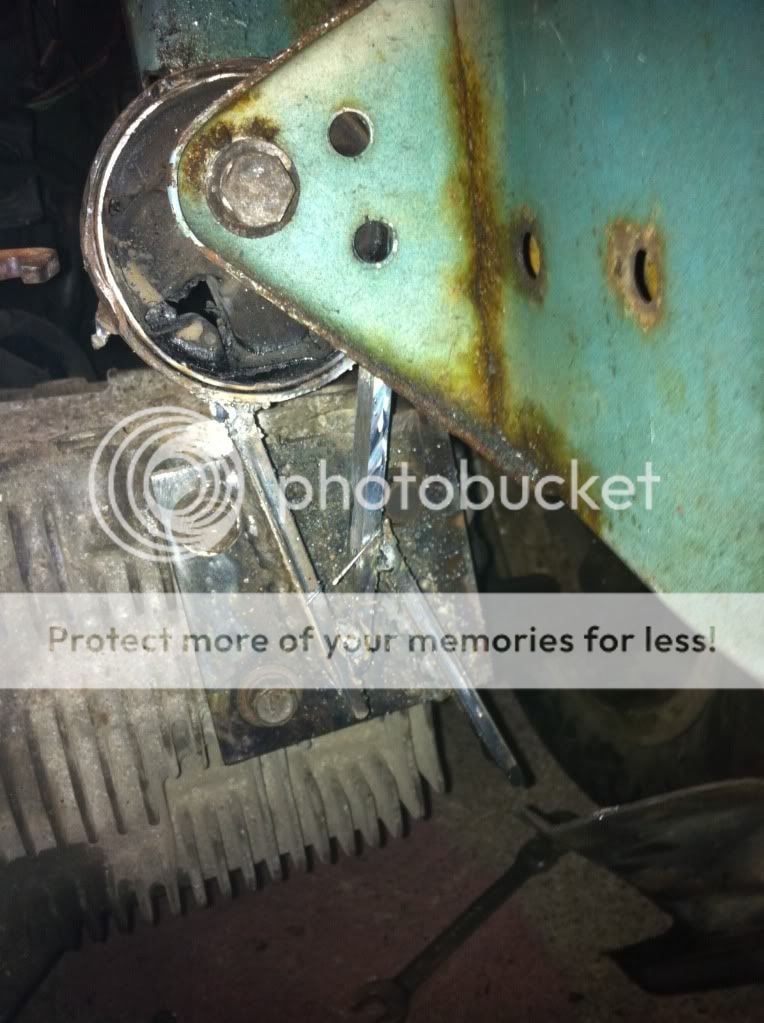
And some previous welding we done on the arch in the engine bay looking at it from inside the wheel arch. Not pretty but strong :

IMG_0626.jpg


So with that done, more de-rusting on the door/wing mirror.

Rust grinded back, rust gel applied.

IMG_0627.jpg


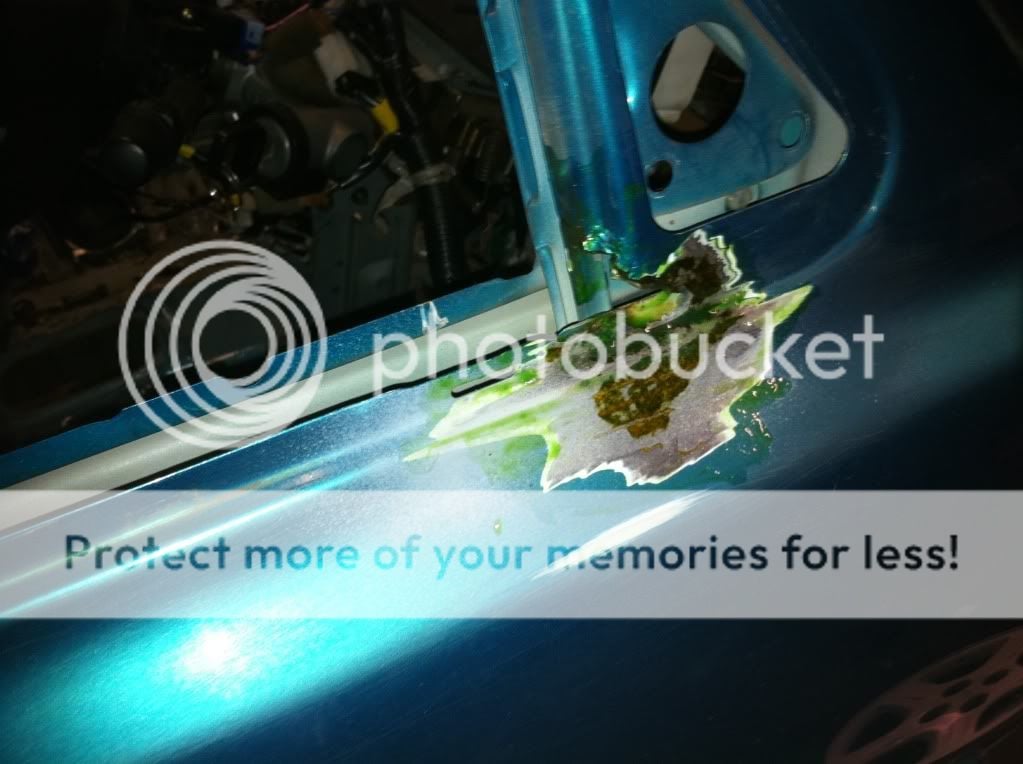
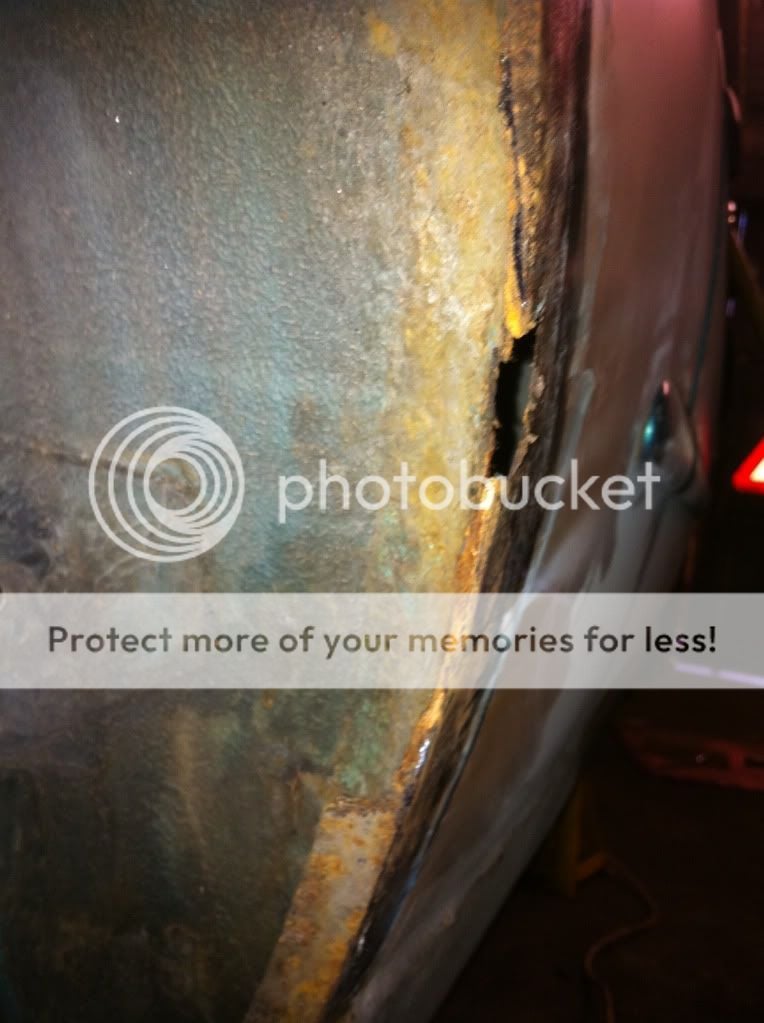
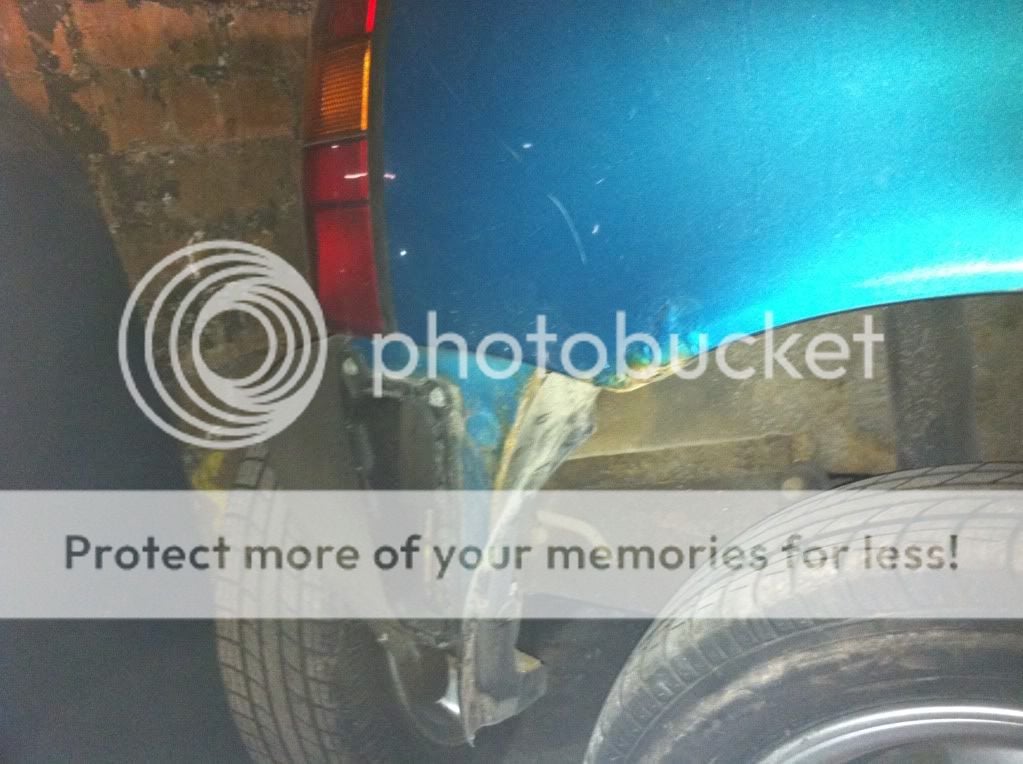
Then I moved onto the other rear arch... big mistake.

Surface rust grinded back along the arch and the arch lip. We knew that there would
be welding needed here but after a bit more inspection it was revealed that alot more was involved. First look showed a small gap into the inner arch. Ok cool a little bit of welding needed.

IMG_0630.jpg

IMG_0631.jpg


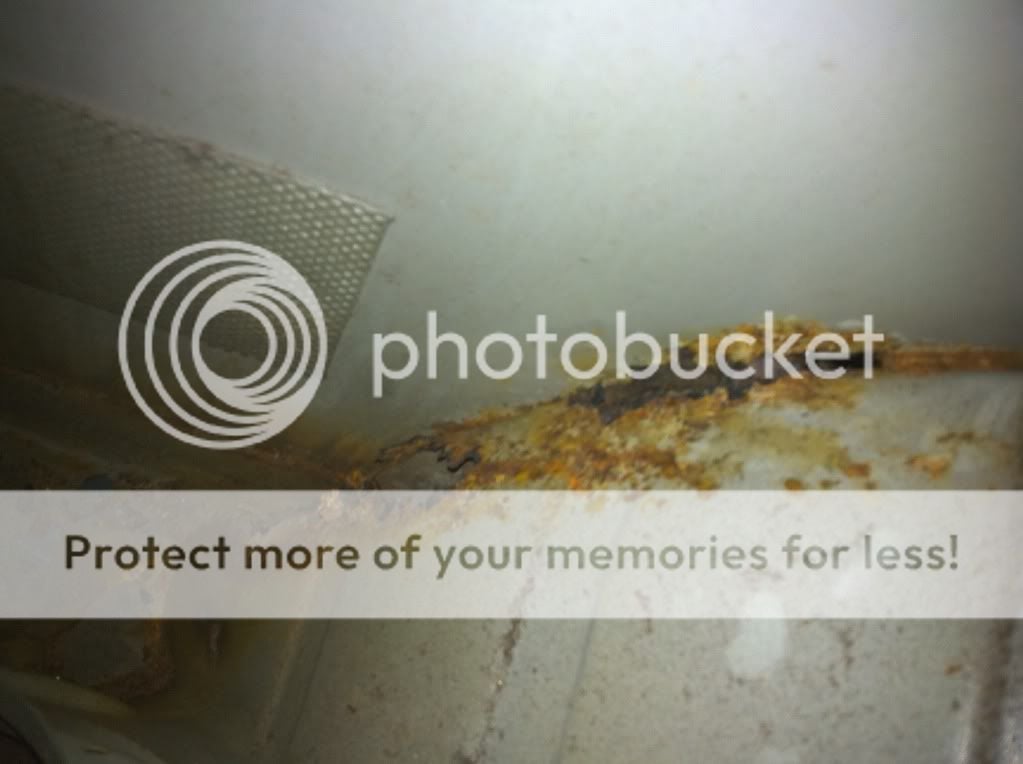
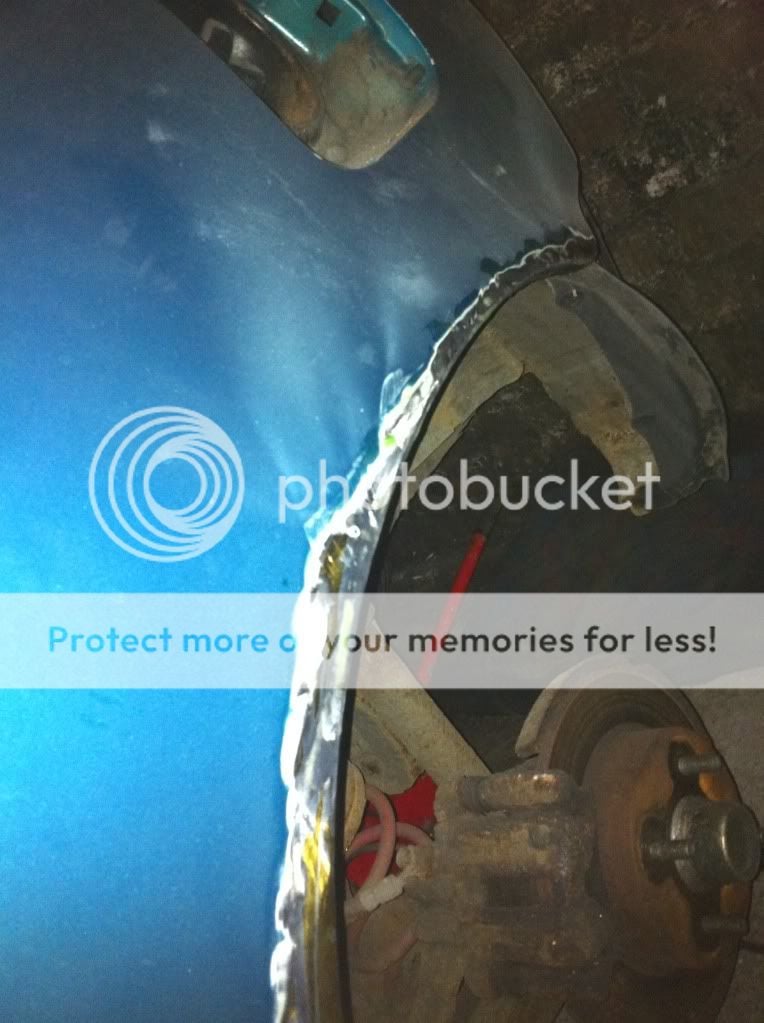
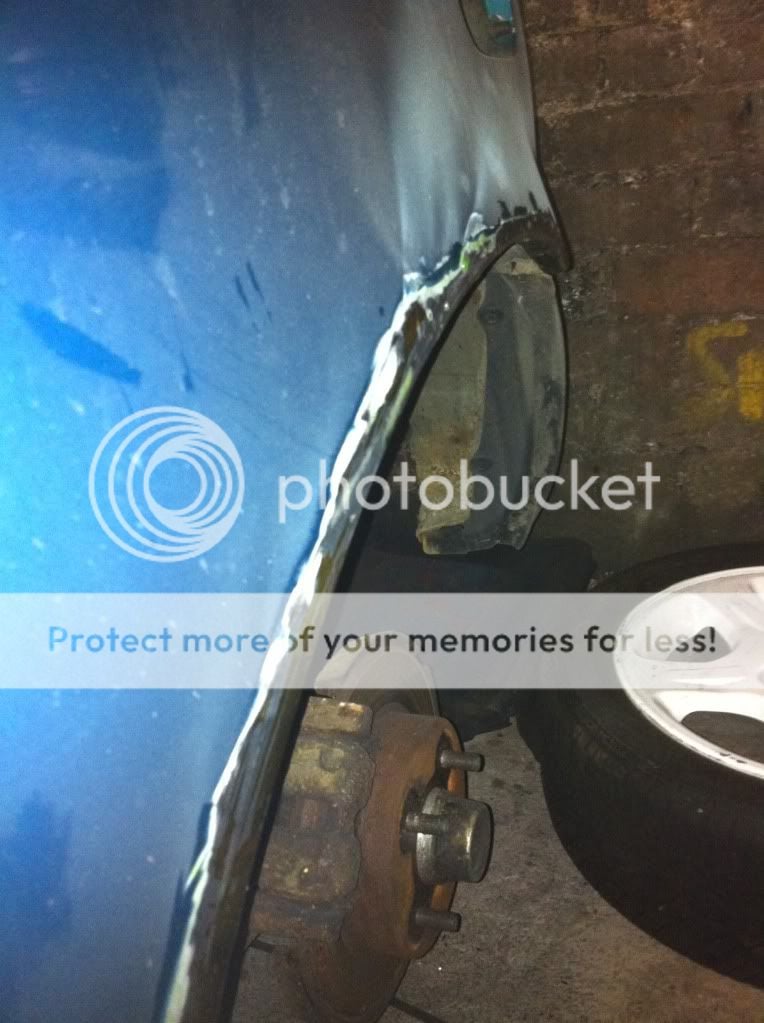
So after grinding back everything and poking the arch lip ( biscuit metal again) a larger hole was revealed (Thank you Rick...)

IMG_0645.jpg

IMG_0643.jpg

IMG_0641.jpg


So now two plates will need to be welded in to try and regain as good a shape as possible to original.

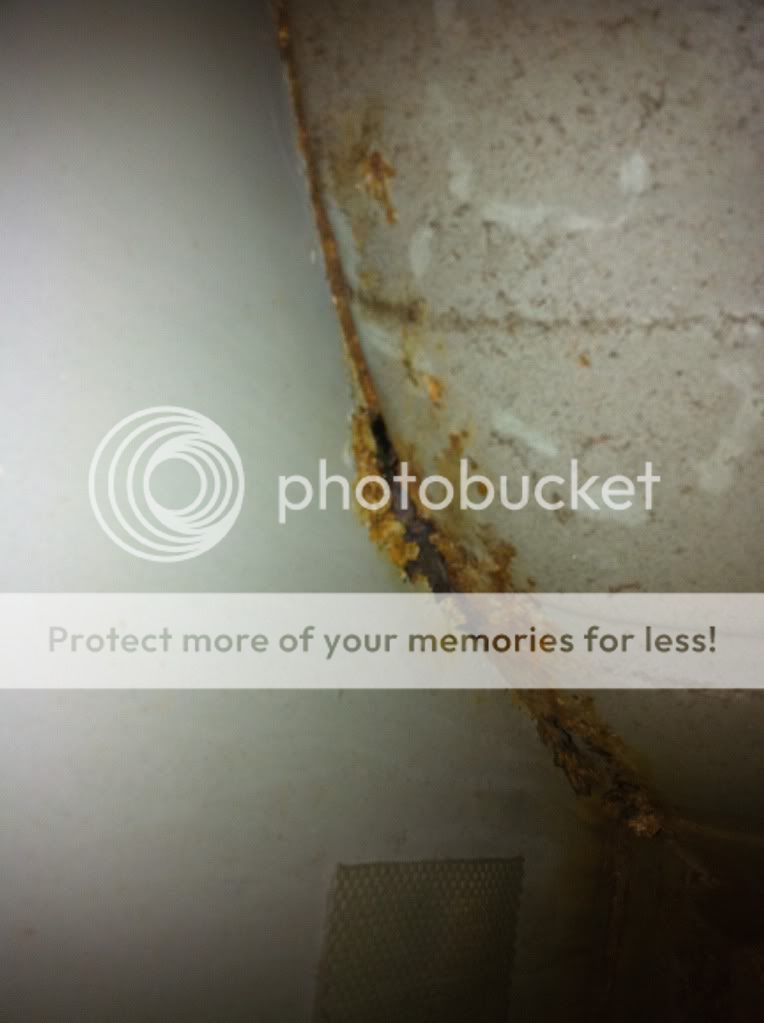
More pics of rust and rust removal!

IMG_0628.jpg

IMG_0629.jpg

IMG_0623.jpg

IMG_0622.jpg

IMG_0621.jpg


Thats all for the de-rusting just now. It feels good to kill the dreaded brown stuff.

All arches will be fillered up and sanded down then painted.

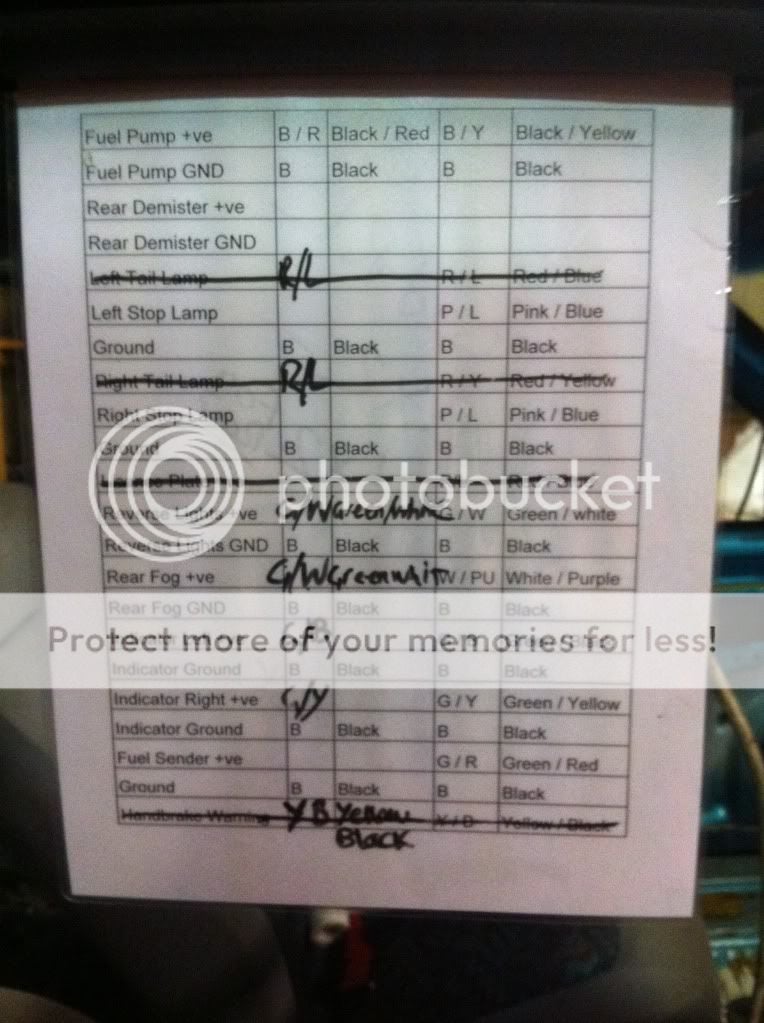
And on another note, all wiring is pretty much finished! Wires soldered up and heat shrinked. Just need to do the last few then it can all be tidied up.

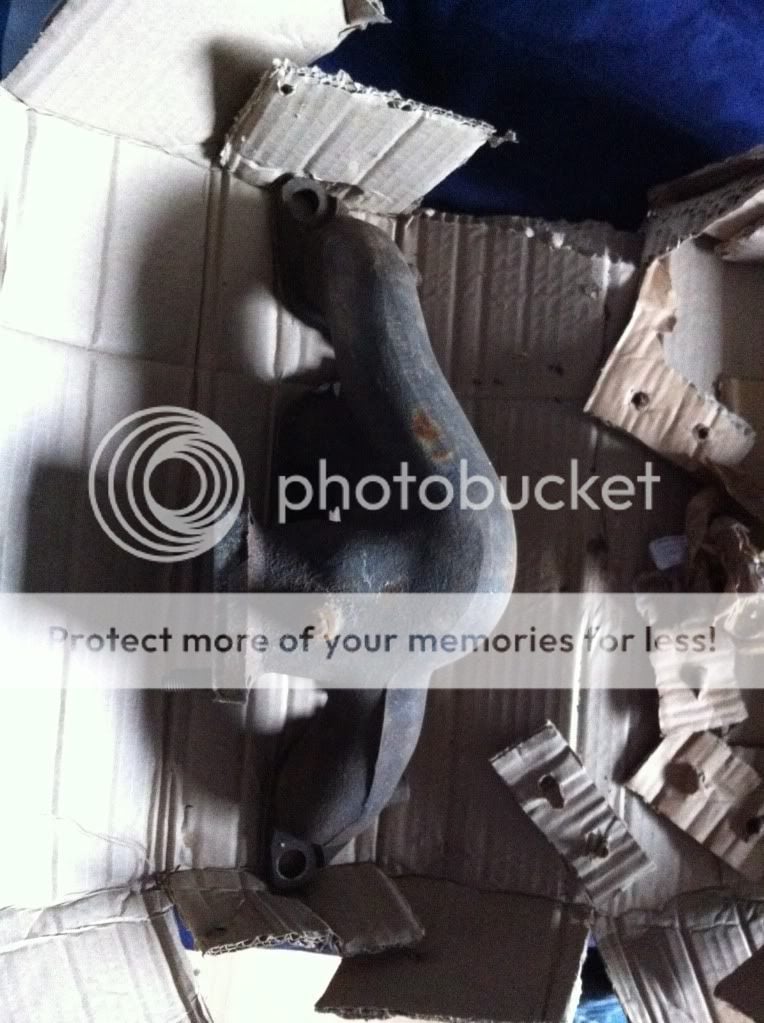
Also another piece of the puzzle is solved. We have sourced the necessary NATS stuff (ECU, keychips and NATS IMMU box) to get the engine running. Thank you Joe!

So we are currently on track for the 27th April Deadline of getting the engine started. Just need to get the NATS stuff, remove the engine, fit the engine loom, fill with oils, mount back up and start it up!

(Y)
 
Yeah its good stuff like. Just slap it on and leave for an hour or two then wipe off and sand back a bit more then fill.
 
Status
Not open for further replies.
Back
Top