Hello all!
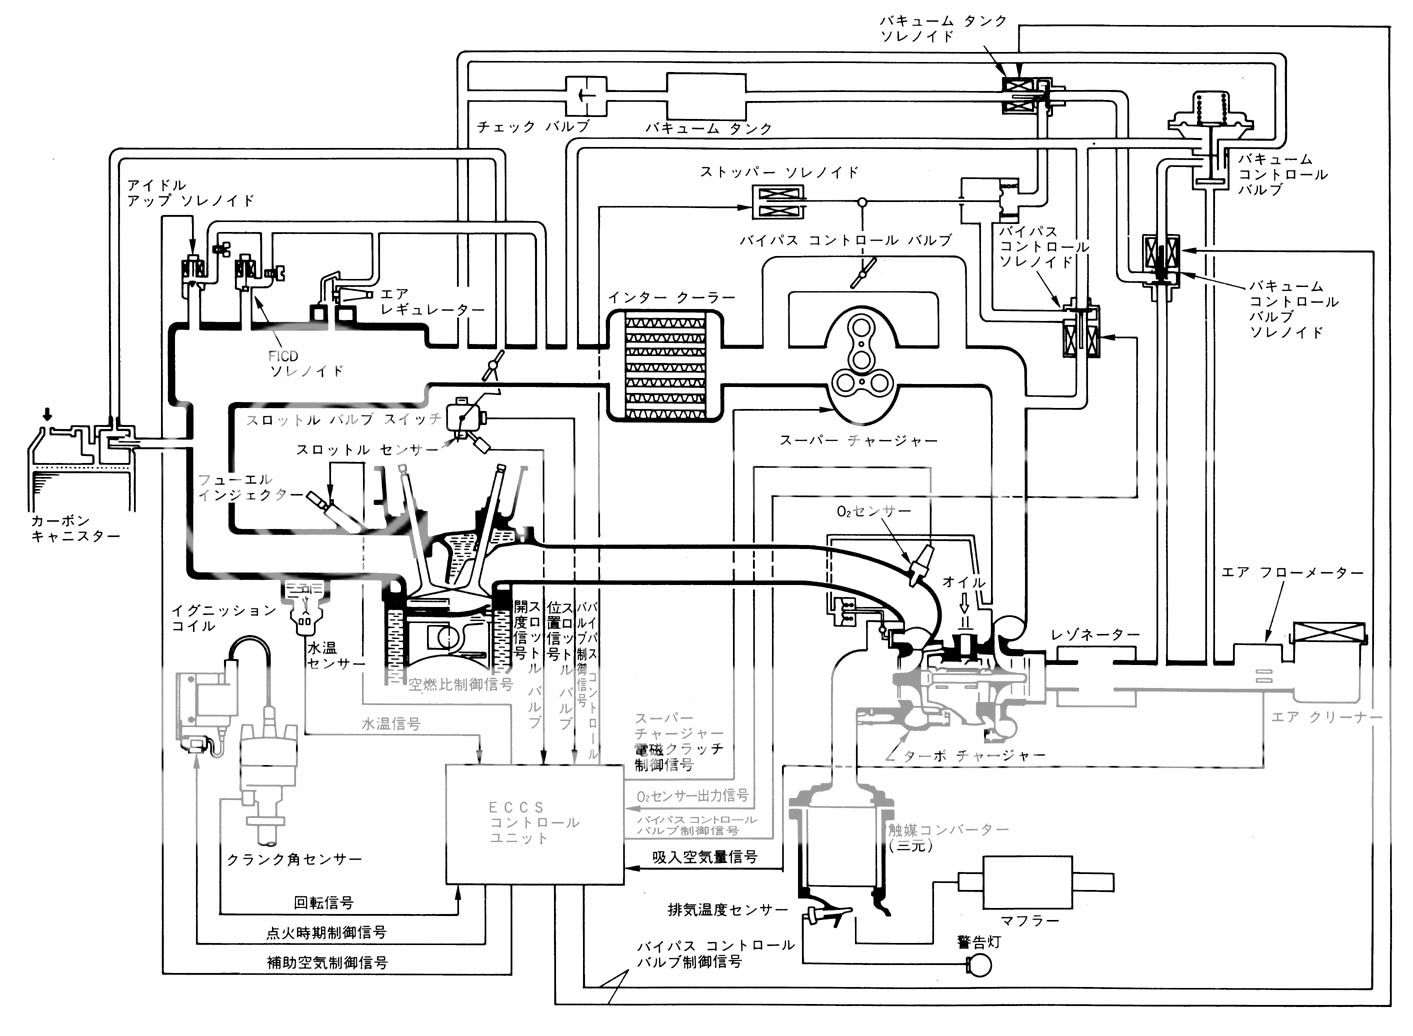
I have had this diagram of the Super Turbo operation (pictured below) floating around on my hard drive since I was like 15 back in the States. I then moved to Japan about 3 years ago and finally spotted a Super Turbo at a used car dealer. I took the car for a test drive but couldn't afford it at the time, so I had to pass on it. I regretted it ever since. So I kept searching and a few examples would pop up from time to time but none of them were ever as clean as the one that I test drove. Then finally it popped up again in Osaka! So I jumped on it like crazy! Which brings me to here, haha.
Picture from HD that I've had for the past 10 years (it's made it through like 35 windows reinstalls).

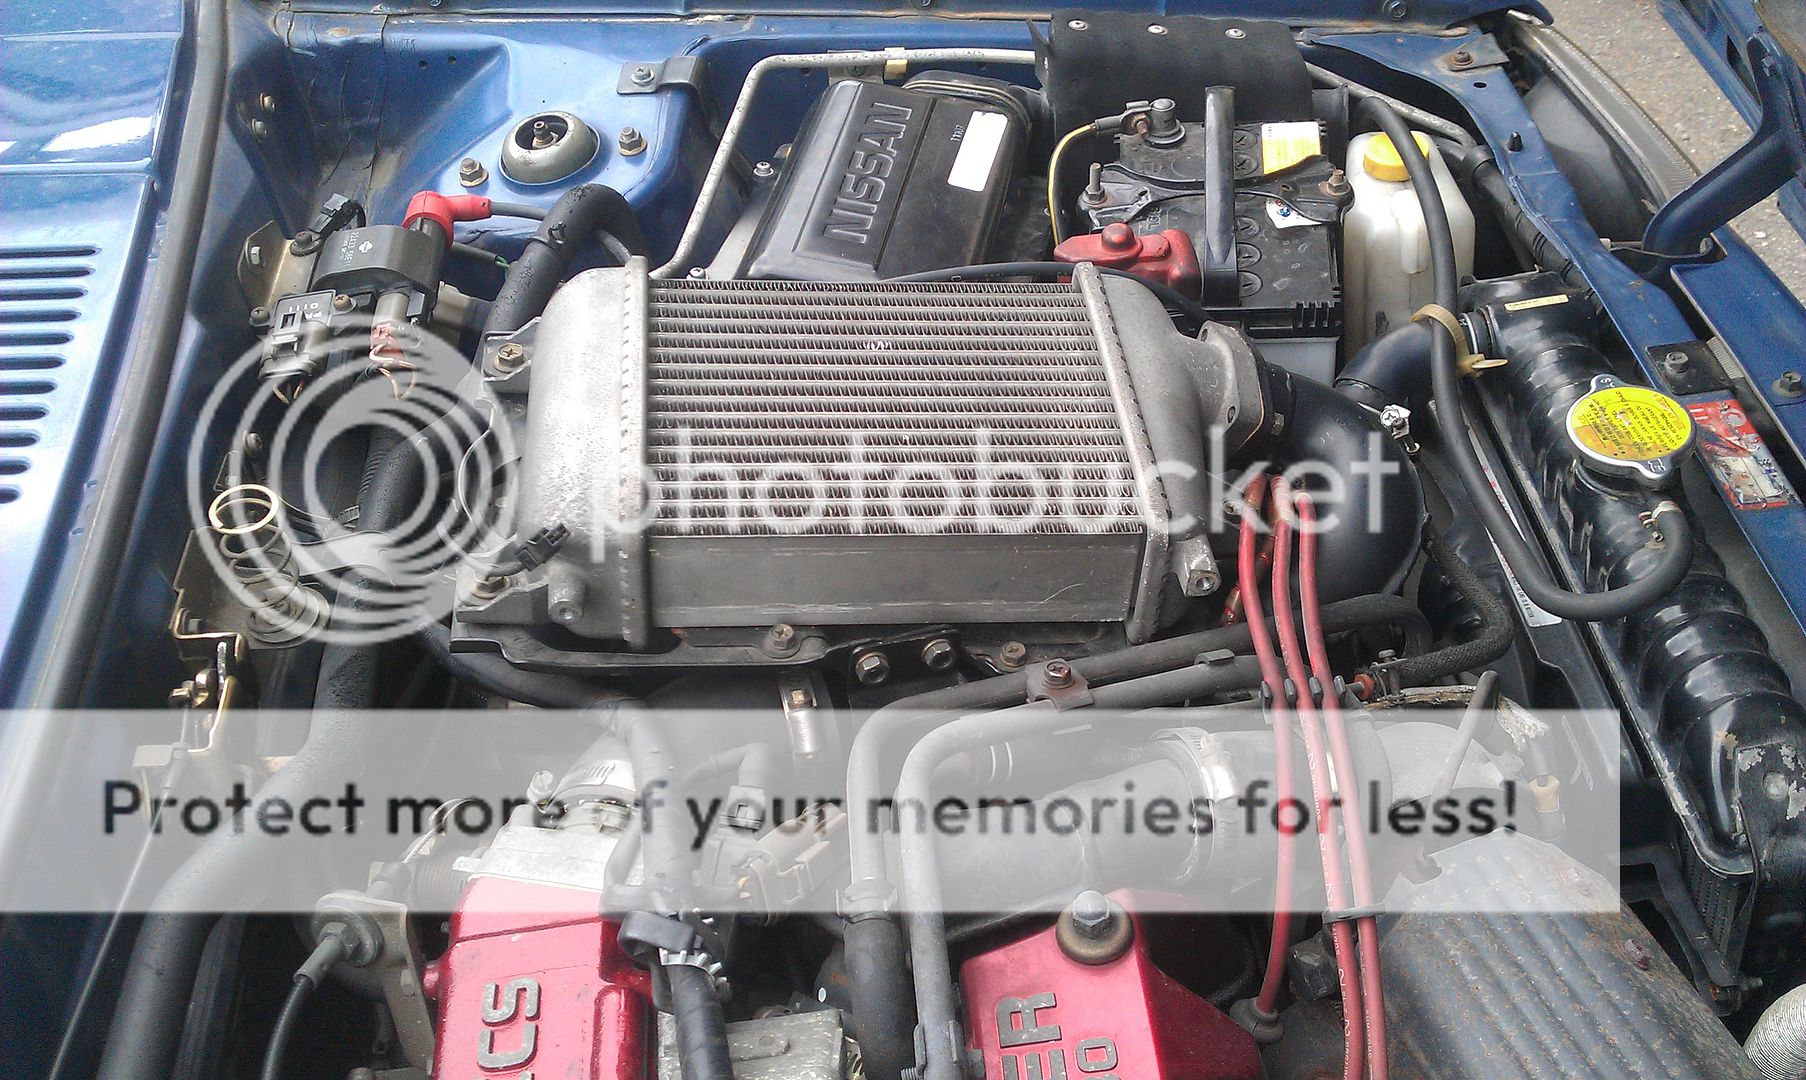
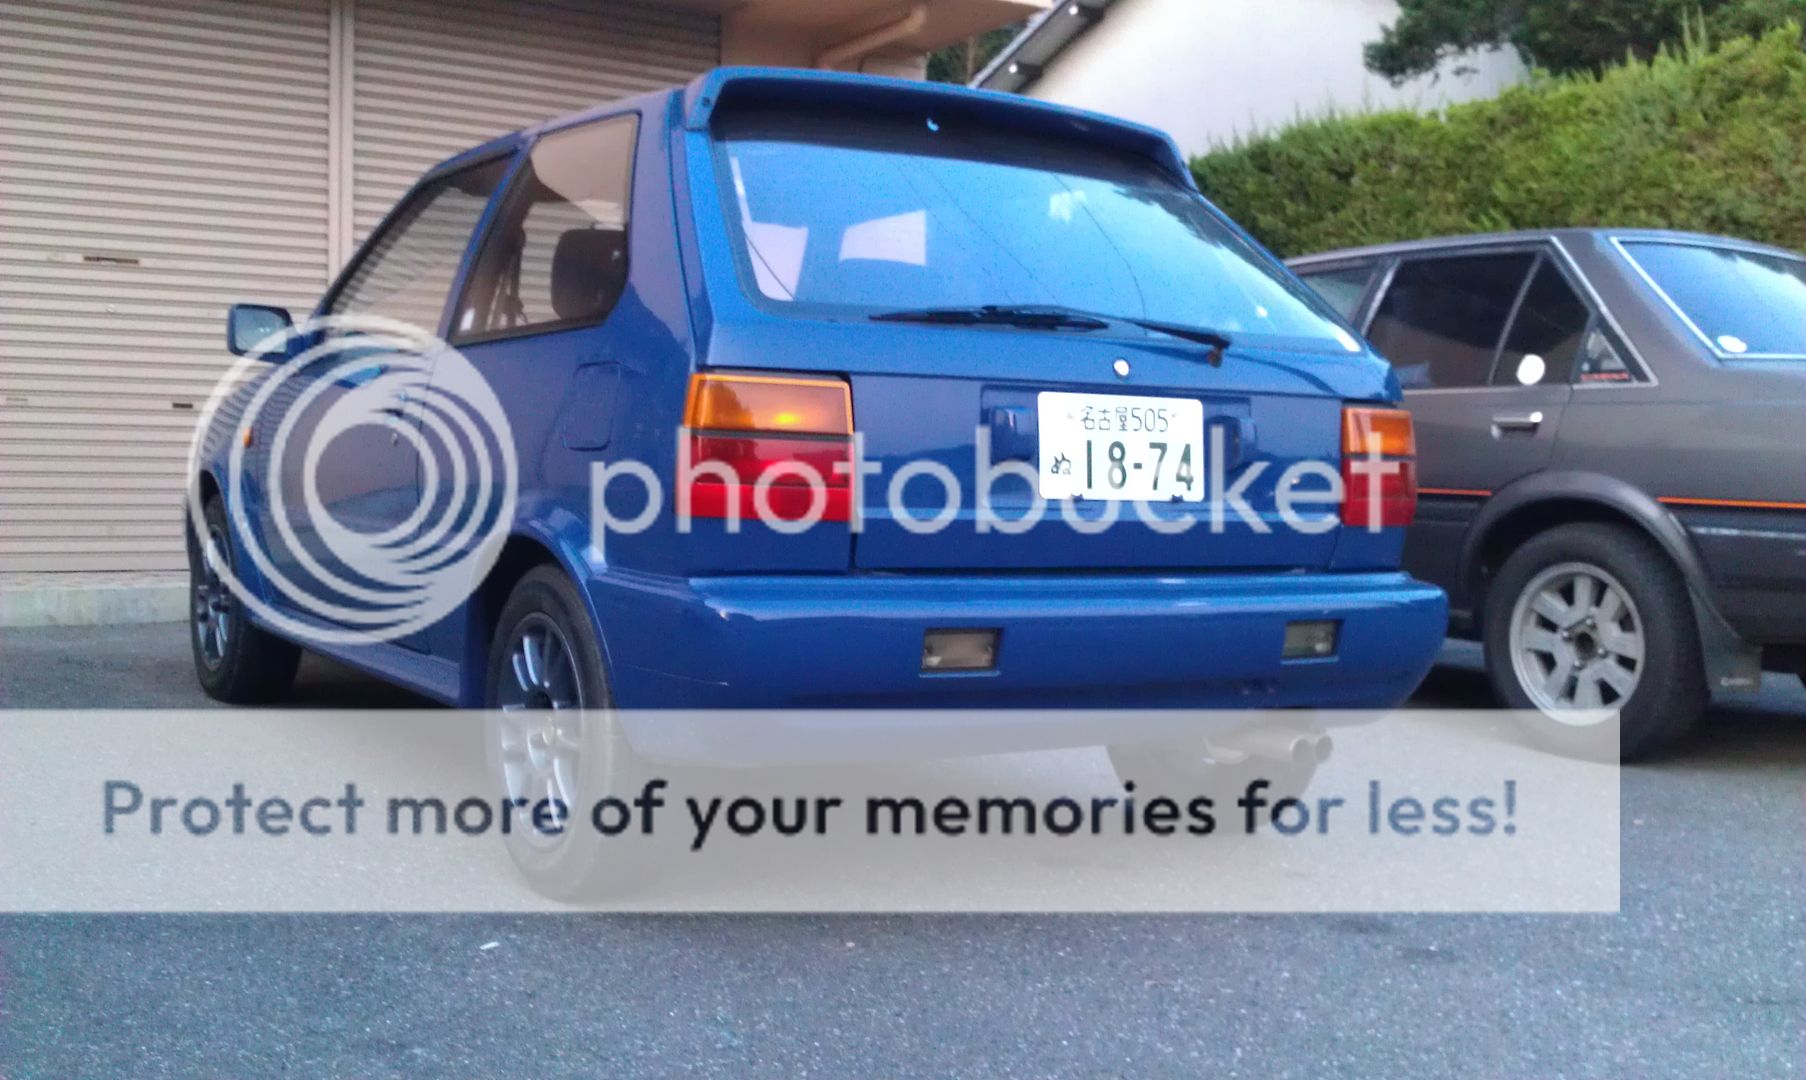
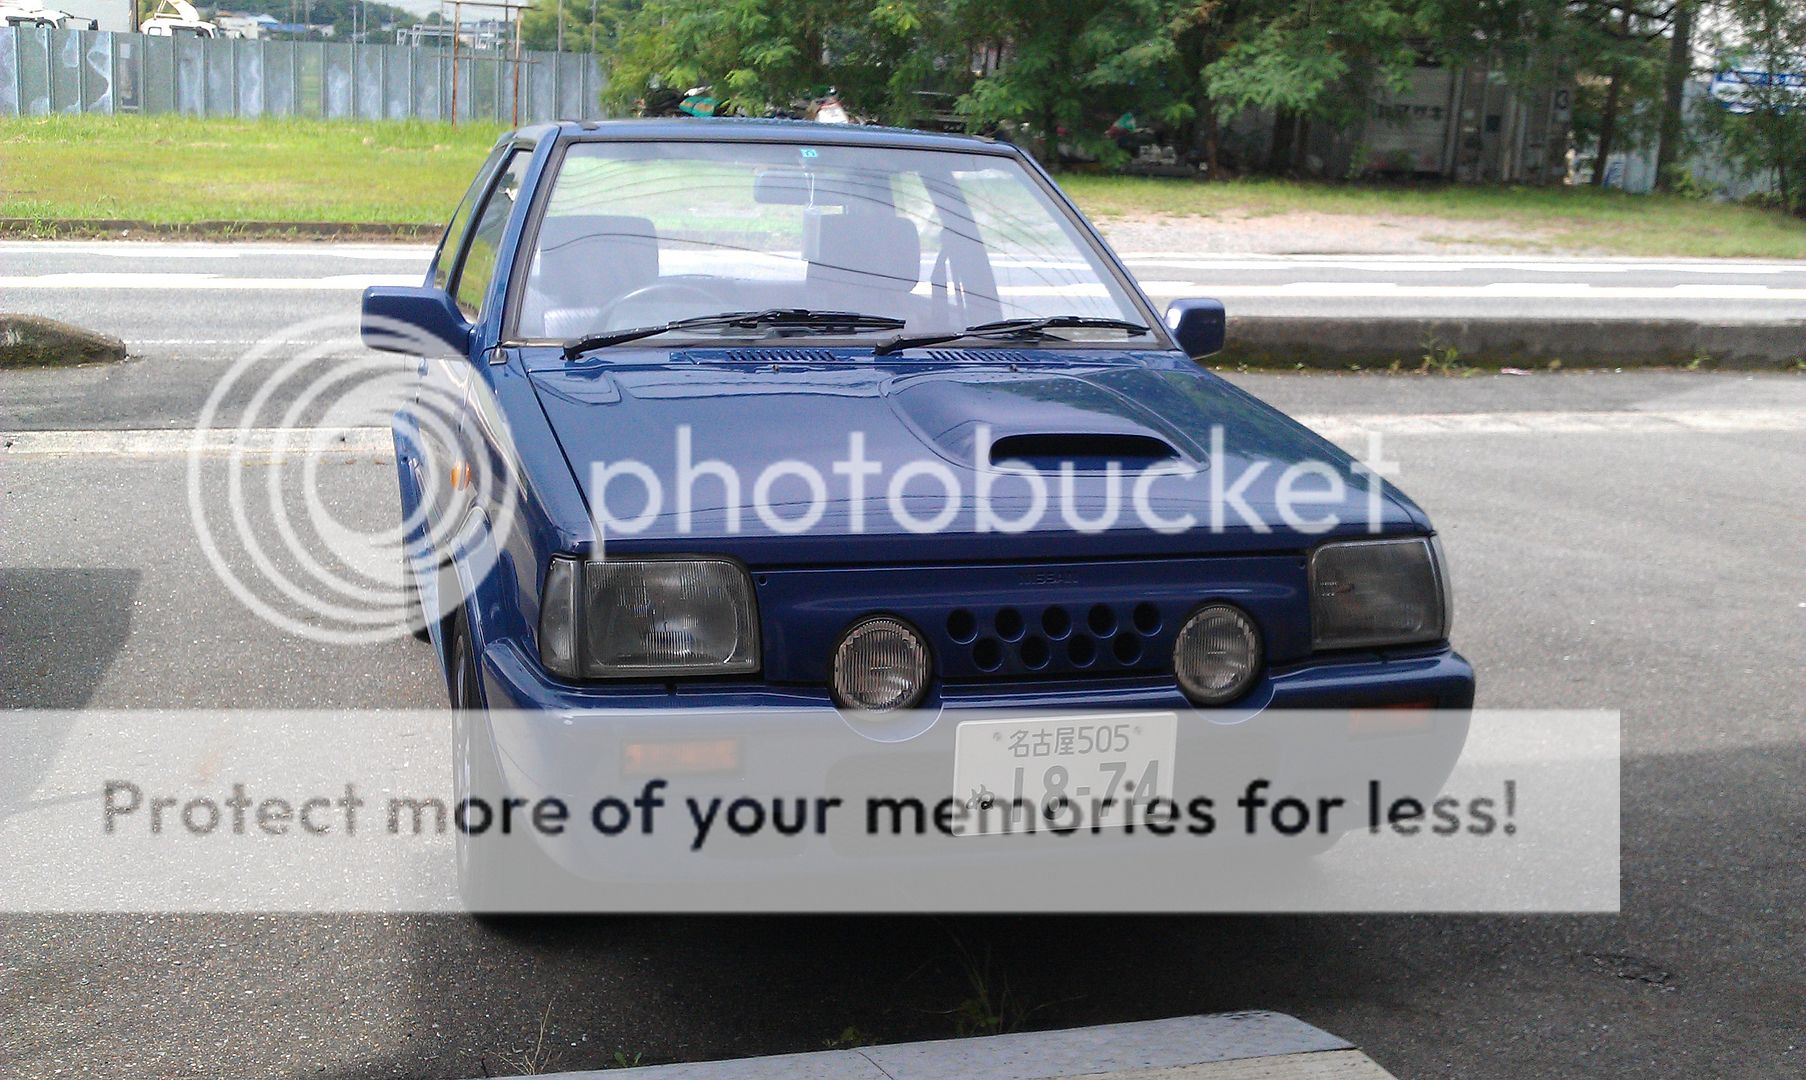
And here the car is!
When I took the test drive I only pushed on it slightly, I never realized how much go these little things have in them! It's an absolute blast to drive!
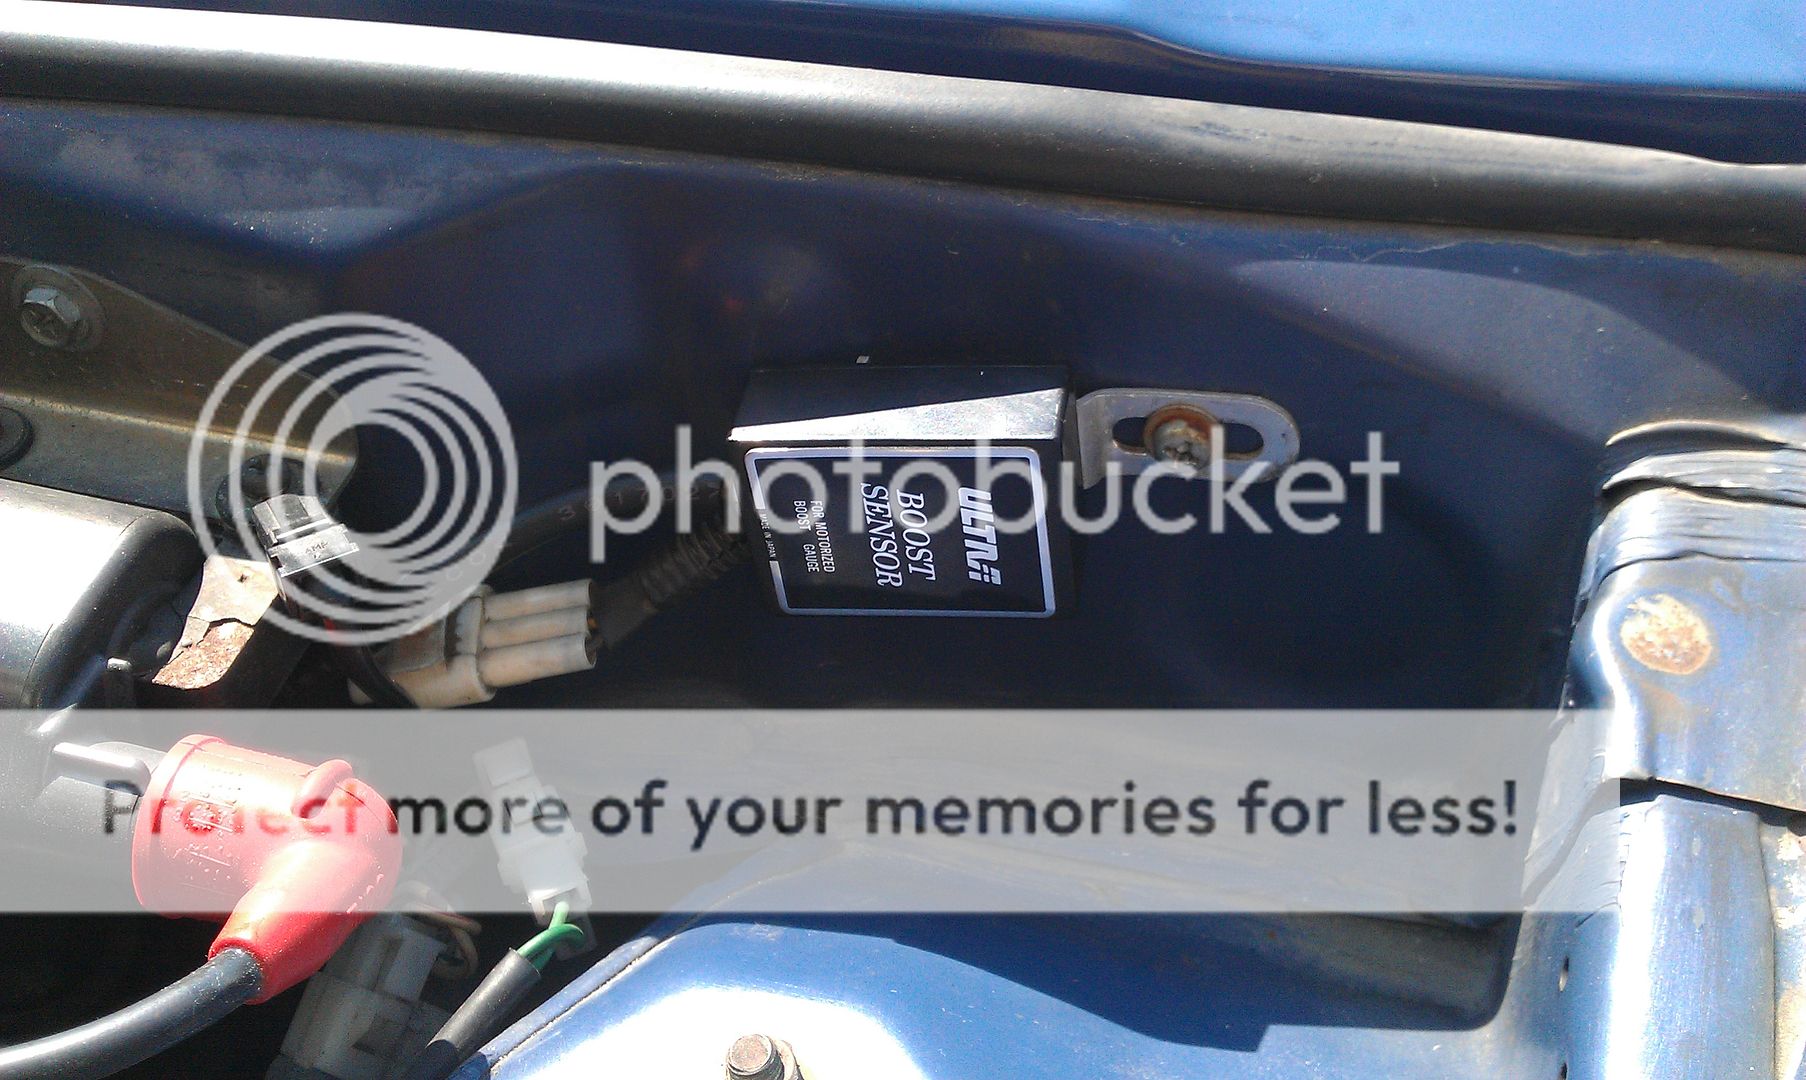
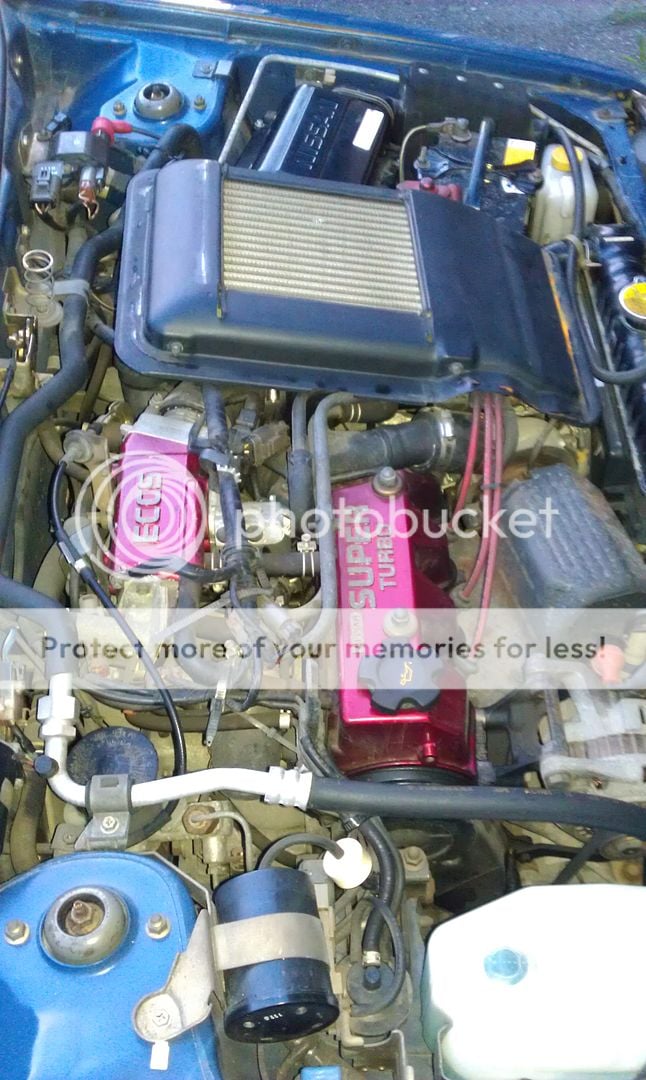
Unfortunately, this particular example has the infamous UFO oscillations when on Supercharger boost. I gotta find a way to fix this...
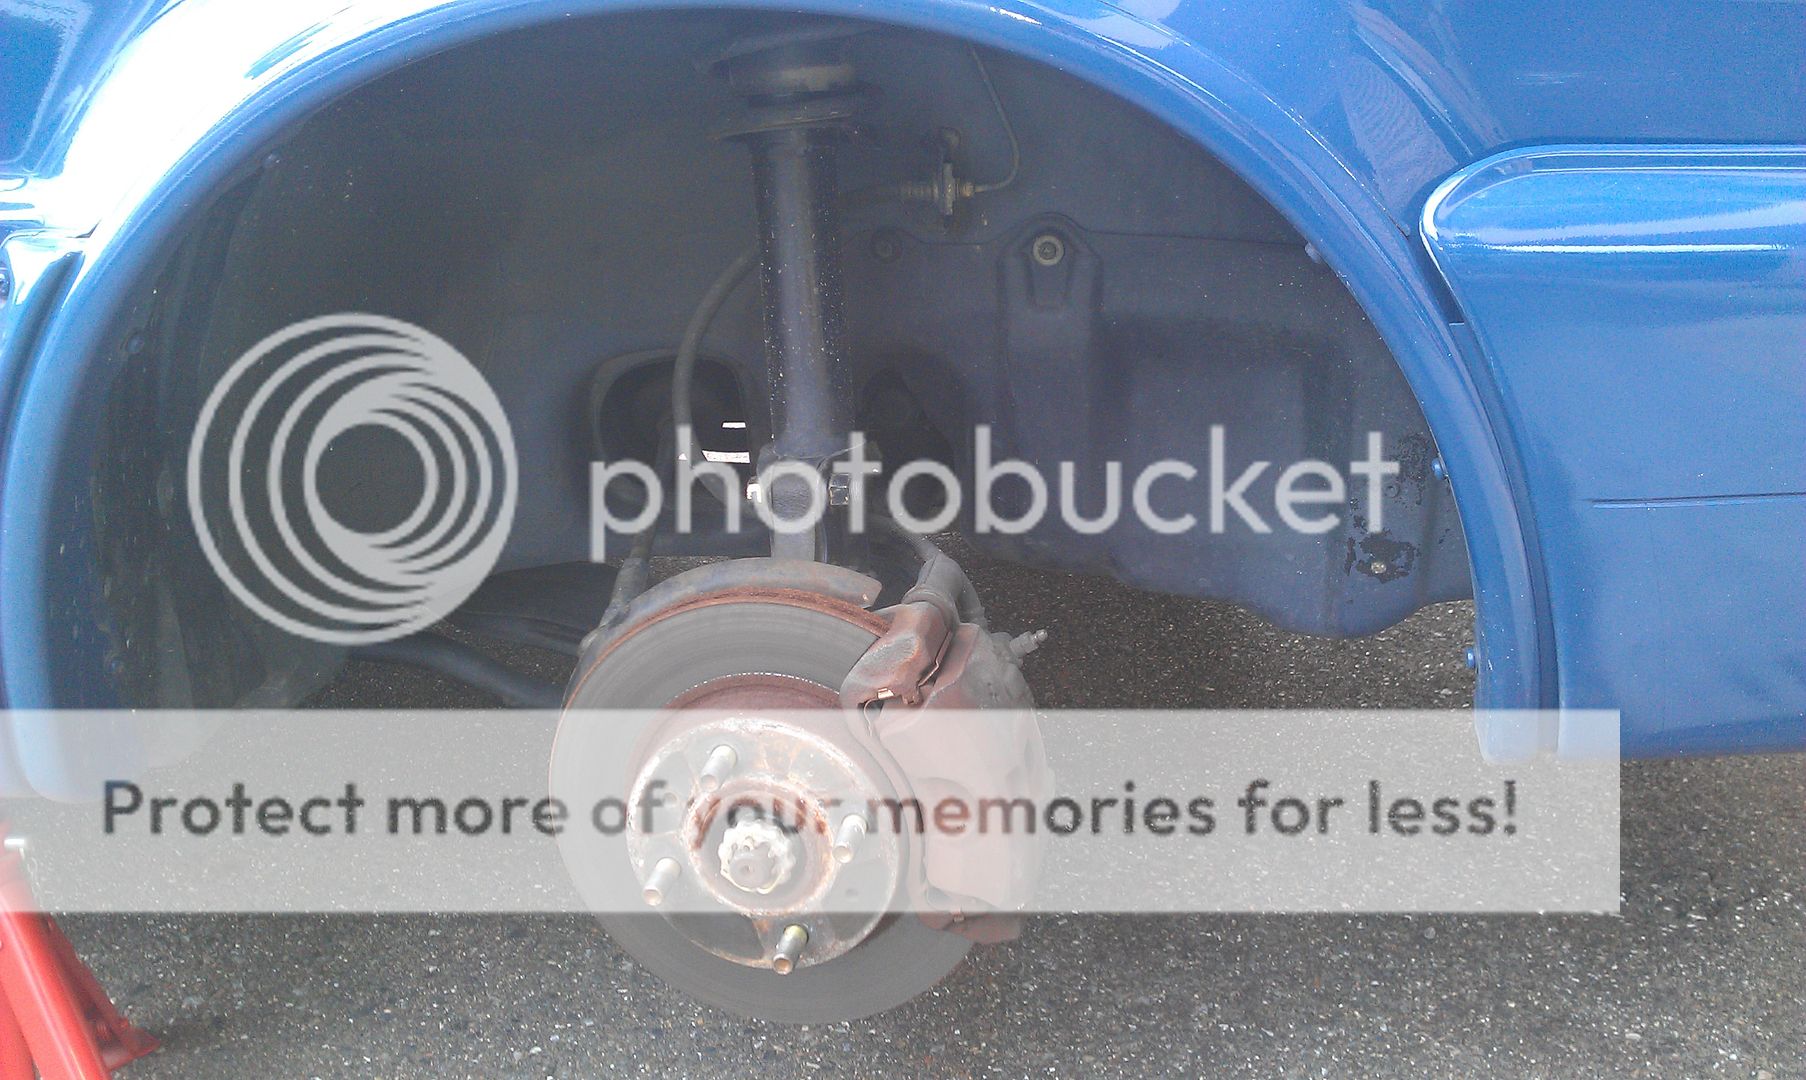
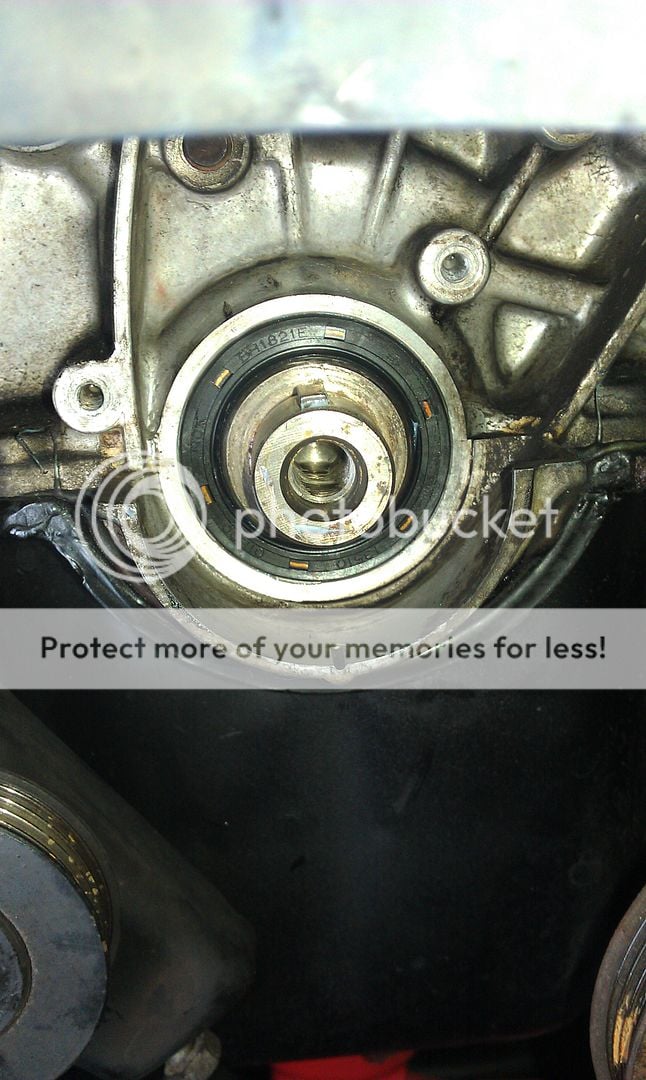
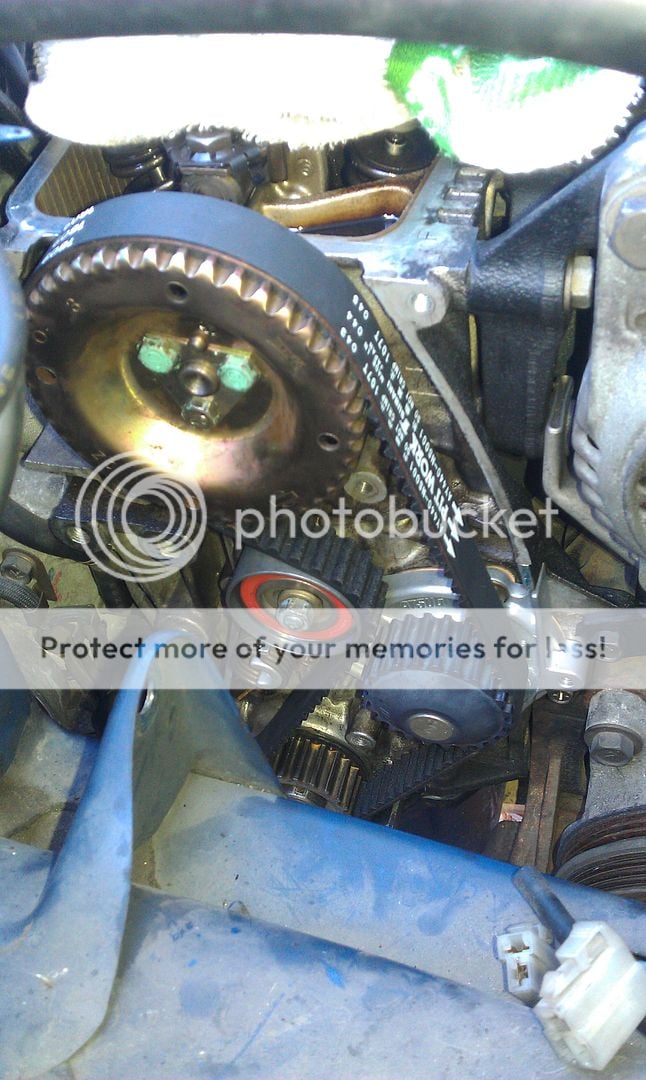
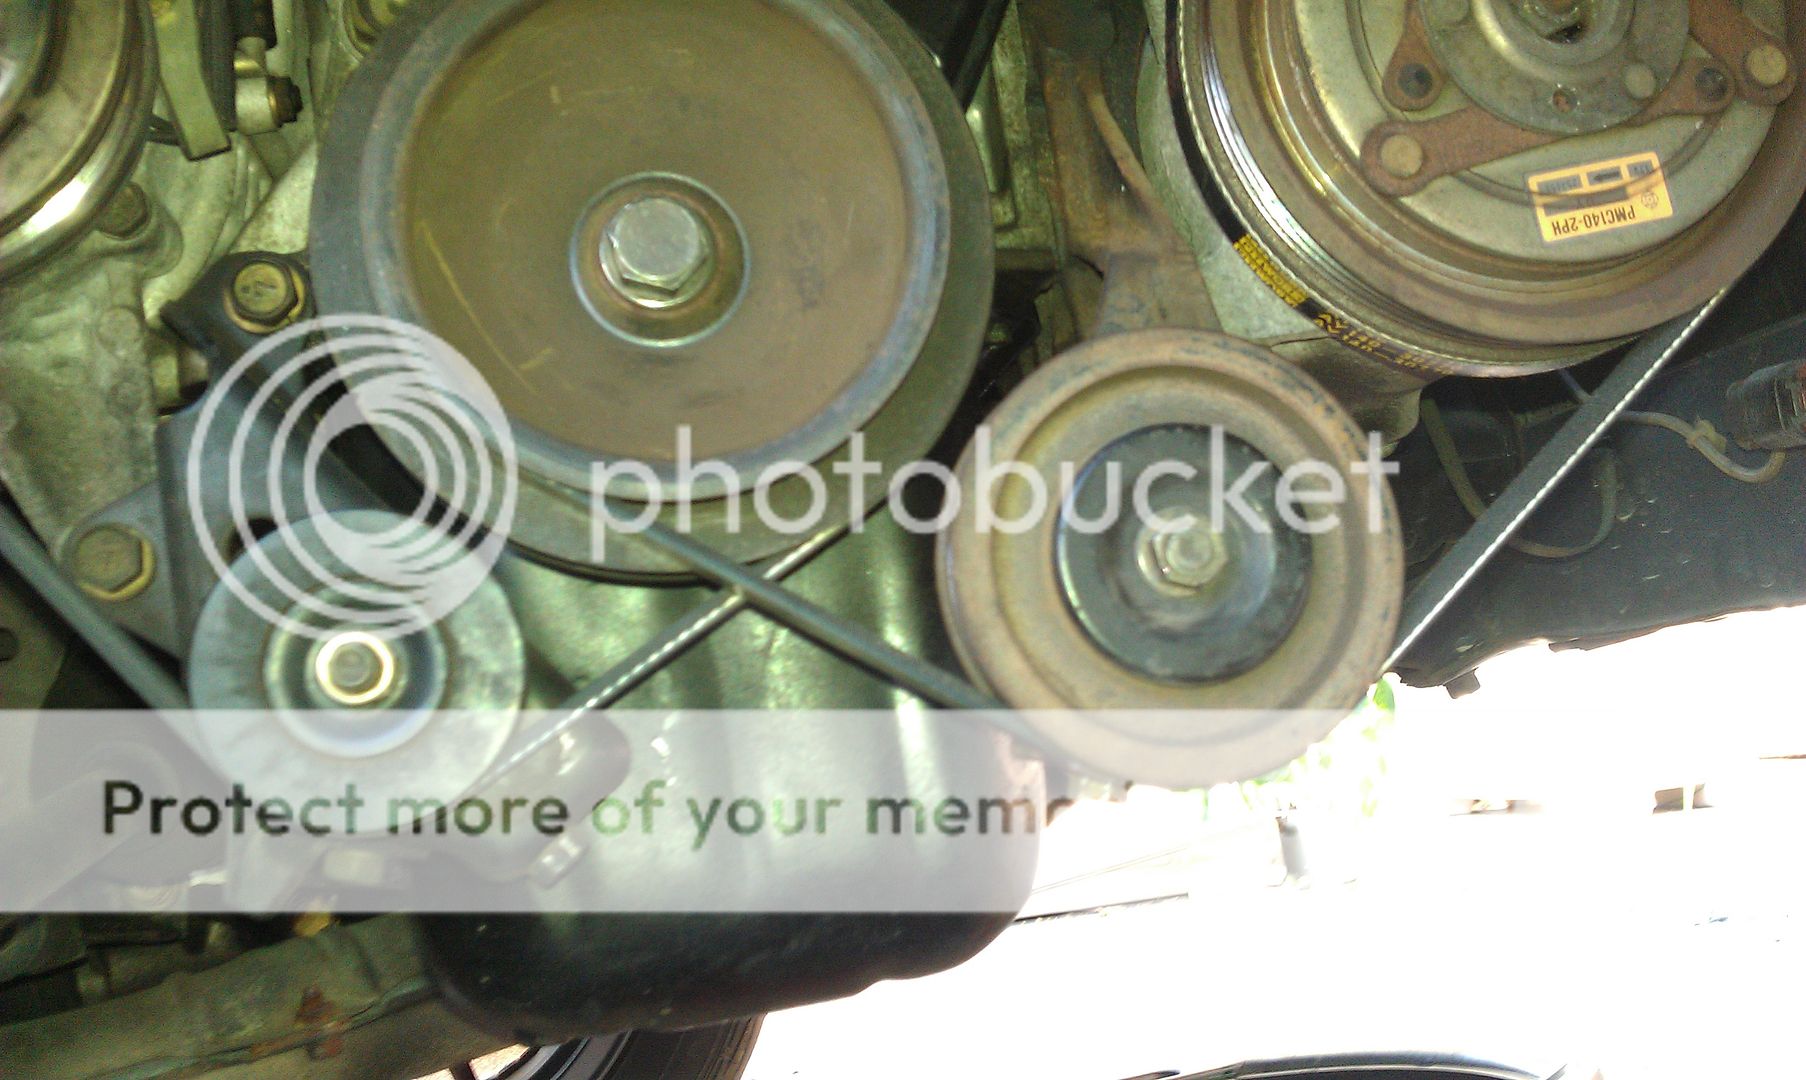
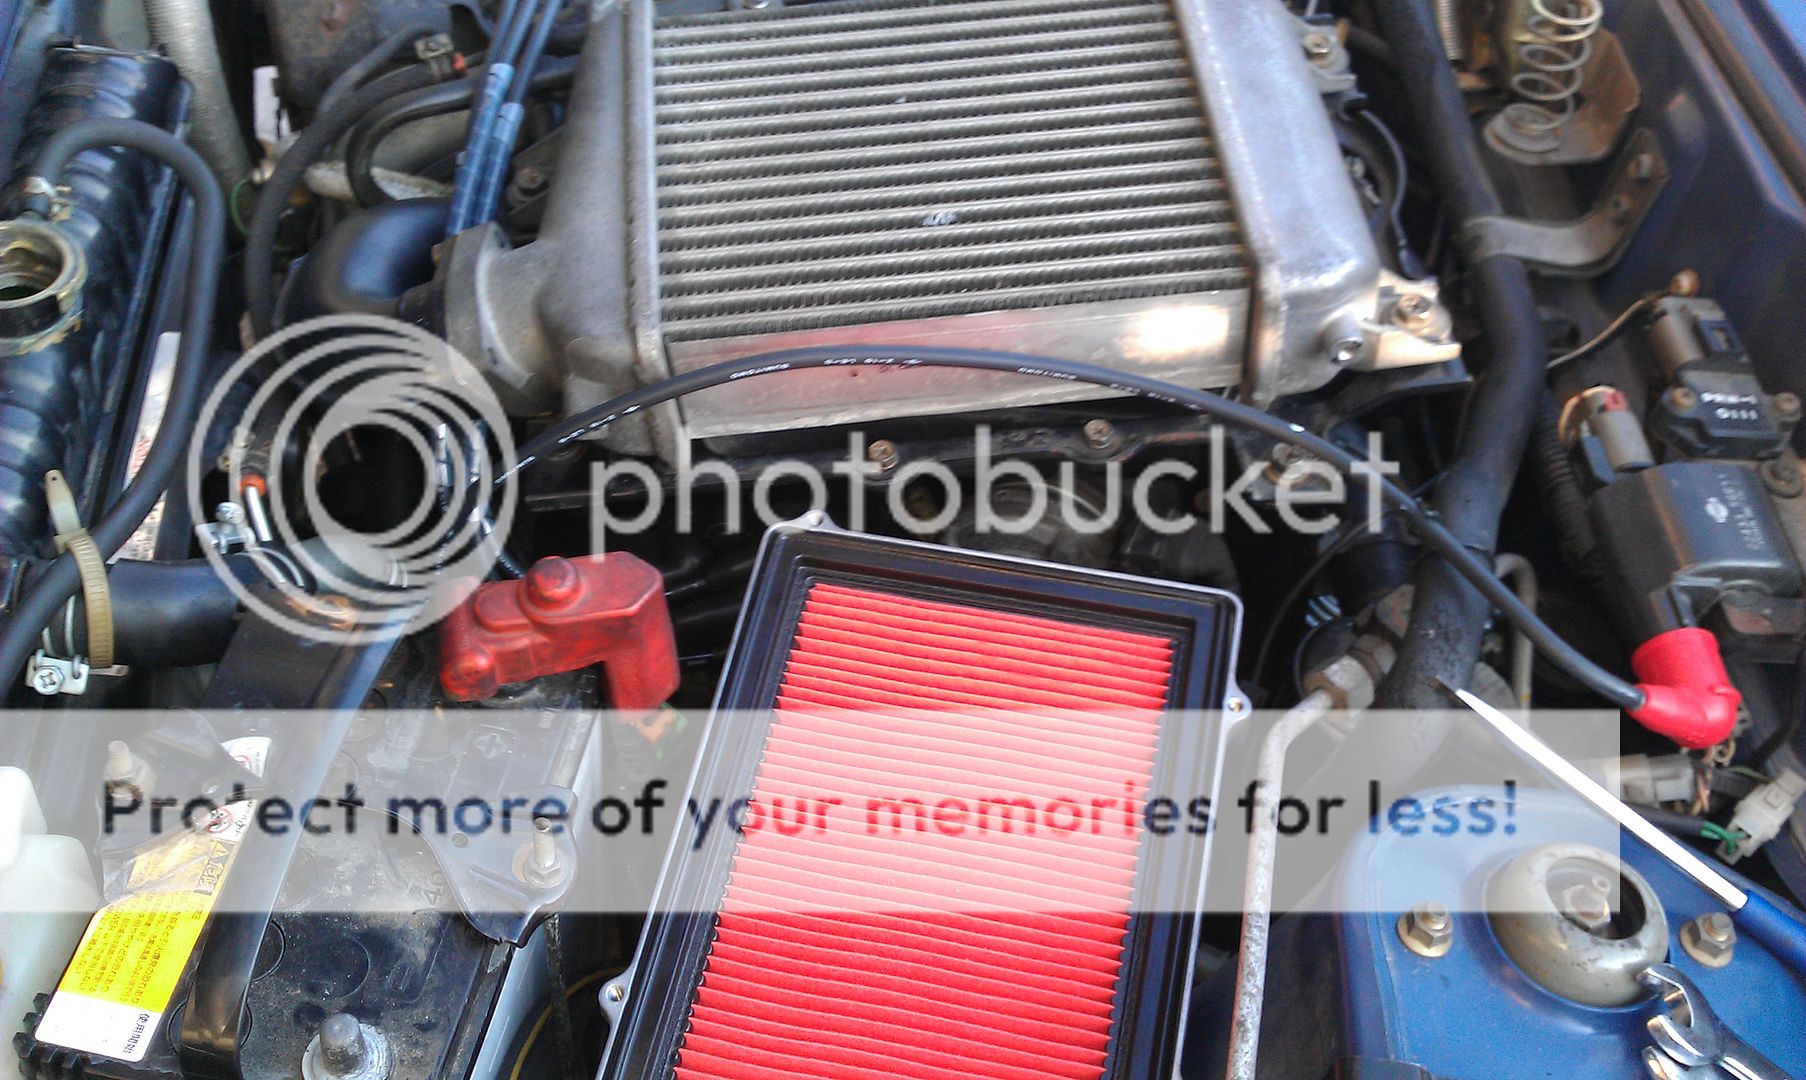
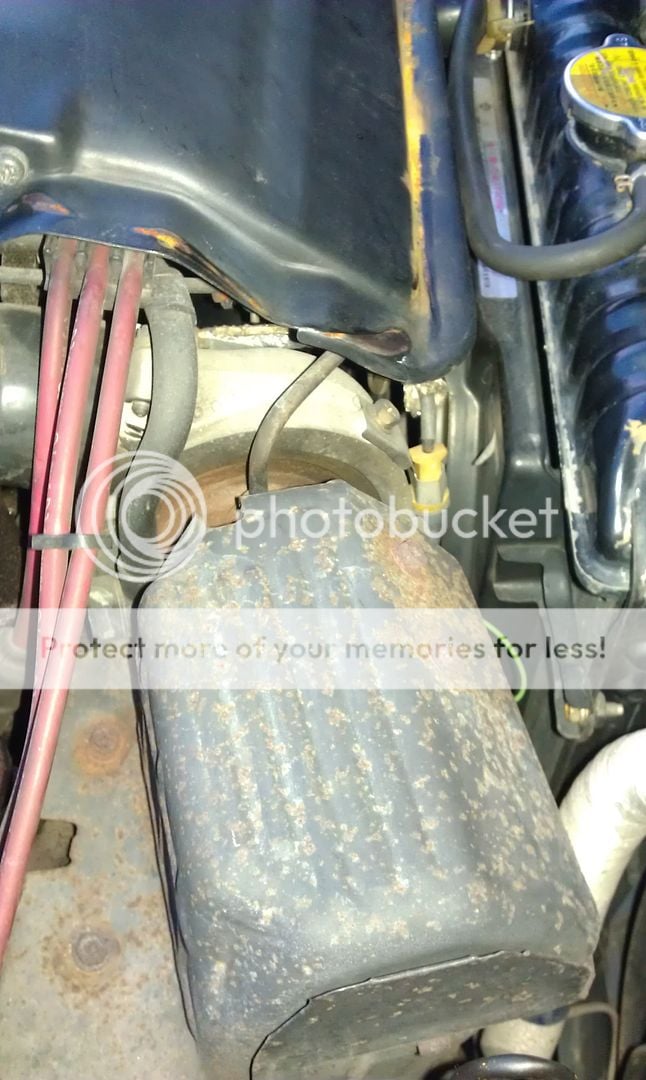
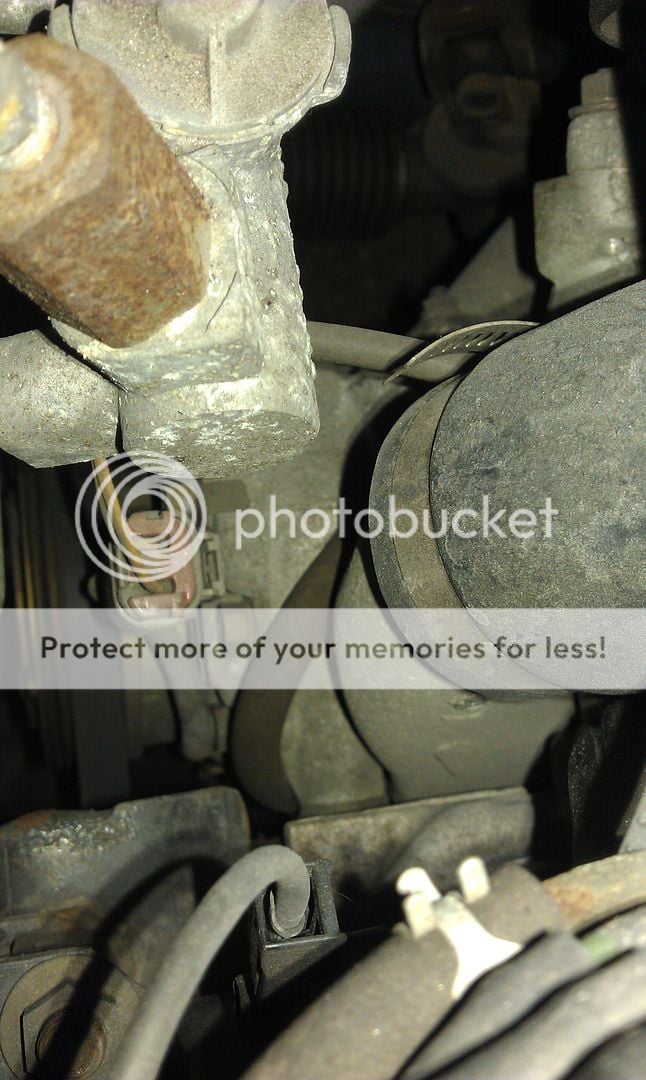
It's been repainted and looks amazing. Can't for the life of me figure out why. If it's an accident car, someone did such a good job of repairing it that I can't find a single thing wrong with it. It drives perfectly smooth and straight and feels tight as tight can be. There are some seals on the engine leaking and it needs new tires and brake pads, but other than that, the car is gorgeous!
I've read a few reviews about this car and they all complained about understeer, but the car grips well enough that in order to make it understeer on the narrow roads of Japan you'd have to be driving at ludicrous speed, and I don't have the juevos to do that, haha.
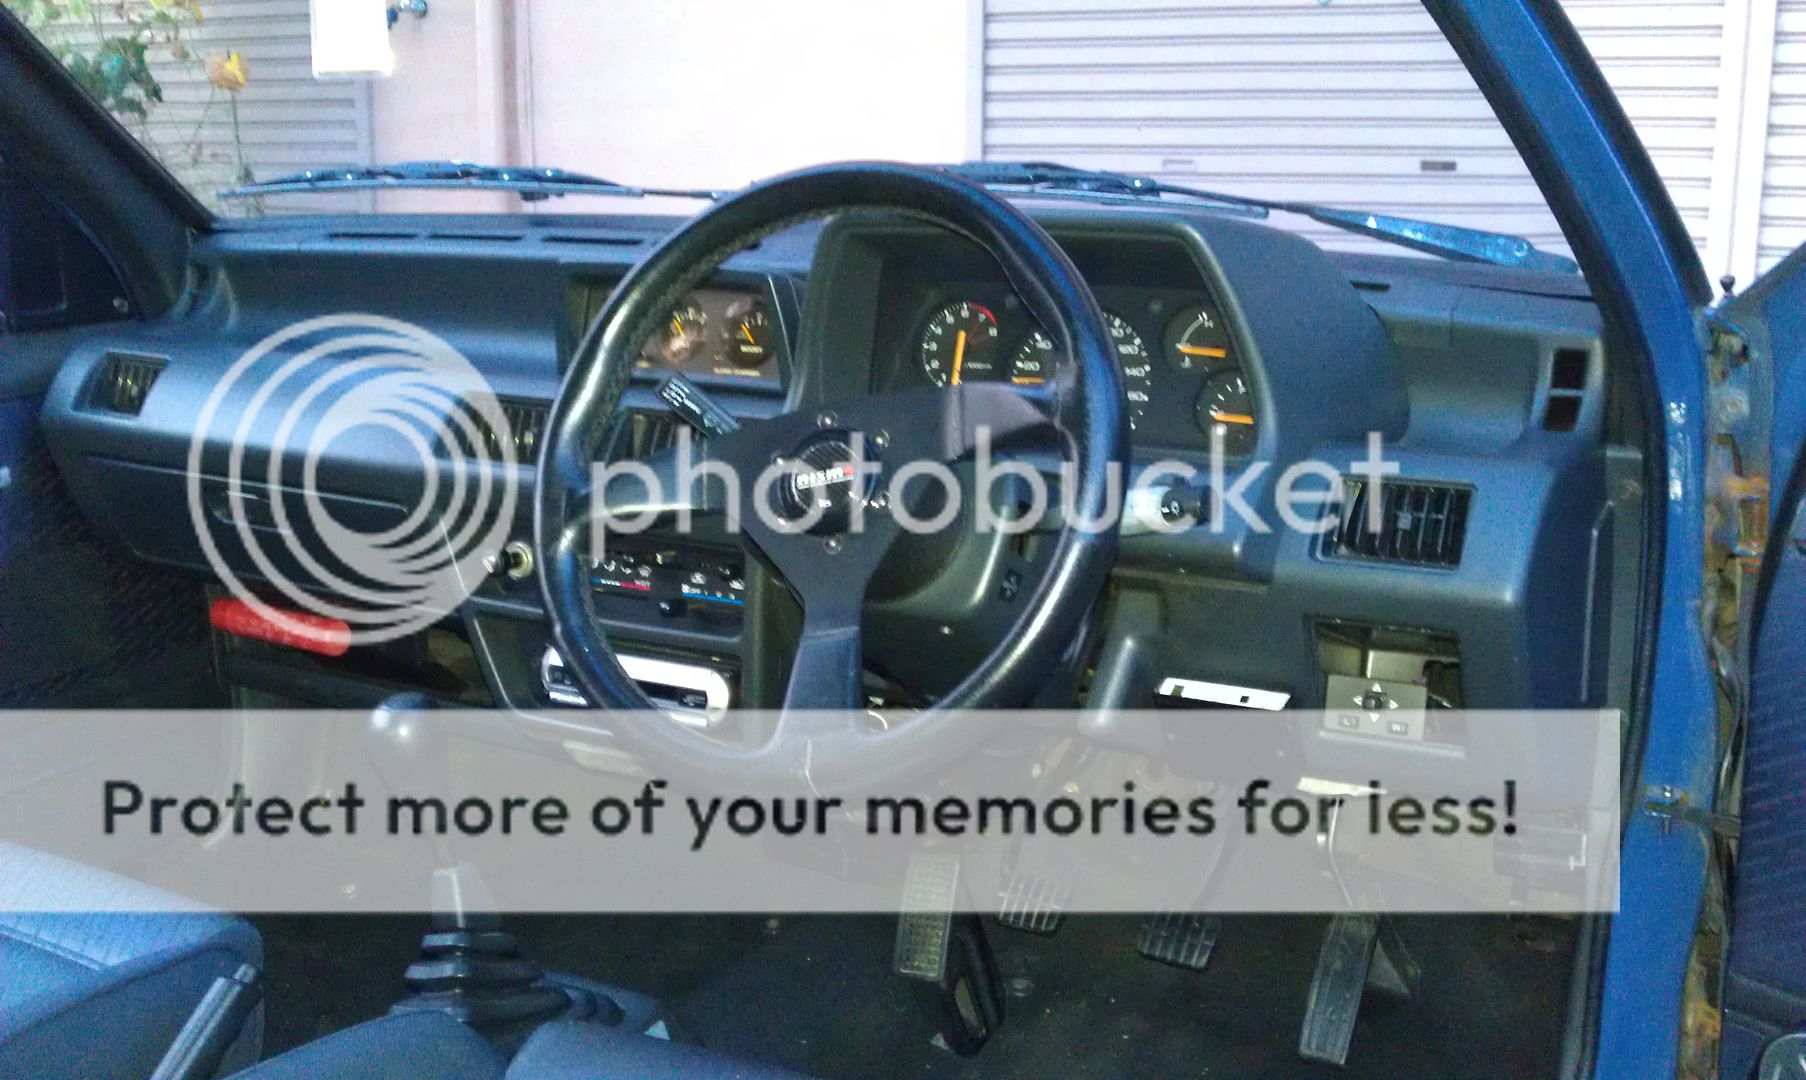
The interior is so minty fresh it makes an Altoids can want to take a shower. In other words, it looks brand new inside! There's a little bit of sun-fade on the door handles and window crank handles, but some paint will fix those so quick it's a wonder why I haven't done it yet.
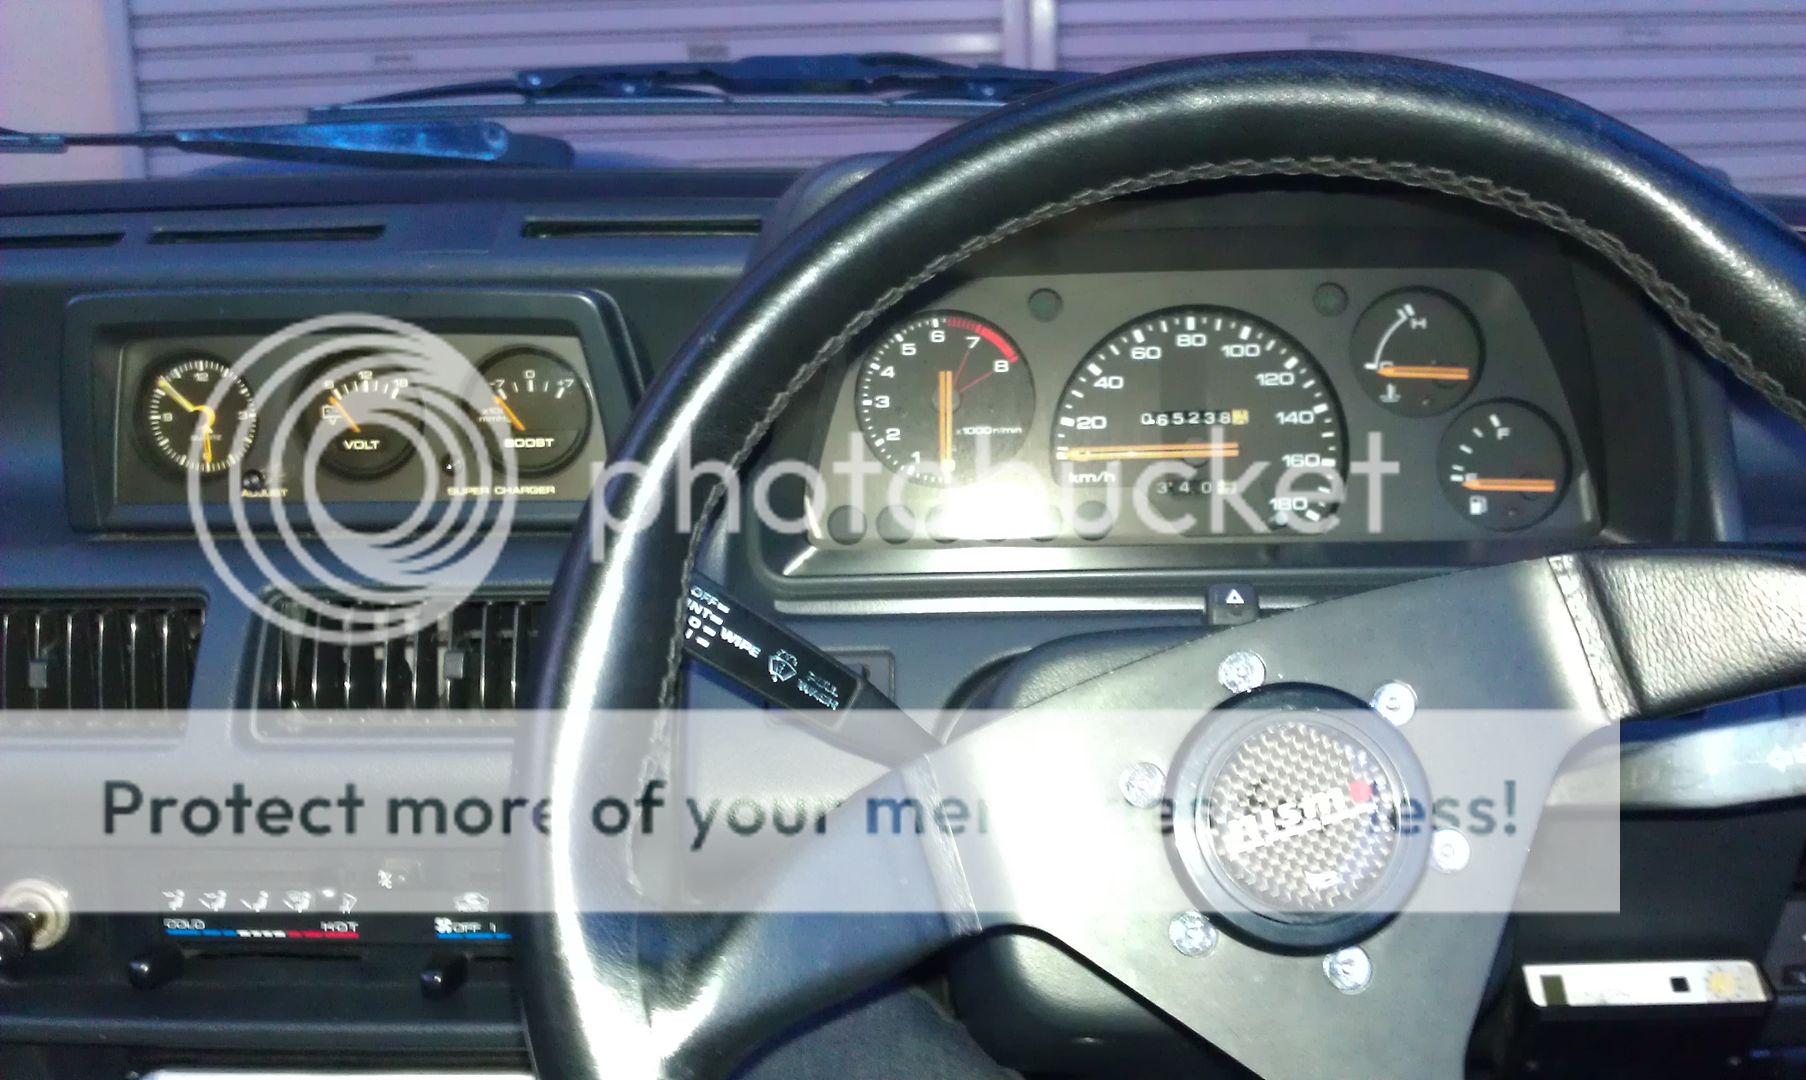
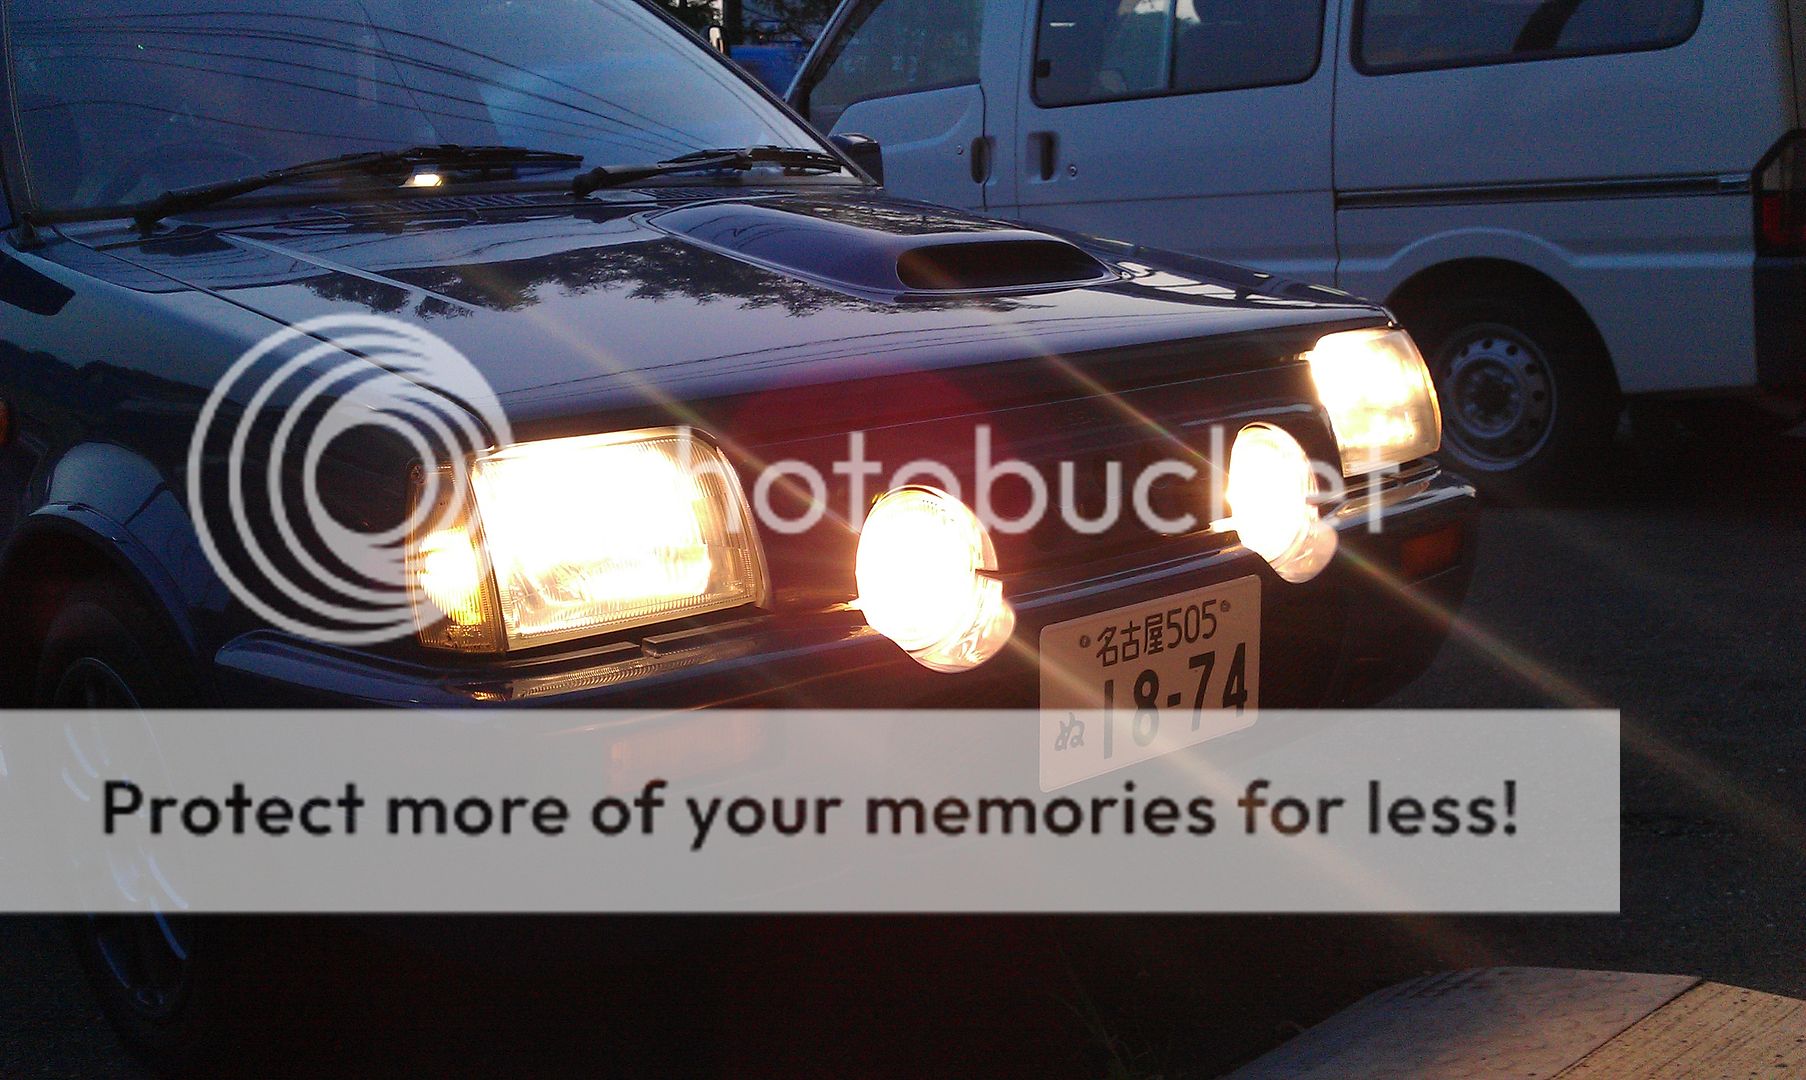
The car has enough lights on the front to make the alternator cry like a little girl at night. Seriously, with all lights on, the blinker clicking and the radio going at night when idling at a stop light, the voltage gauge reads a mere 10 volts! Get moving and it bumps back up to 12 to 12.5, but man the alternator is not up to the task of power all the light coming off the front of the car, haha. Perhaps I should upgrade to a newer more capable alternator.
When I got the car I received two keys, a spare that was cut into a generic buy off the shelf at the hardware store key and some weird key with a cat on it. I gave the cat key no thought and just tossed it on my desk thinking it was someone personalized key they got at a key shop or something. I was actually really upset that I didn't get the original key. Then I was flipping through the owner's manual and stumbled across this page showing the cat key. The cat key IS the original key!
Apparently the cat's name is Asashio. It was featured in a bunch of commercials here in Japan as the unofficial mascot of the March.
And the youtube links to the above videos:
http://www.youtube.com/watch?v=EFI87OZxd24
http://www.youtube.com/watch?v=ByQwKo29fZQ
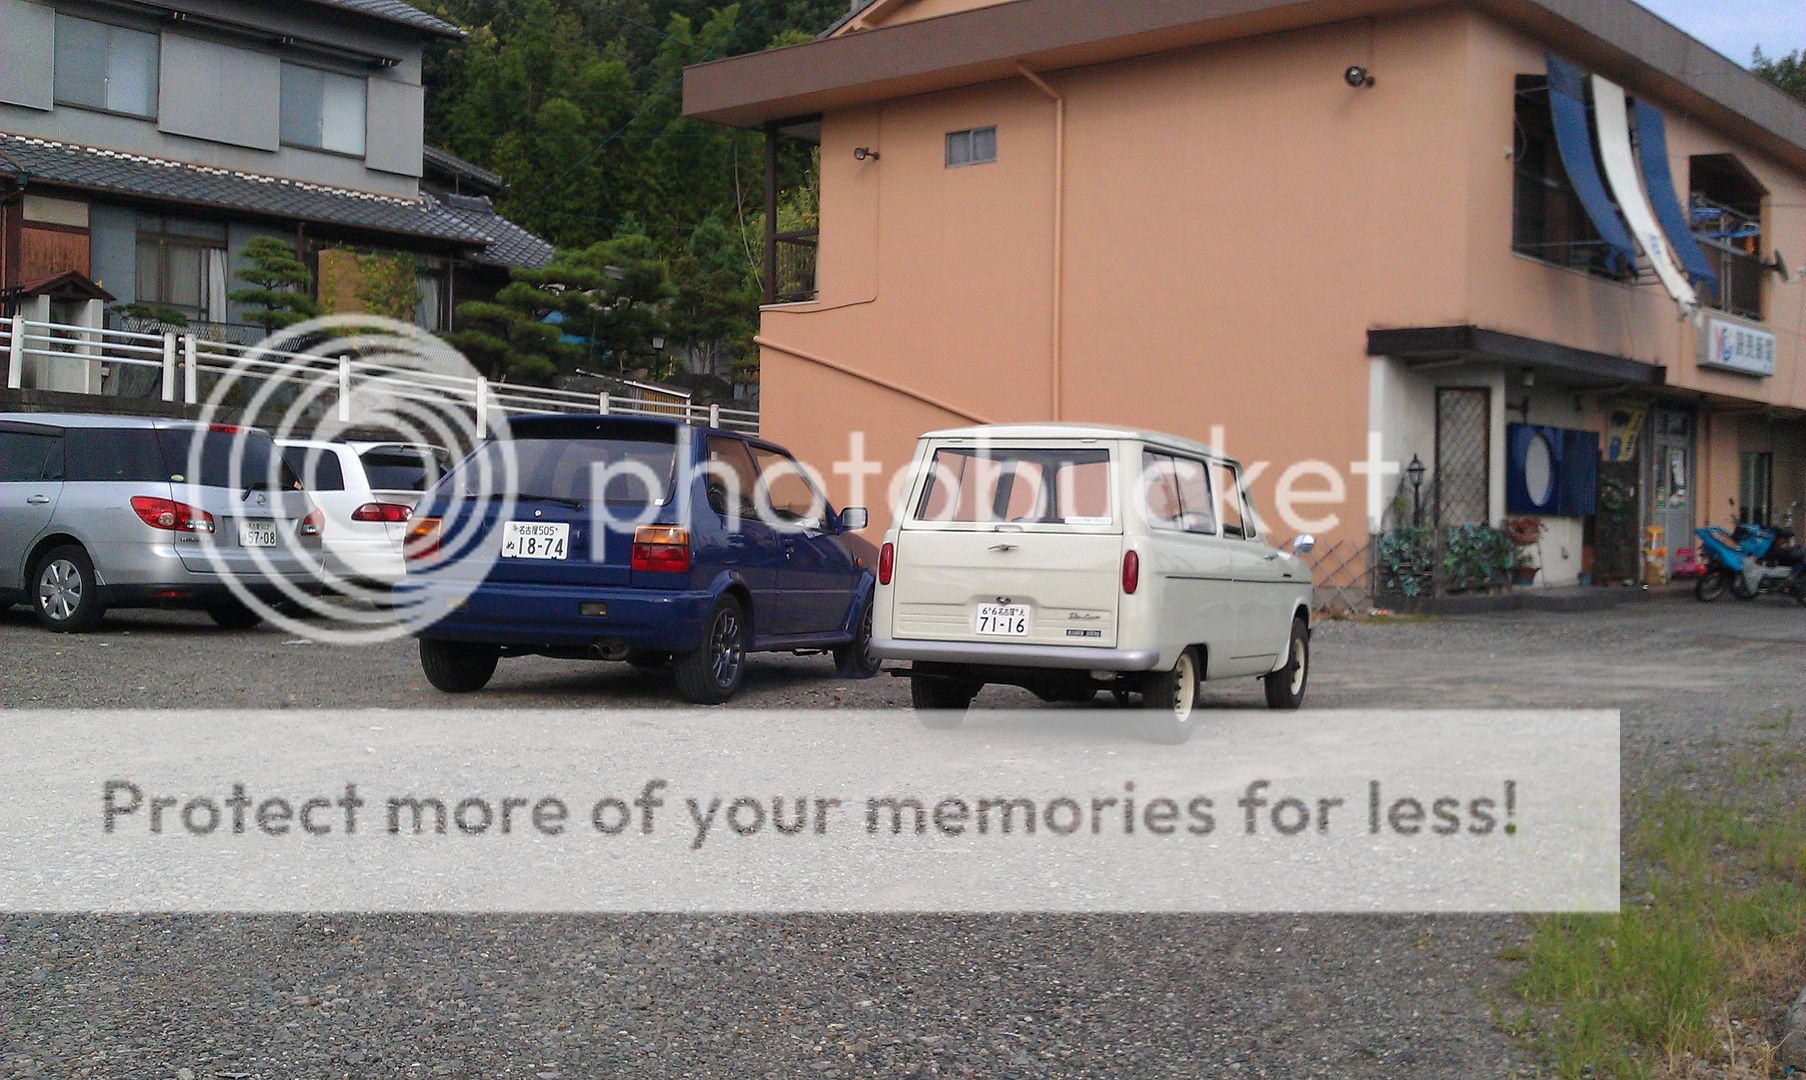
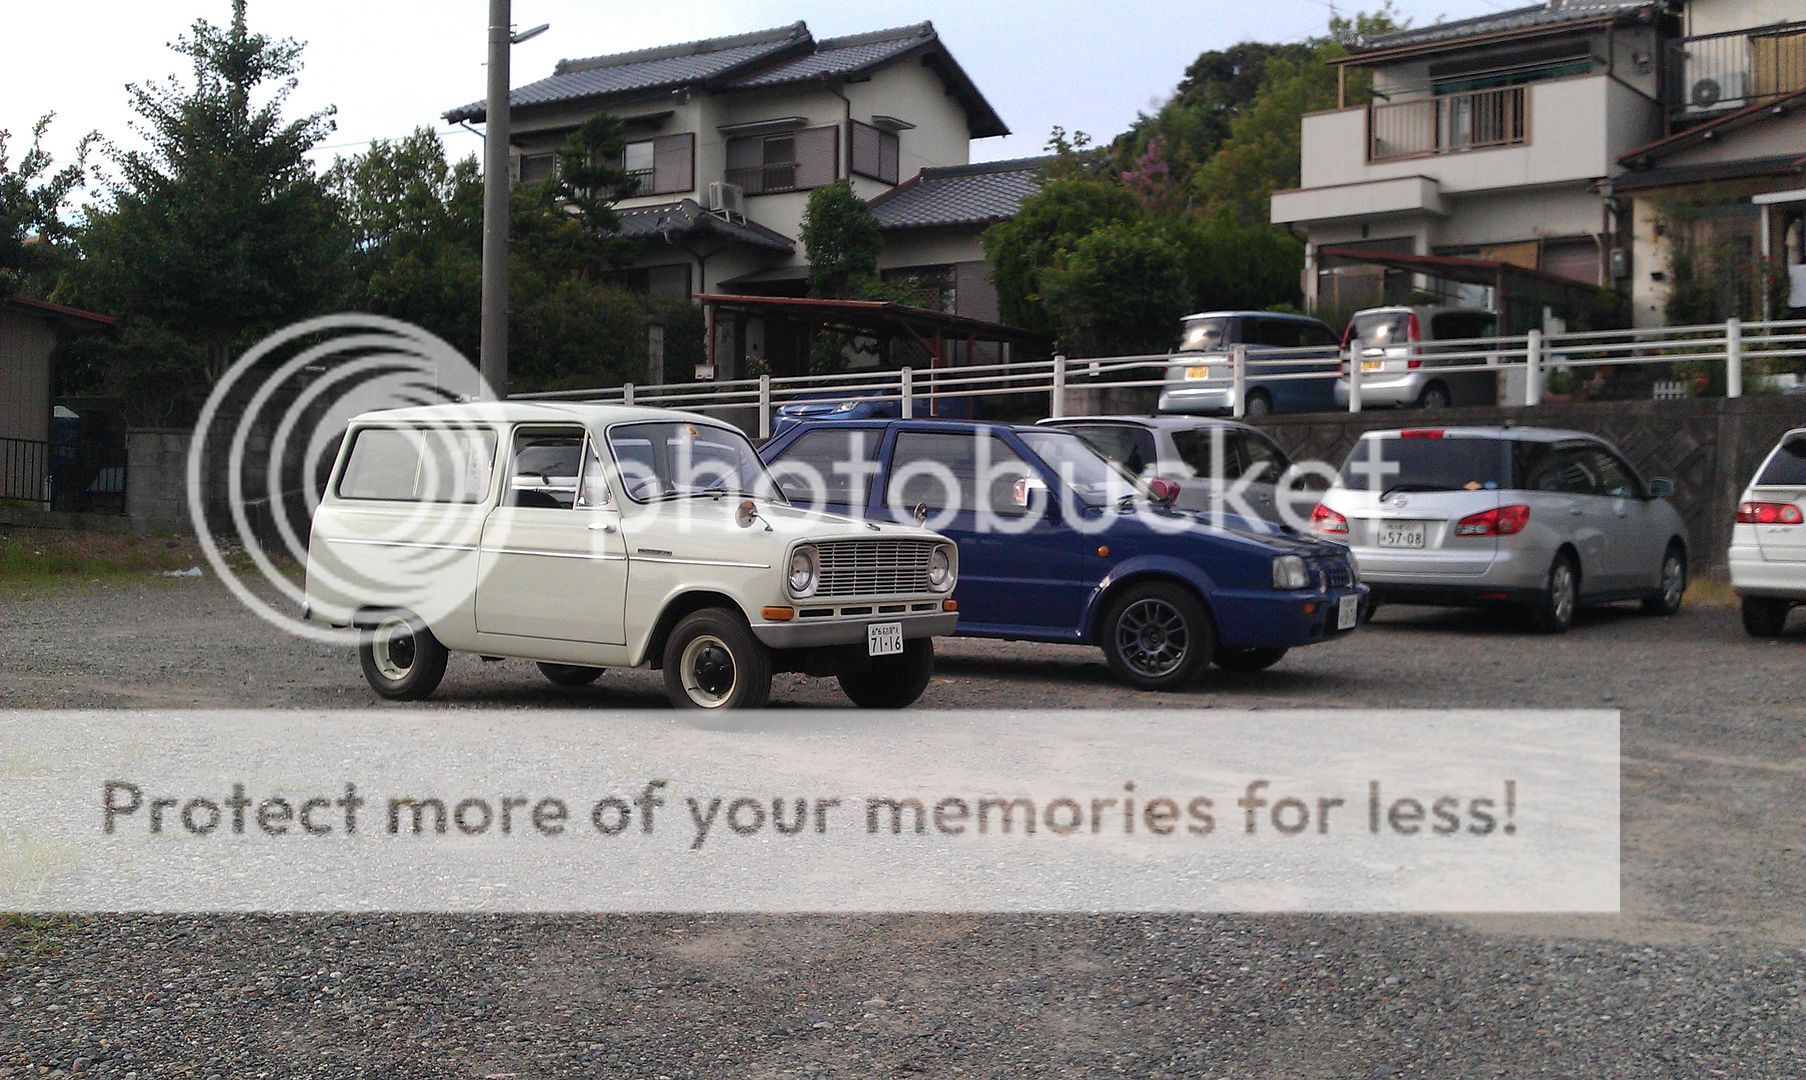
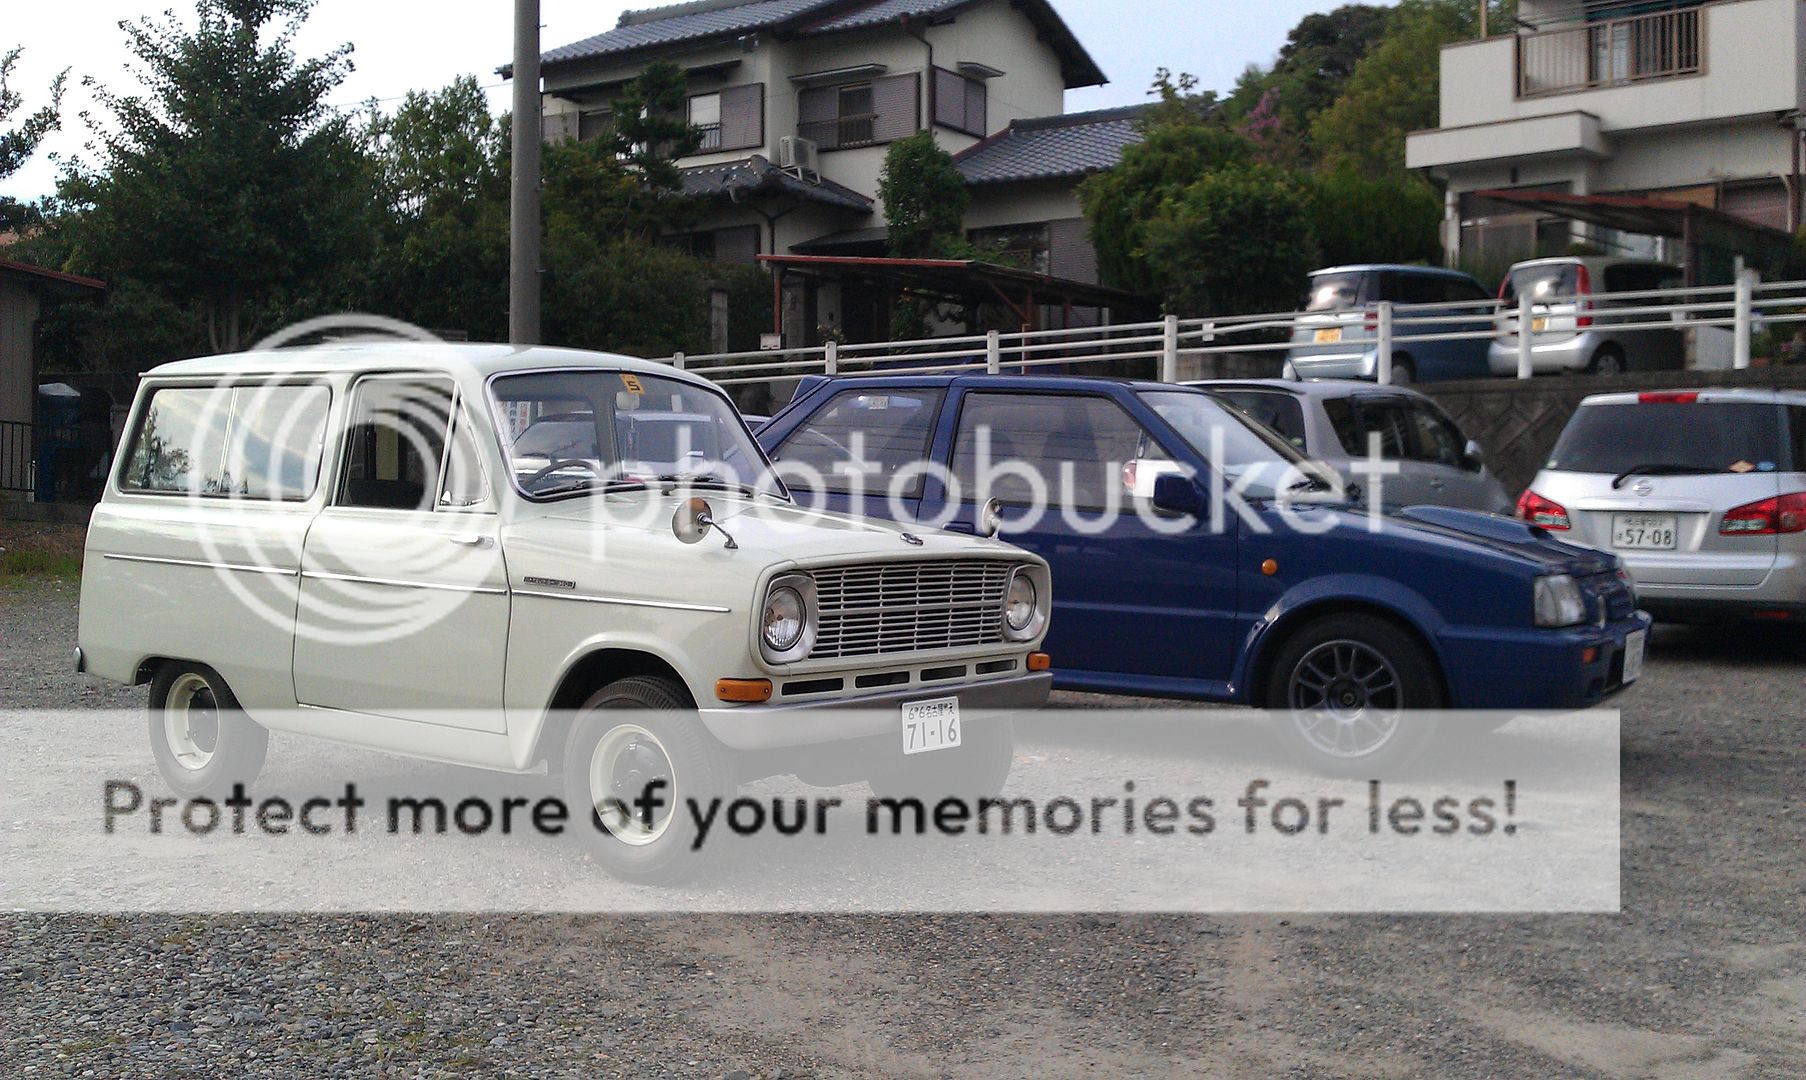
The car is epically small!
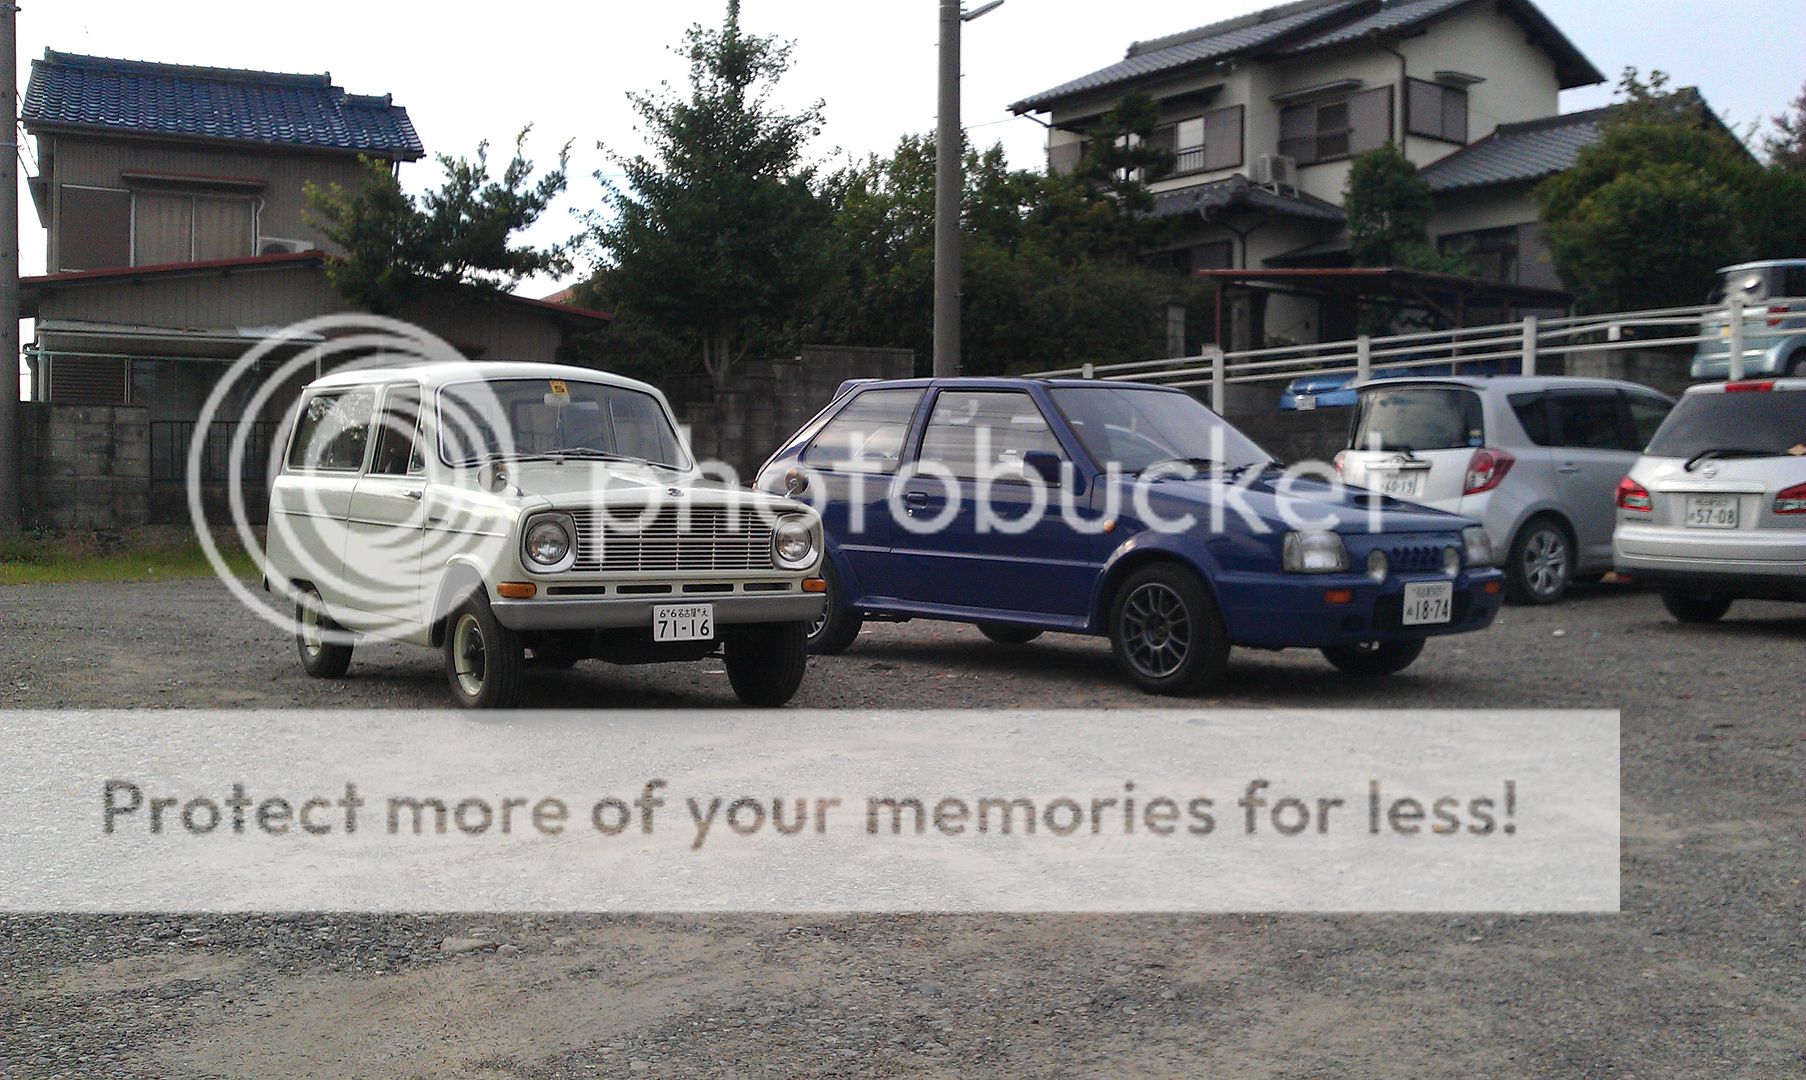
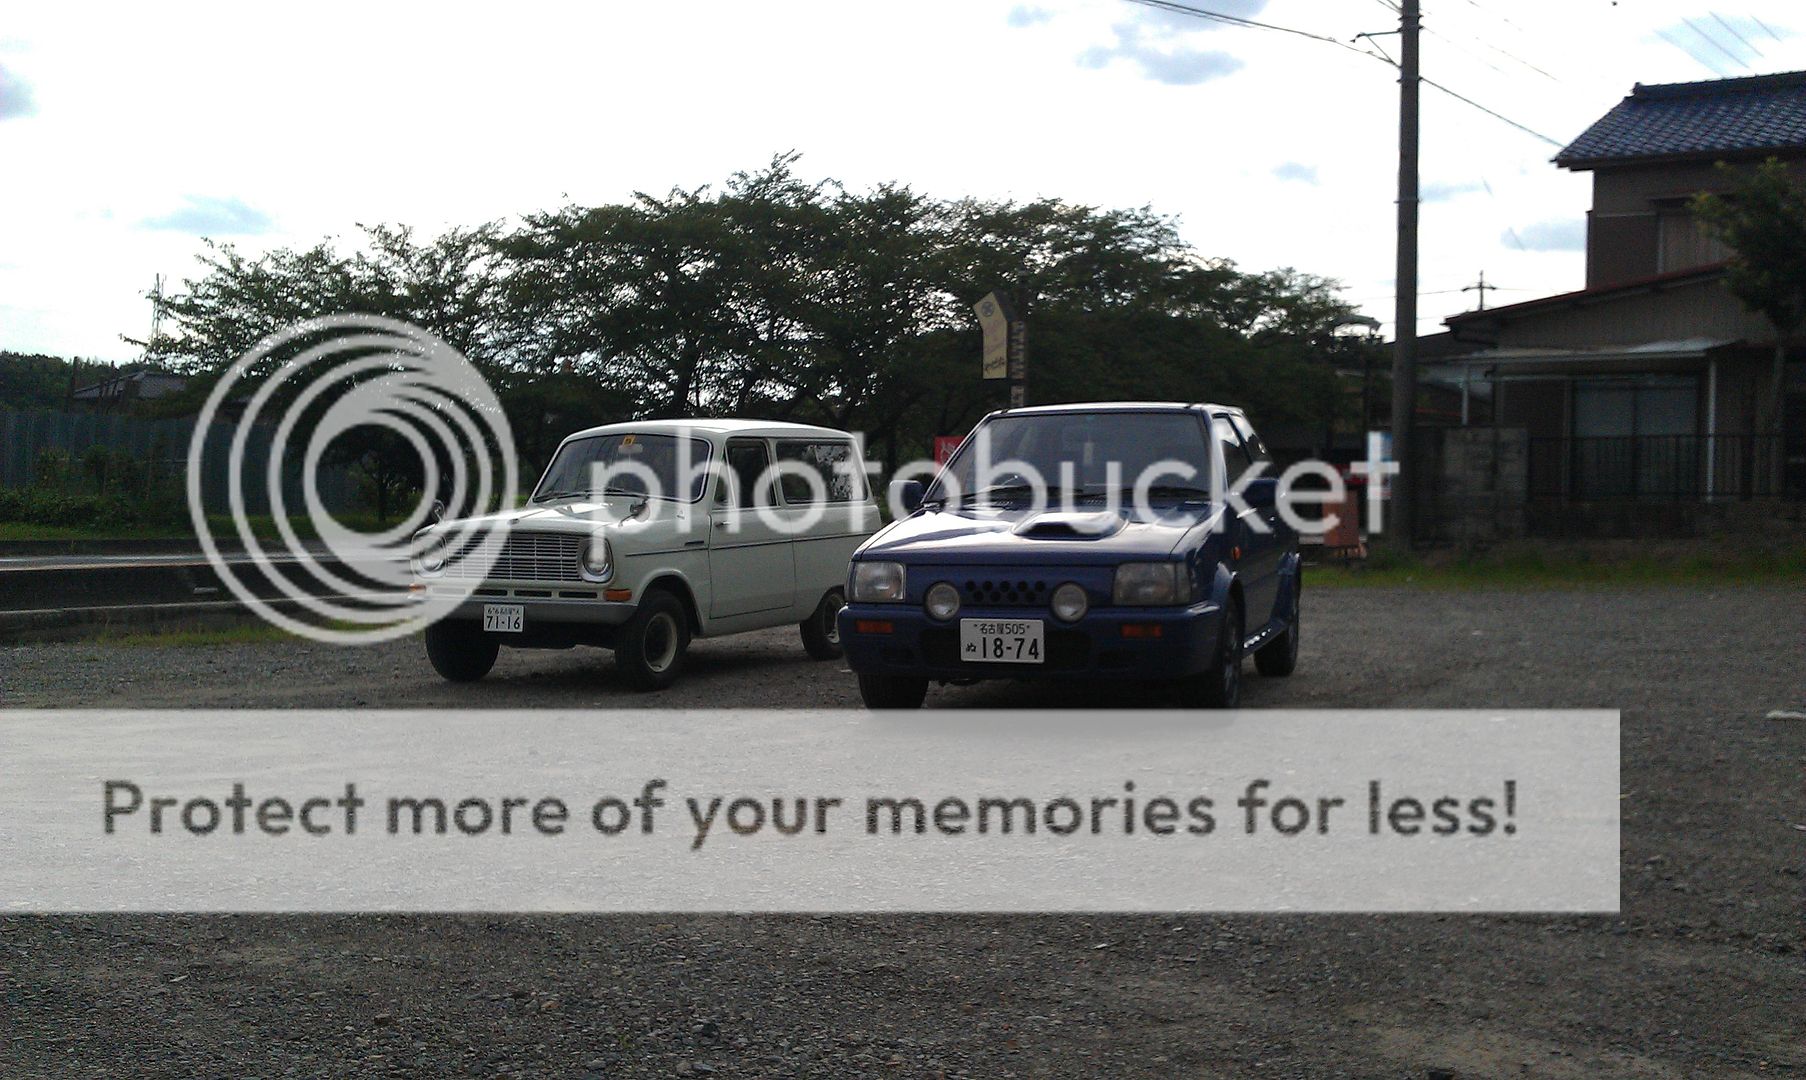
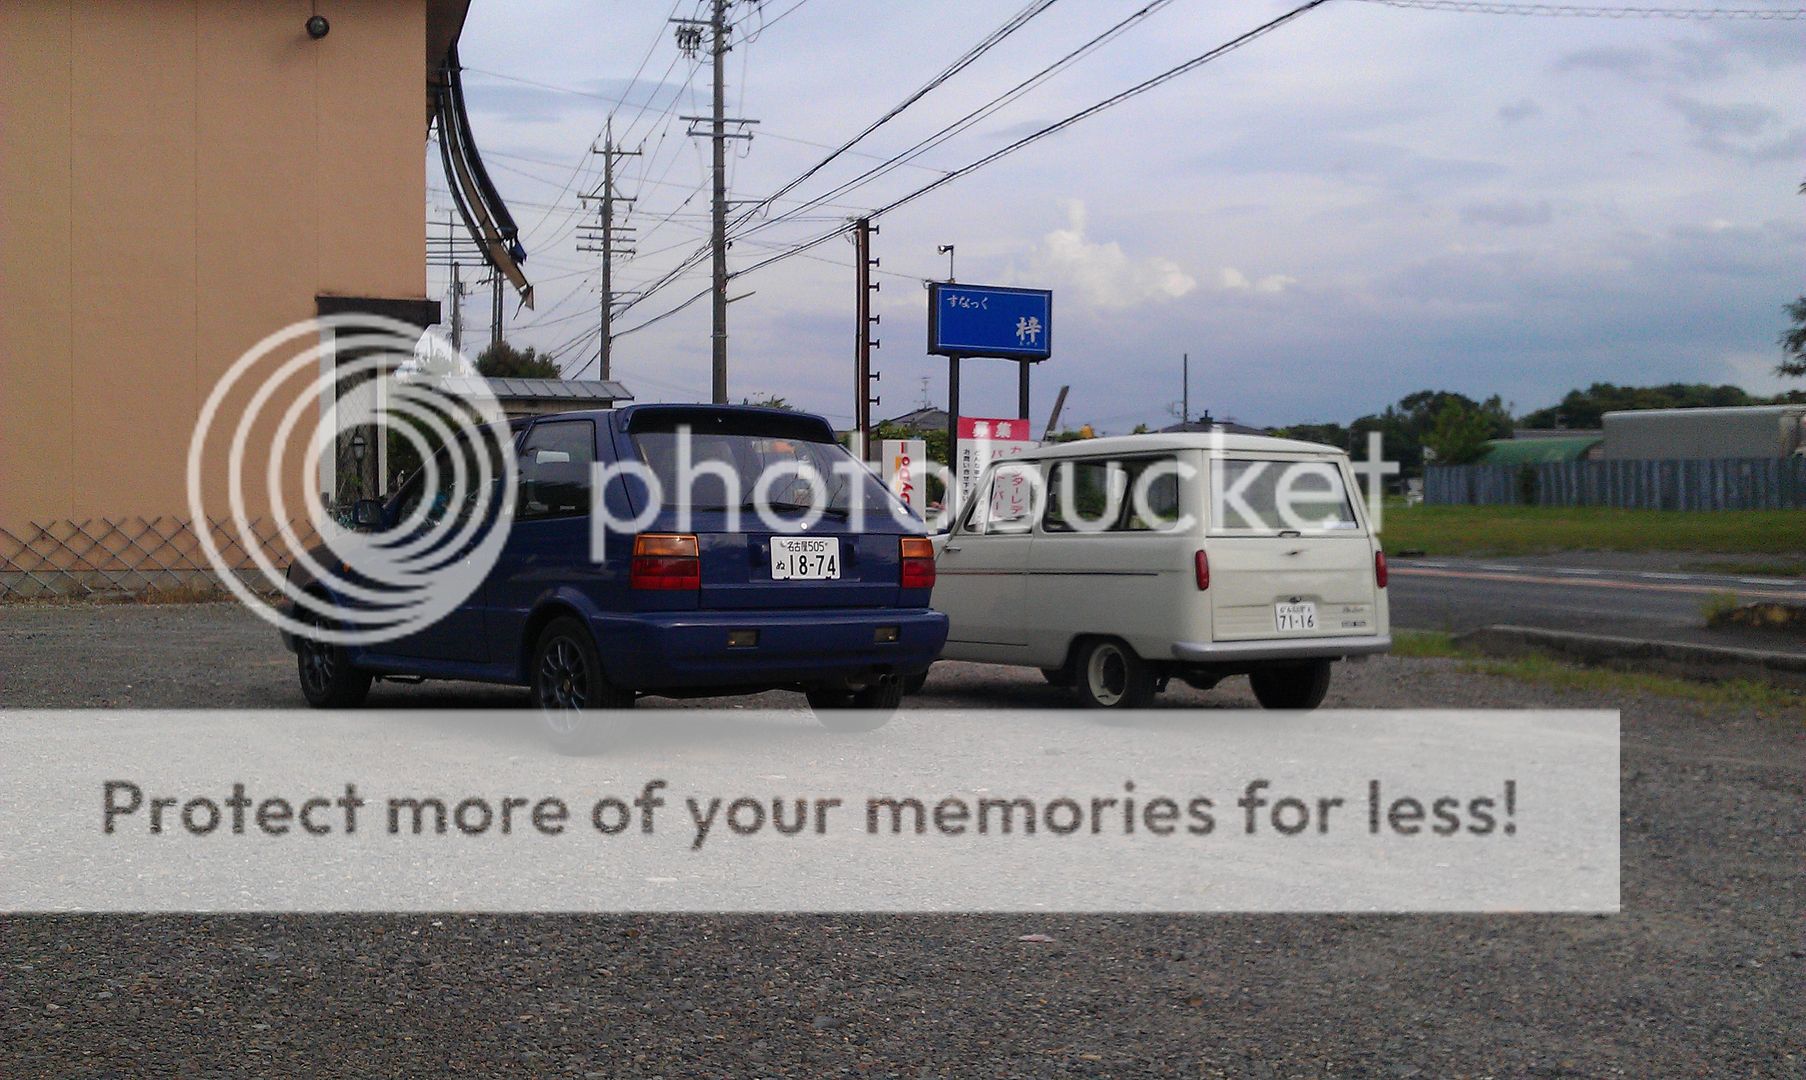
Here's the car next to my impossibly small Mitsubishi and the roof line is actually slightly lower and the wheelbase is only marginally longer! Sure it's like one and a half times as wide, but still, that's tiny!
I couldn't help but get my two babies out for a quick "family" photo.
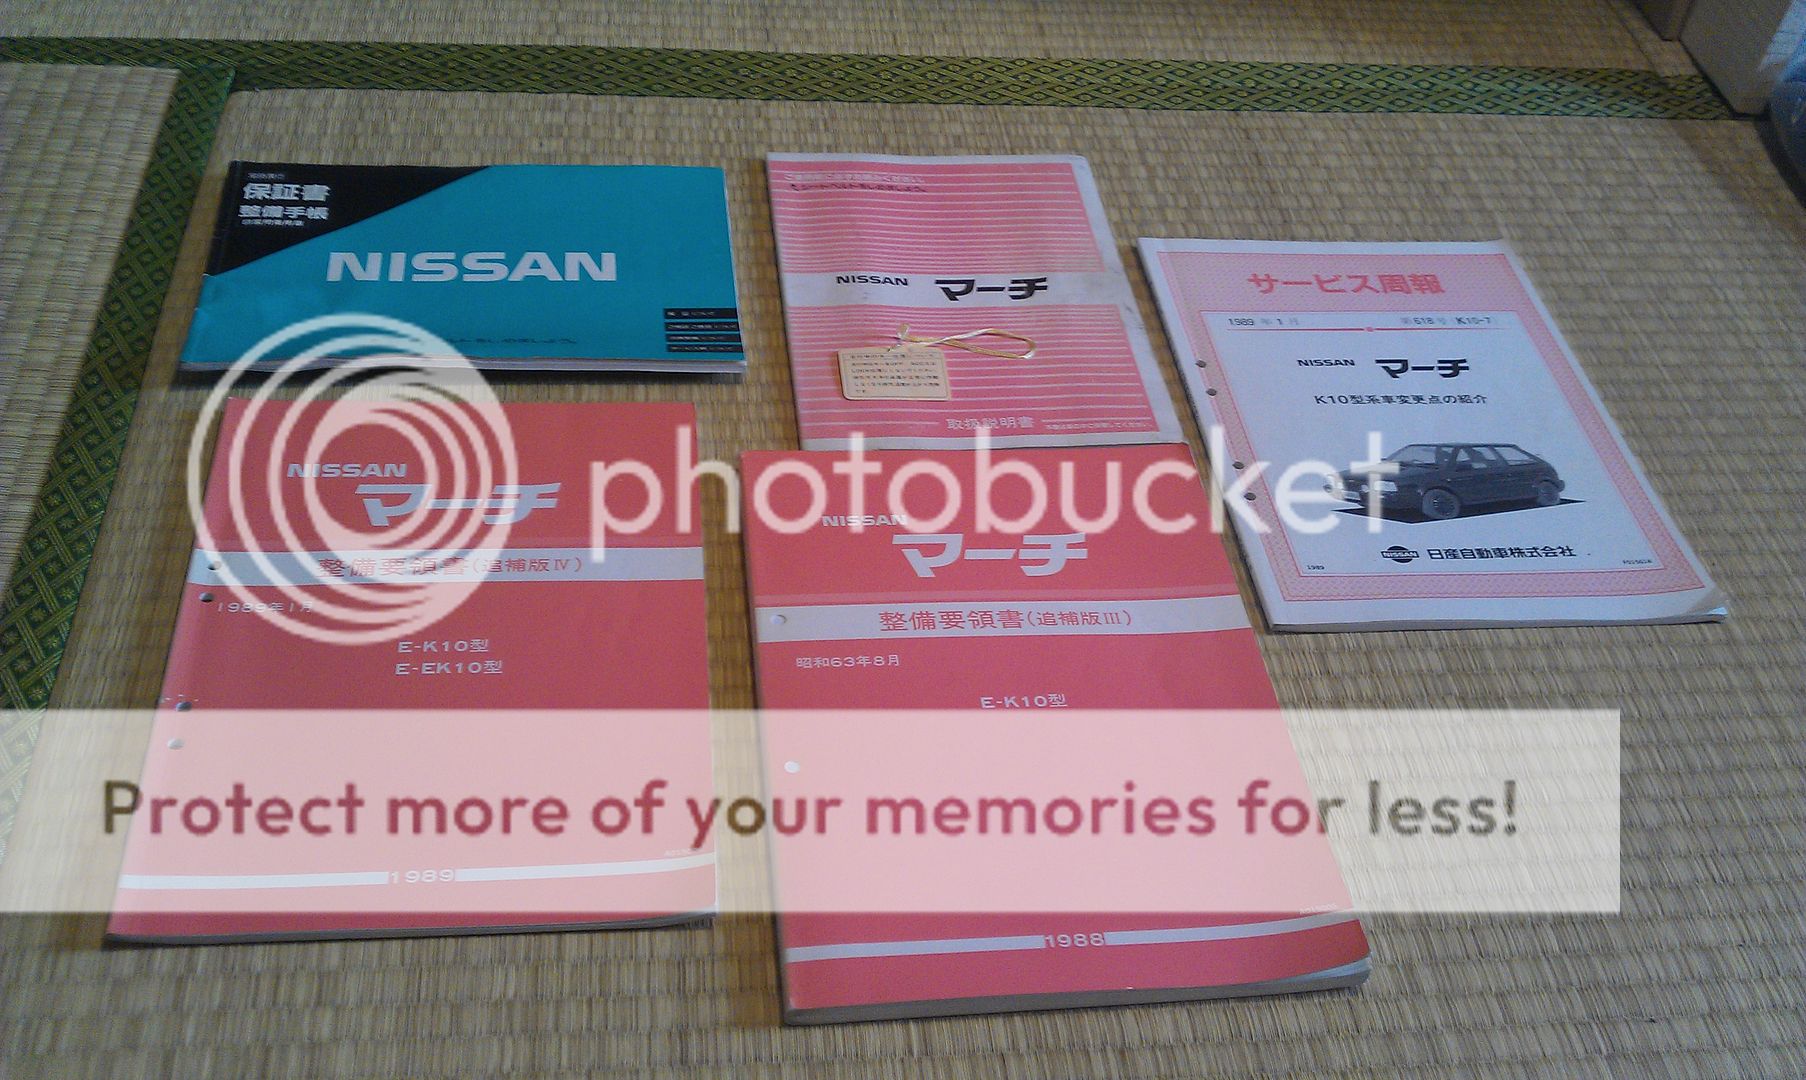
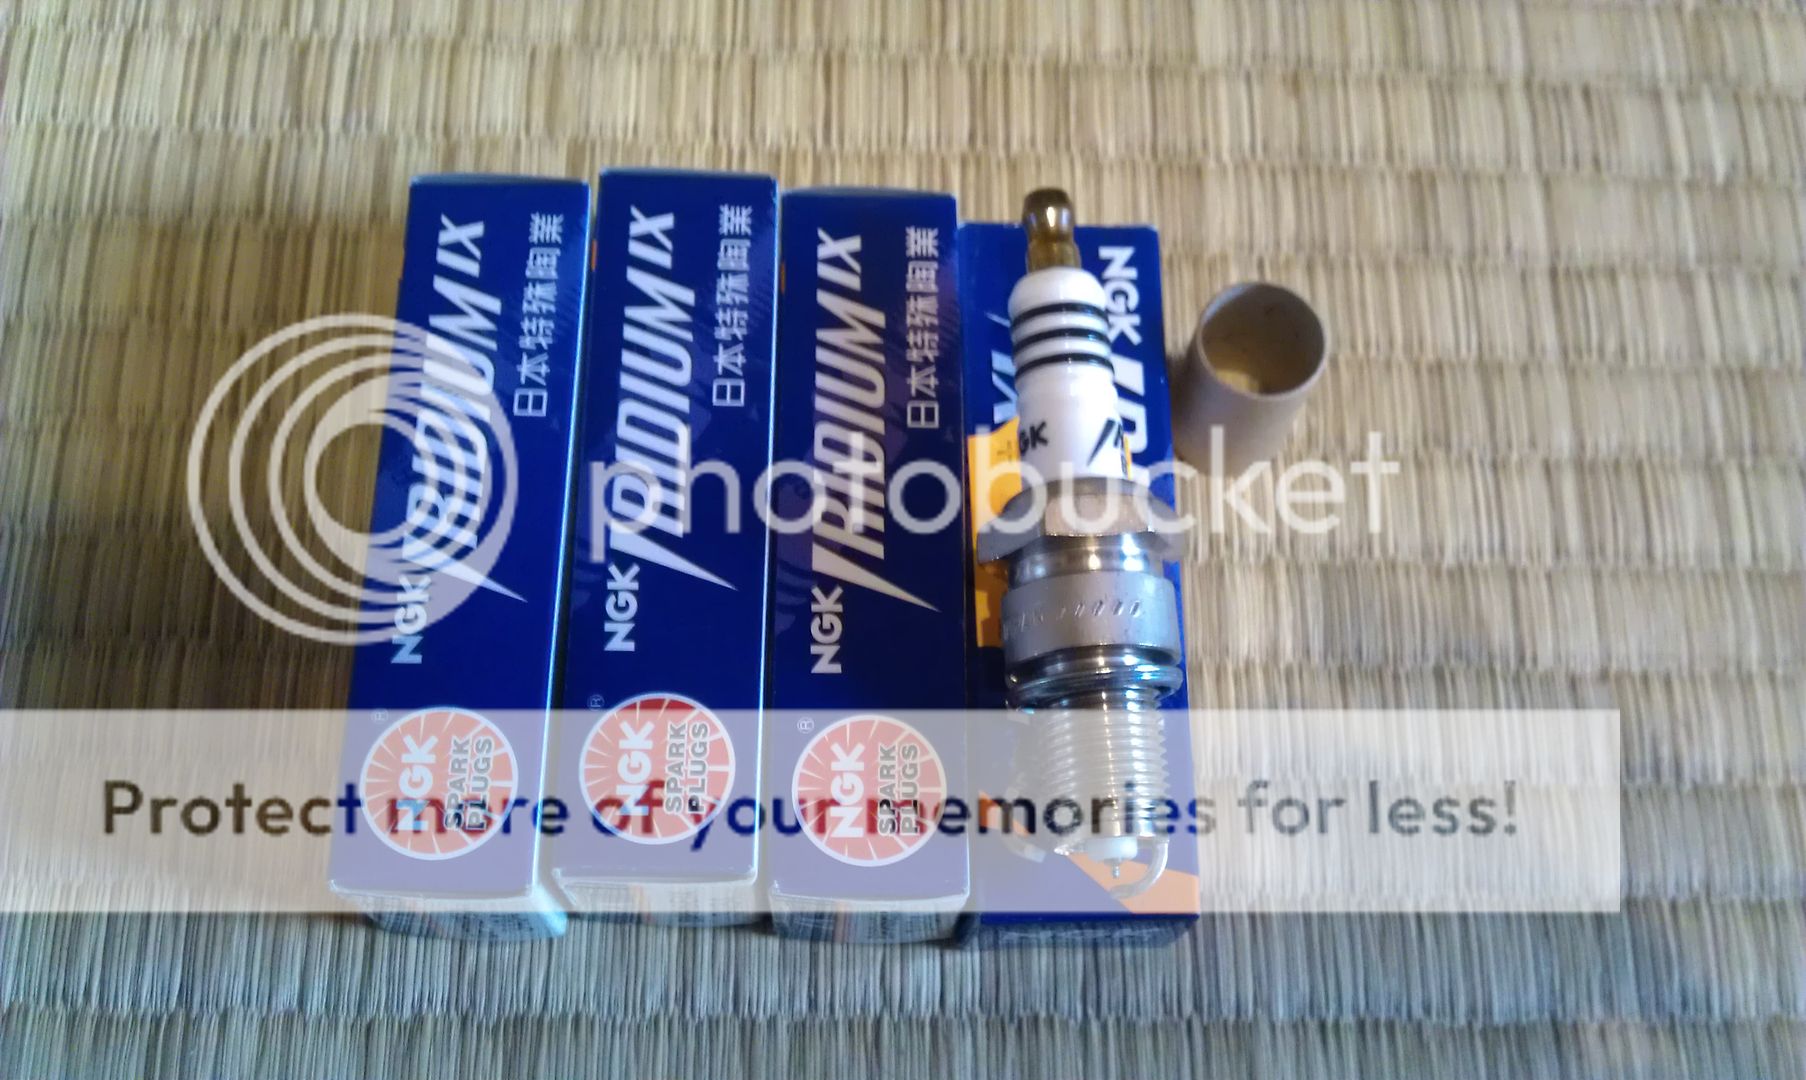
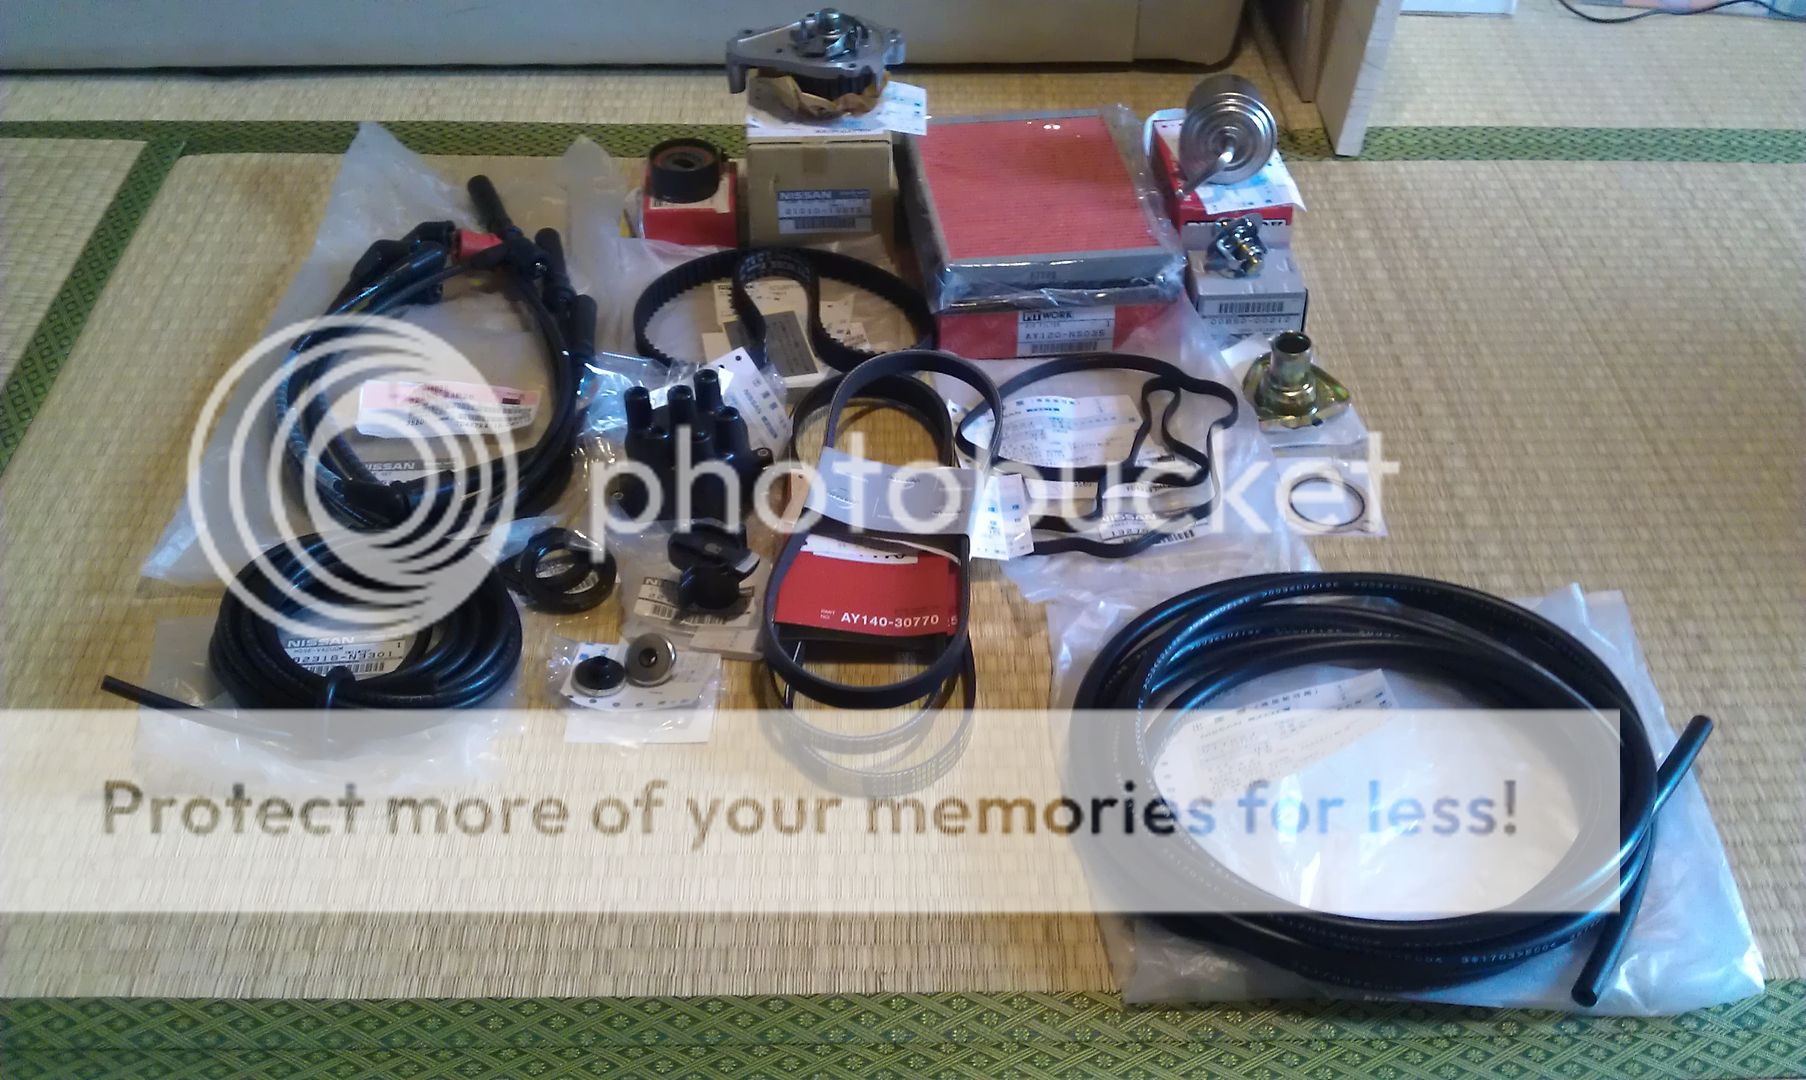
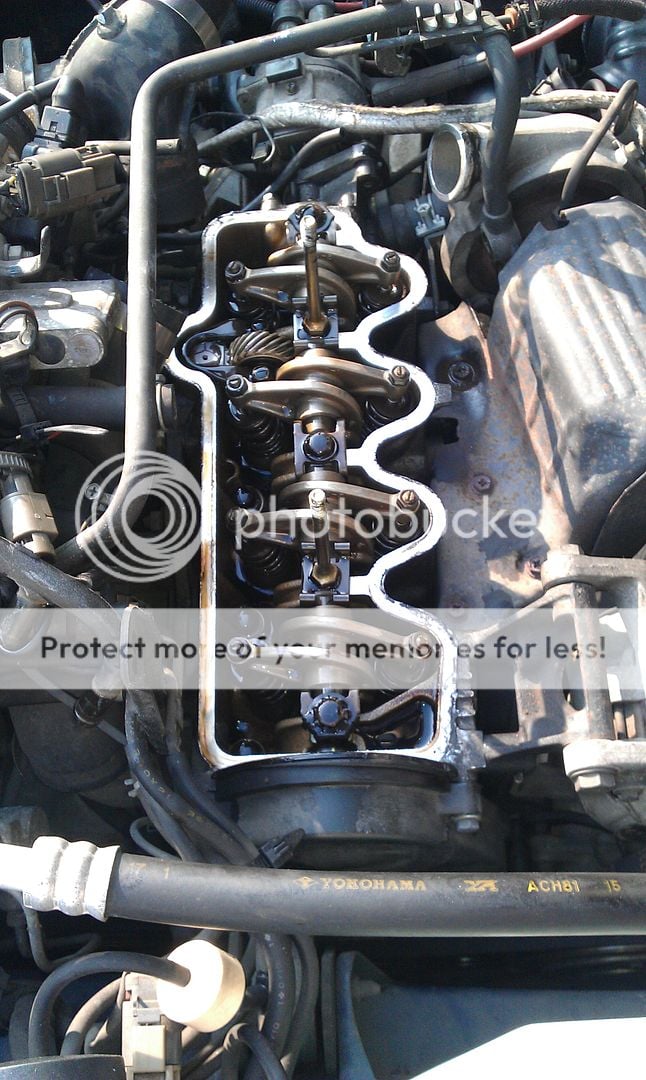
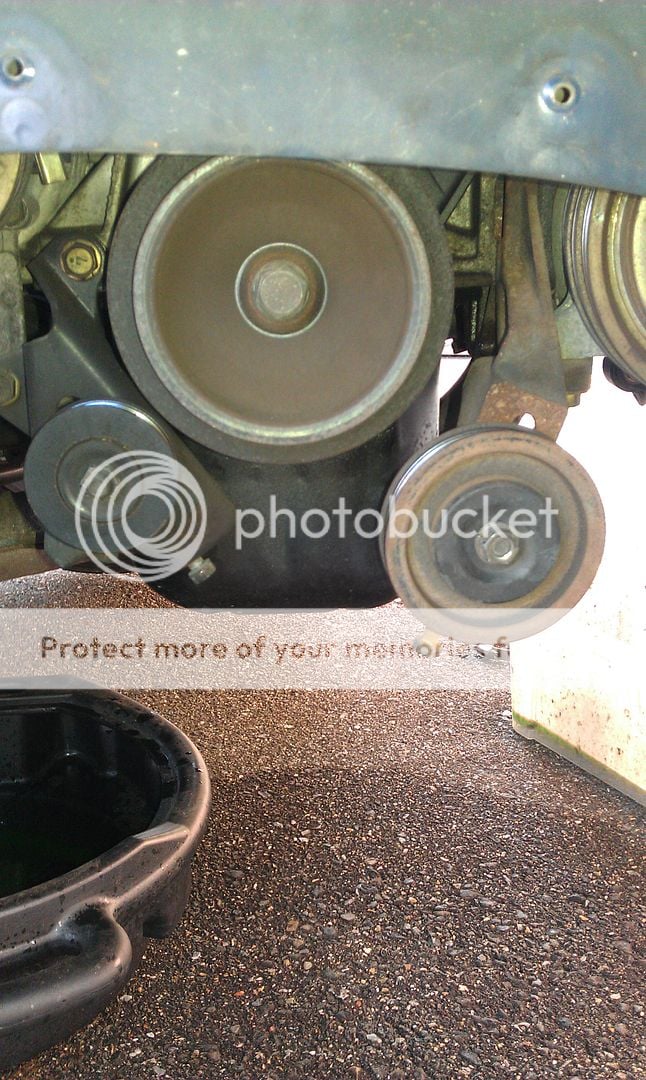
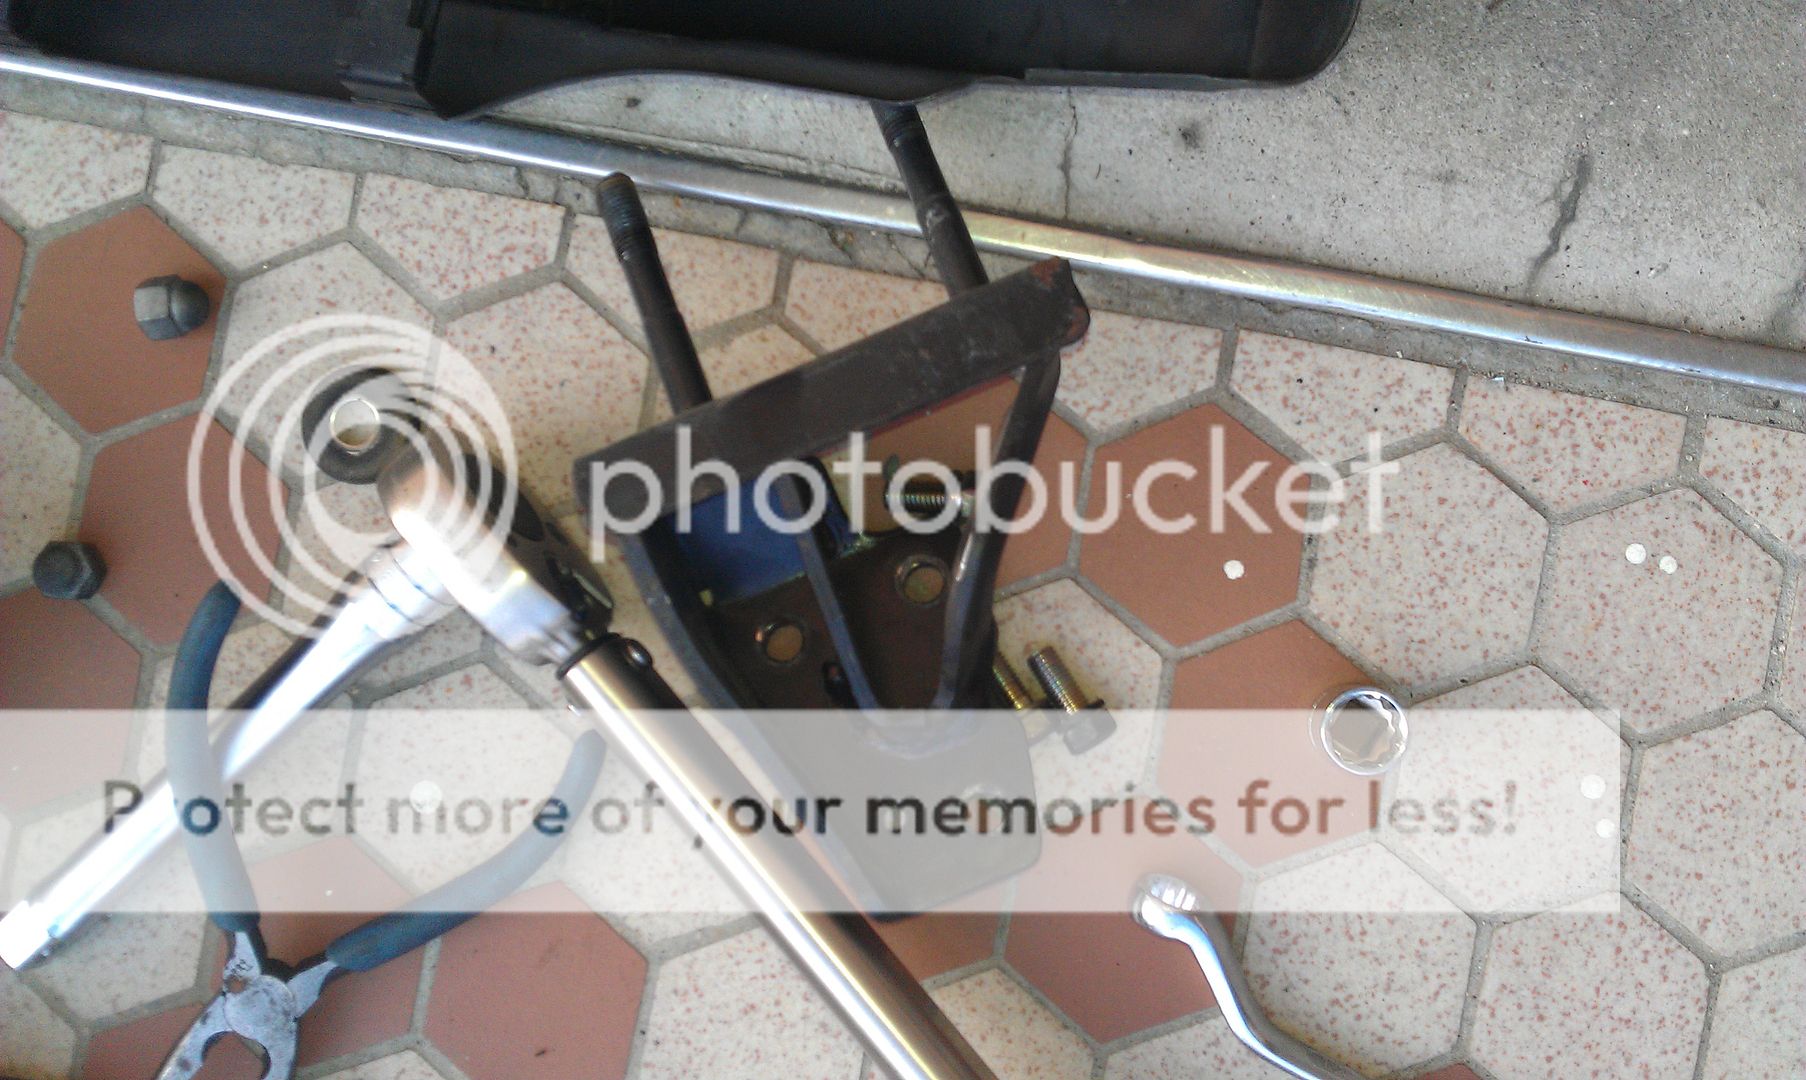
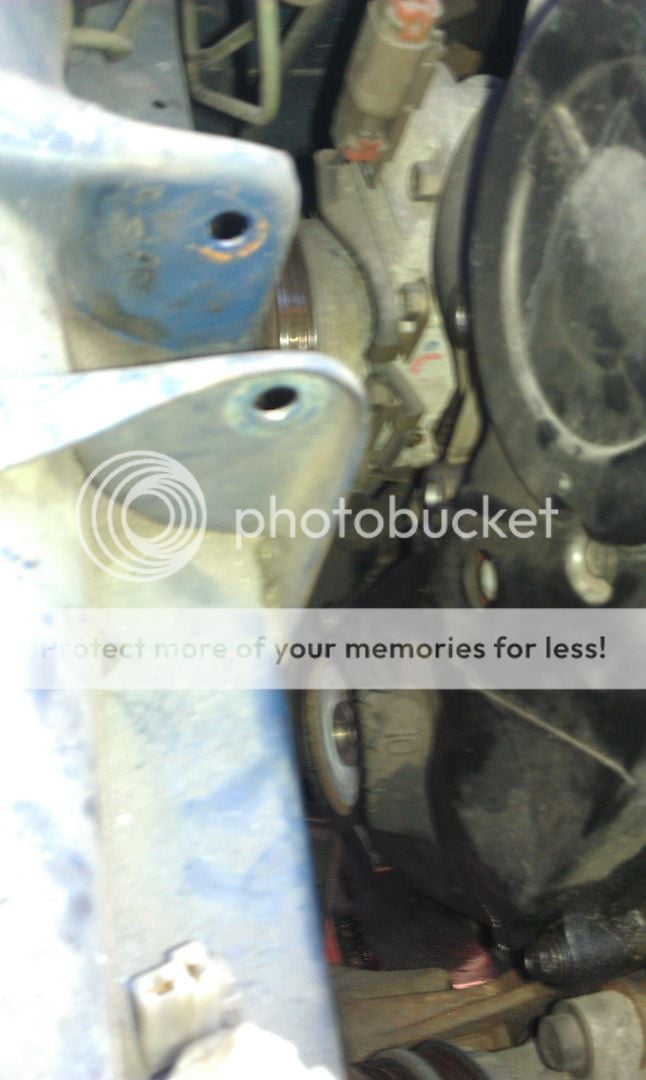
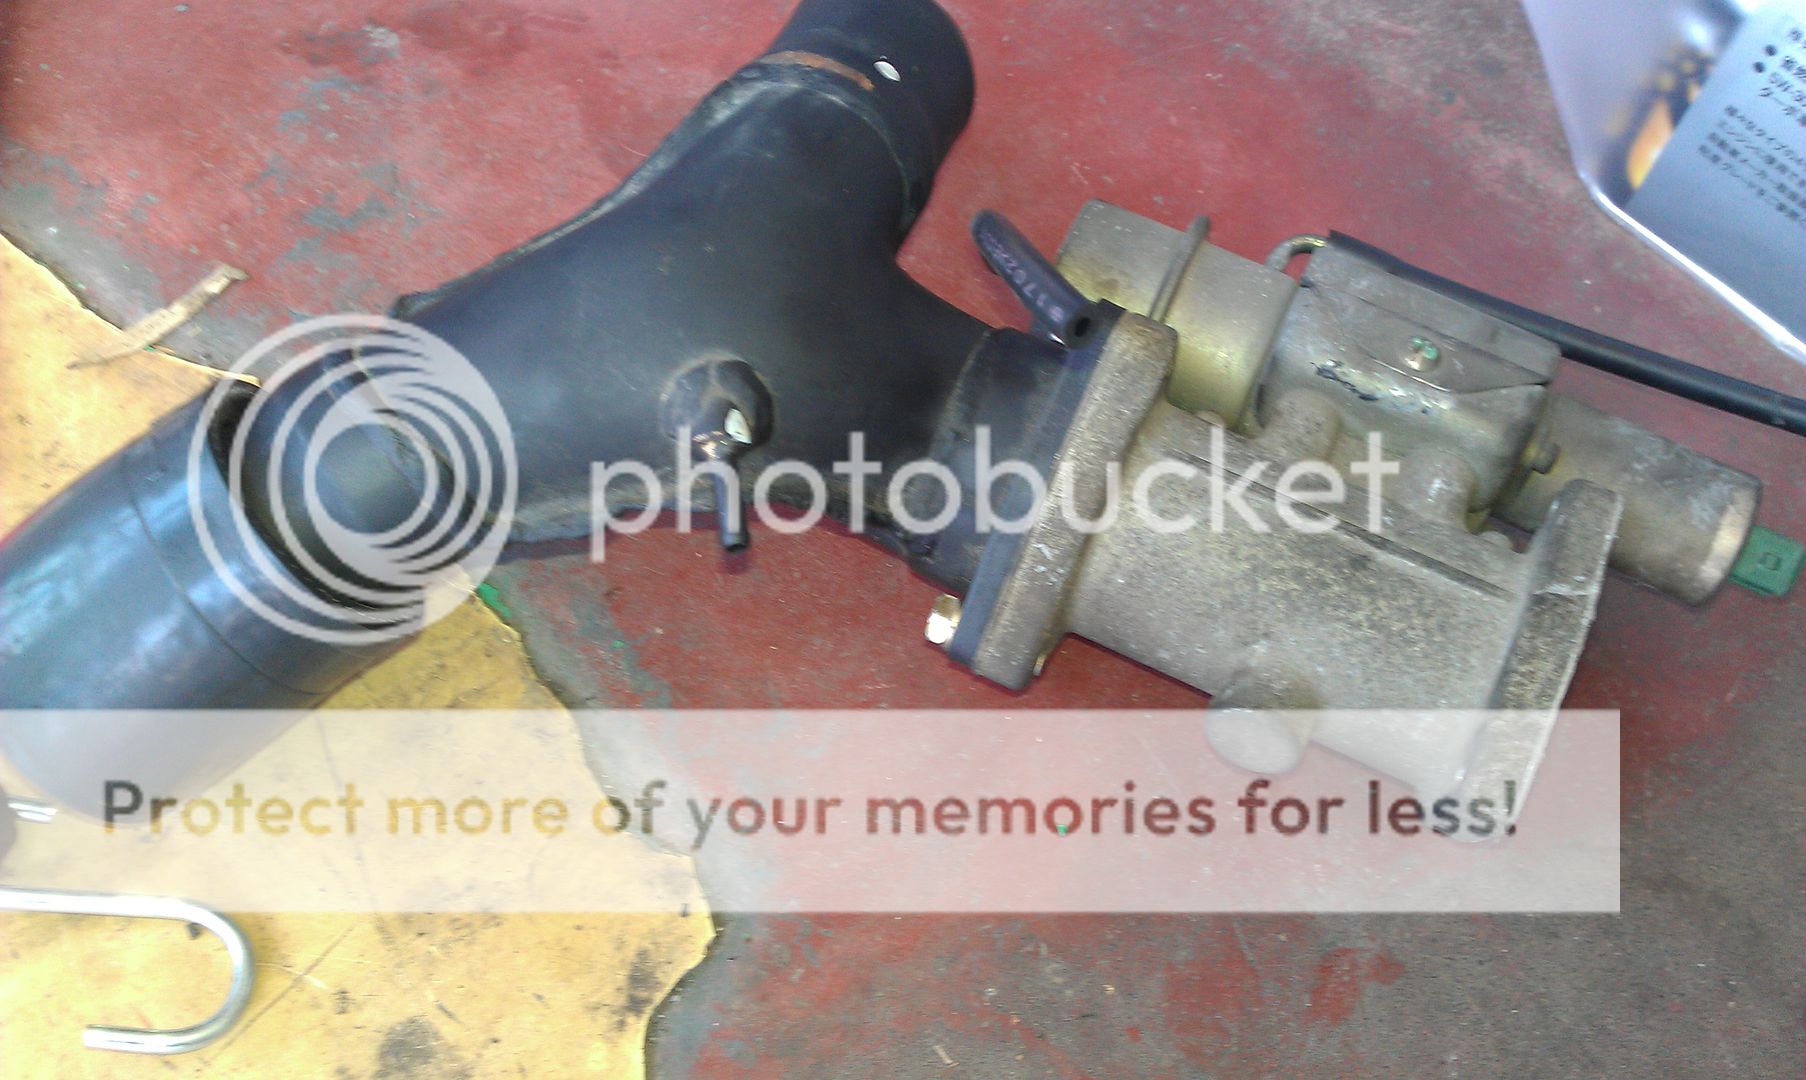
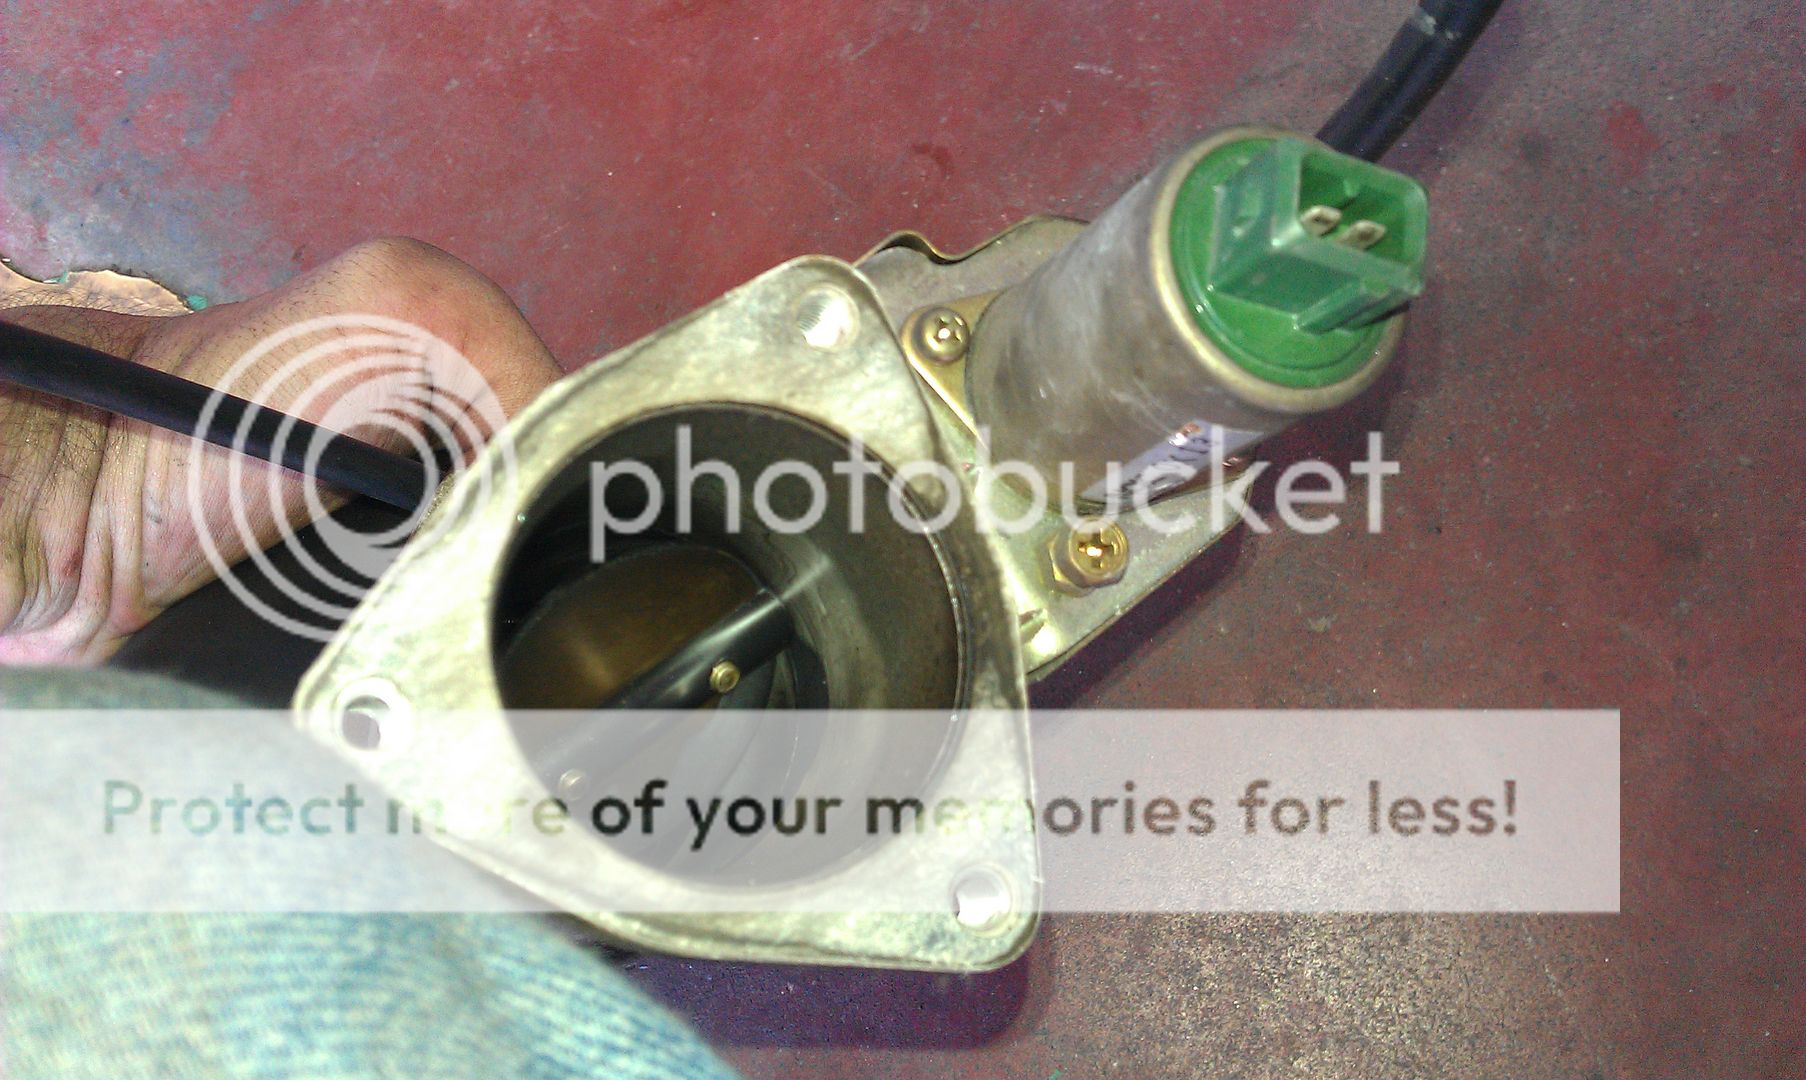
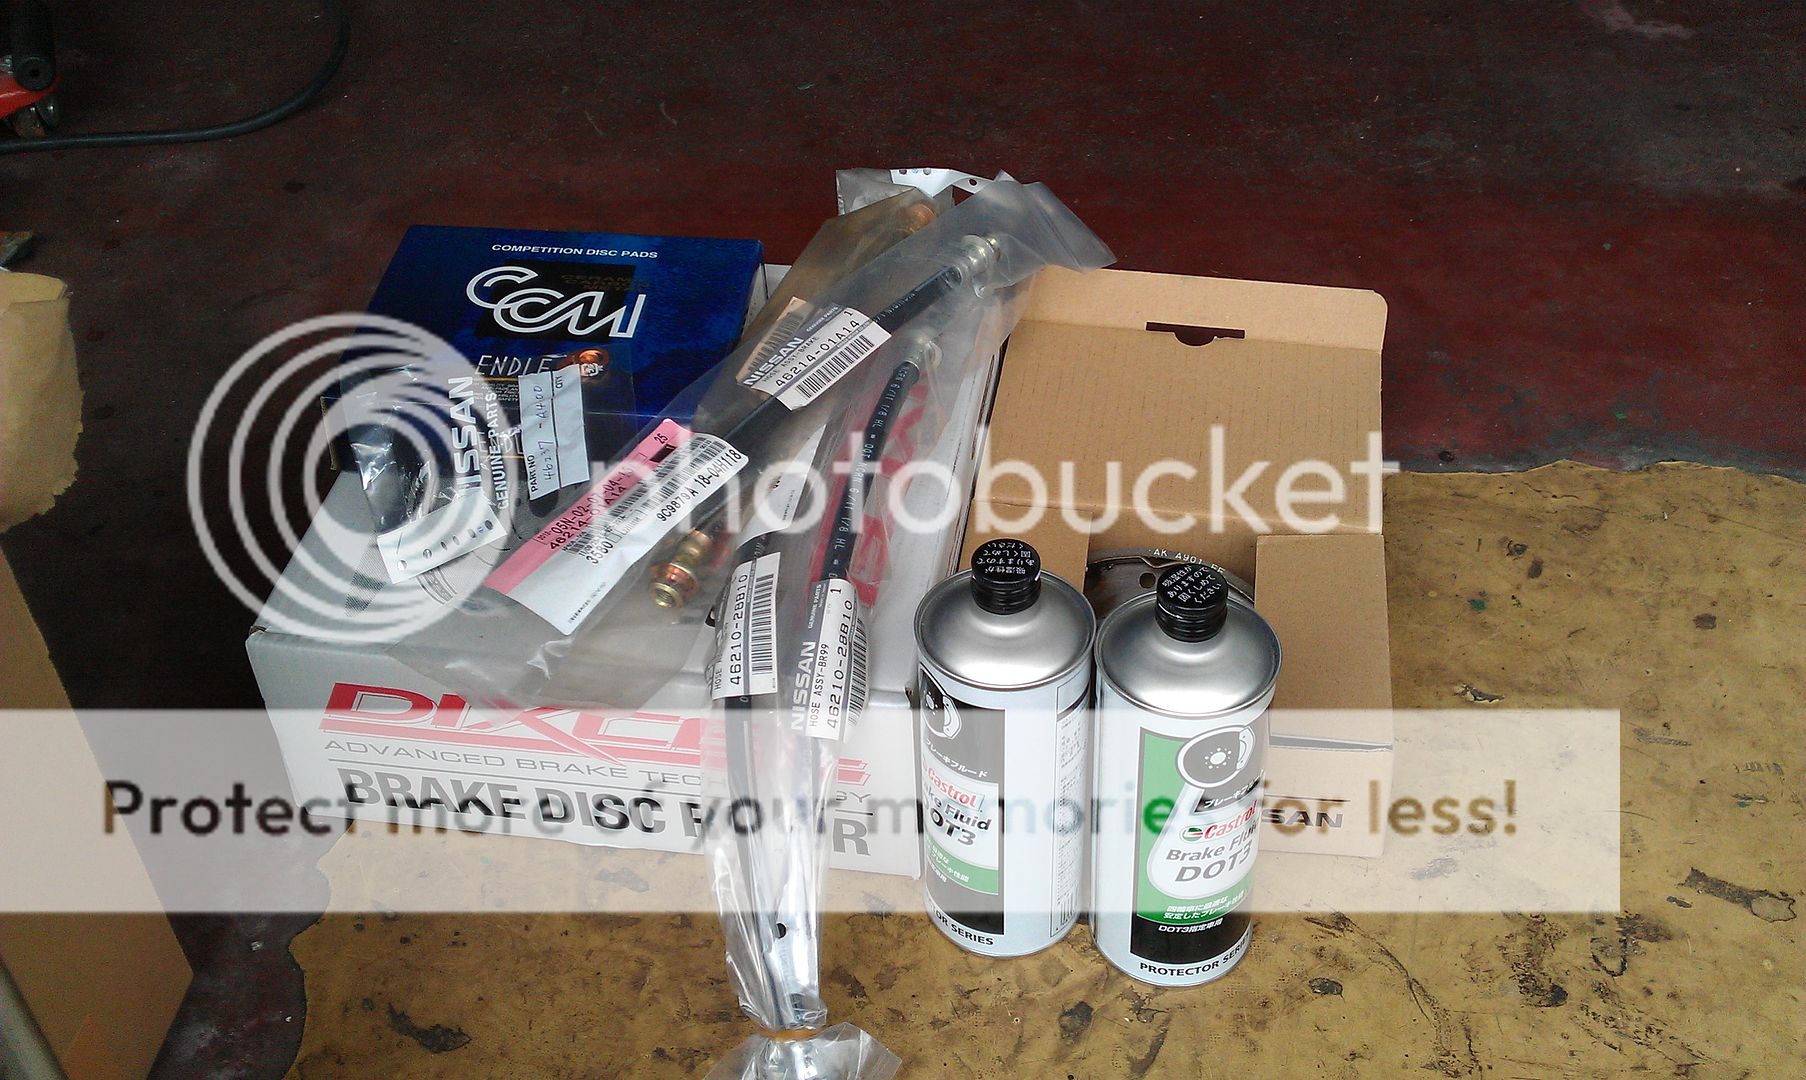
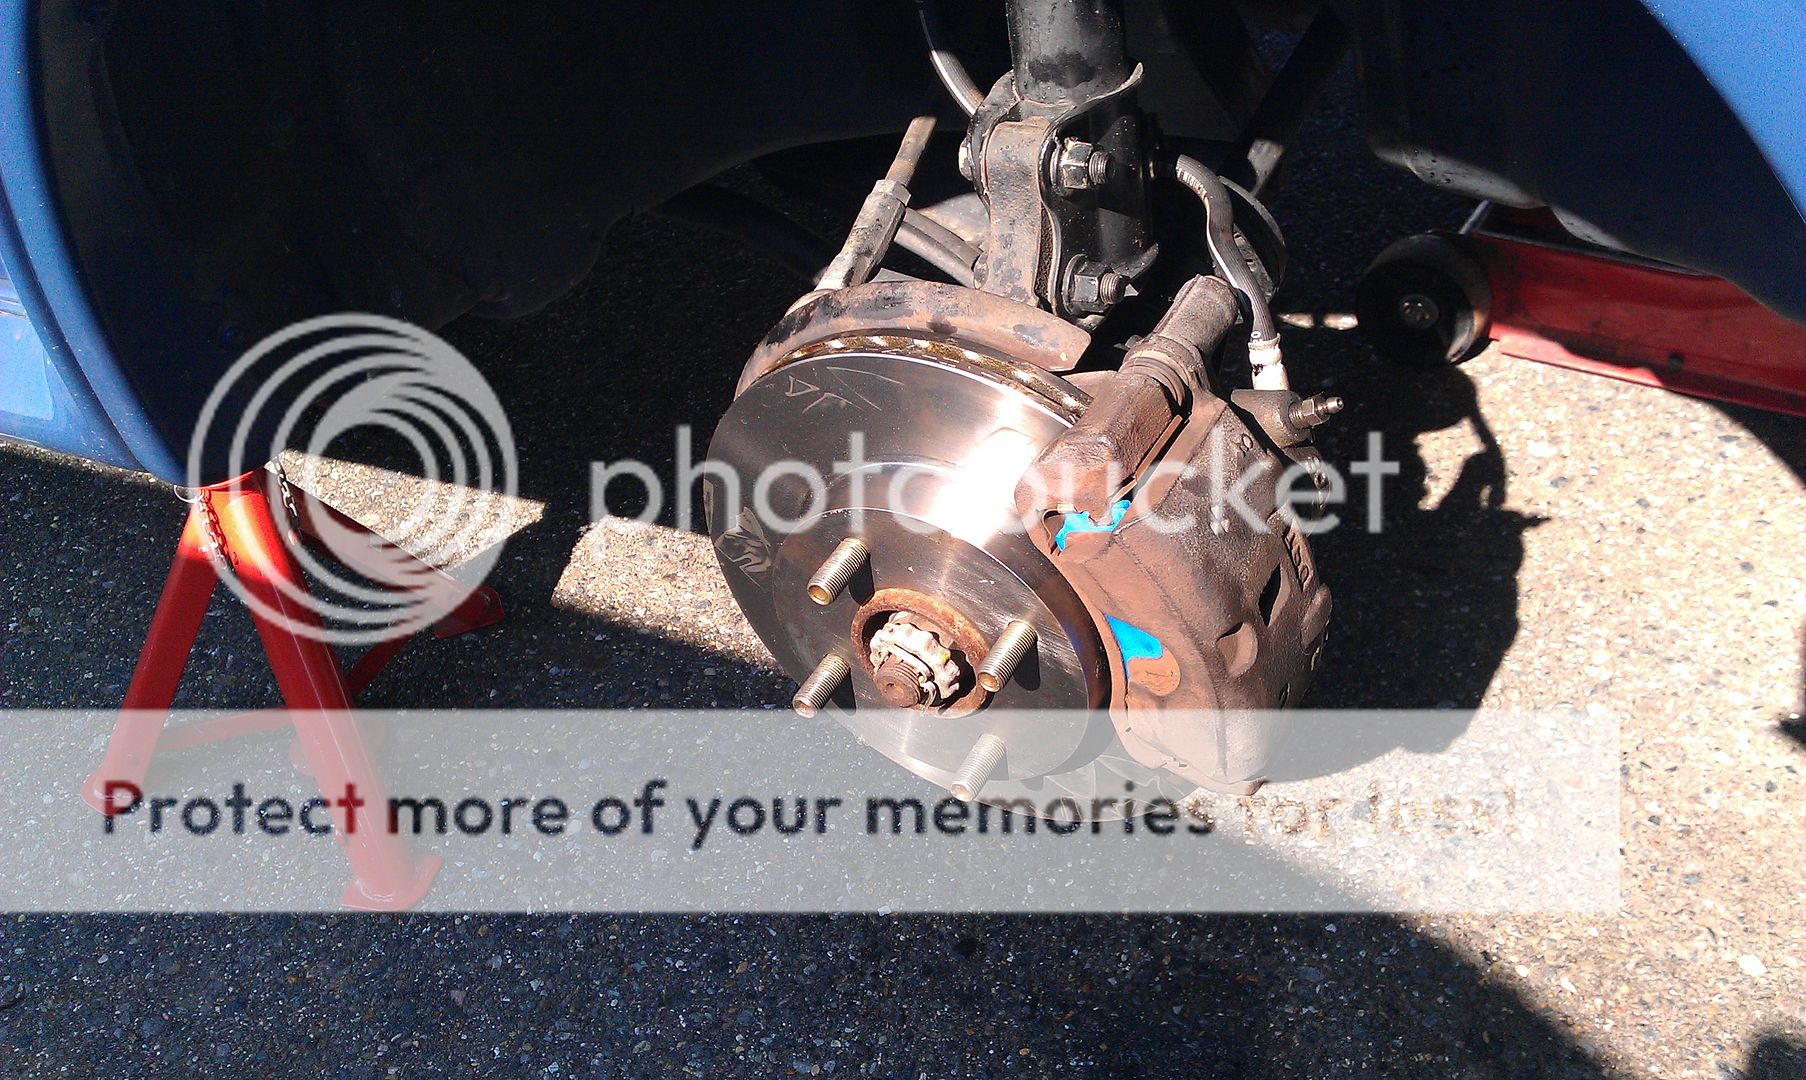
I actually went to Nissan today and ordered 500 bucks of parts. So ya, this thing is coming apart a bit for some good old maintenance work!
More to come in next post!
Cheers
David
I have had this diagram of the Super Turbo operation (pictured below) floating around on my hard drive since I was like 15 back in the States. I then moved to Japan about 3 years ago and finally spotted a Super Turbo at a used car dealer. I took the car for a test drive but couldn't afford it at the time, so I had to pass on it. I regretted it ever since. So I kept searching and a few examples would pop up from time to time but none of them were ever as clean as the one that I test drove. Then finally it popped up again in Osaka! So I jumped on it like crazy! Which brings me to here, haha.
Picture from HD that I've had for the past 10 years (it's made it through like 35 windows reinstalls).
And here the car is!

When I took the test drive I only pushed on it slightly, I never realized how much go these little things have in them! It's an absolute blast to drive!
Unfortunately, this particular example has the infamous UFO oscillations when on Supercharger boost. I gotta find a way to fix this...
It's been repainted and looks amazing. Can't for the life of me figure out why. If it's an accident car, someone did such a good job of repairing it that I can't find a single thing wrong with it. It drives perfectly smooth and straight and feels tight as tight can be. There are some seals on the engine leaking and it needs new tires and brake pads, but other than that, the car is gorgeous!
I've read a few reviews about this car and they all complained about understeer, but the car grips well enough that in order to make it understeer on the narrow roads of Japan you'd have to be driving at ludicrous speed, and I don't have the juevos to do that, haha.

The interior is so minty fresh it makes an Altoids can want to take a shower. In other words, it looks brand new inside! There's a little bit of sun-fade on the door handles and window crank handles, but some paint will fix those so quick it's a wonder why I haven't done it yet.
The car has enough lights on the front to make the alternator cry like a little girl at night. Seriously, with all lights on, the blinker clicking and the radio going at night when idling at a stop light, the voltage gauge reads a mere 10 volts! Get moving and it bumps back up to 12 to 12.5, but man the alternator is not up to the task of power all the light coming off the front of the car, haha. Perhaps I should upgrade to a newer more capable alternator.
When I got the car I received two keys, a spare that was cut into a generic buy off the shelf at the hardware store key and some weird key with a cat on it. I gave the cat key no thought and just tossed it on my desk thinking it was someone personalized key they got at a key shop or something. I was actually really upset that I didn't get the original key. Then I was flipping through the owner's manual and stumbled across this page showing the cat key. The cat key IS the original key!
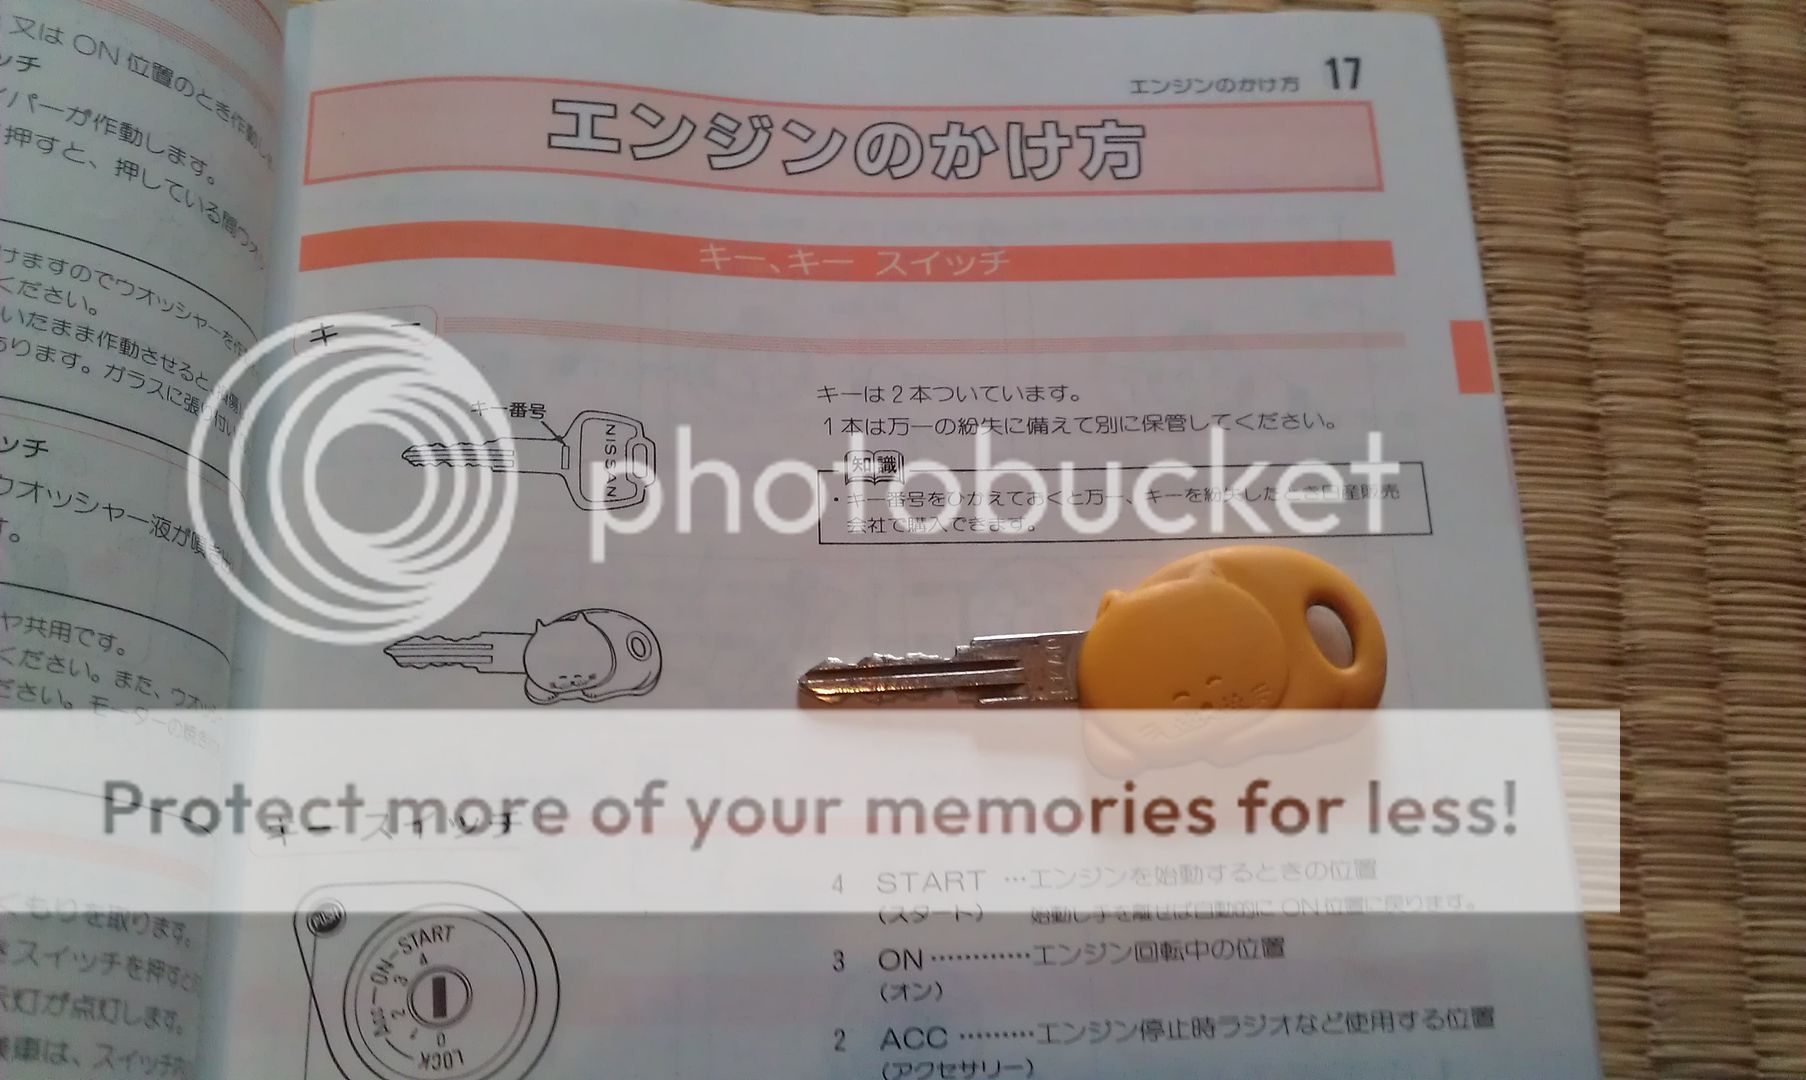
Apparently the cat's name is Asashio. It was featured in a bunch of commercials here in Japan as the unofficial mascot of the March.


And the youtube links to the above videos:
http://www.youtube.com/watch?v=EFI87OZxd24
http://www.youtube.com/watch?v=ByQwKo29fZQ

The car is epically small!
Here's the car next to my impossibly small Mitsubishi and the roof line is actually slightly lower and the wheelbase is only marginally longer! Sure it's like one and a half times as wide, but still, that's tiny!
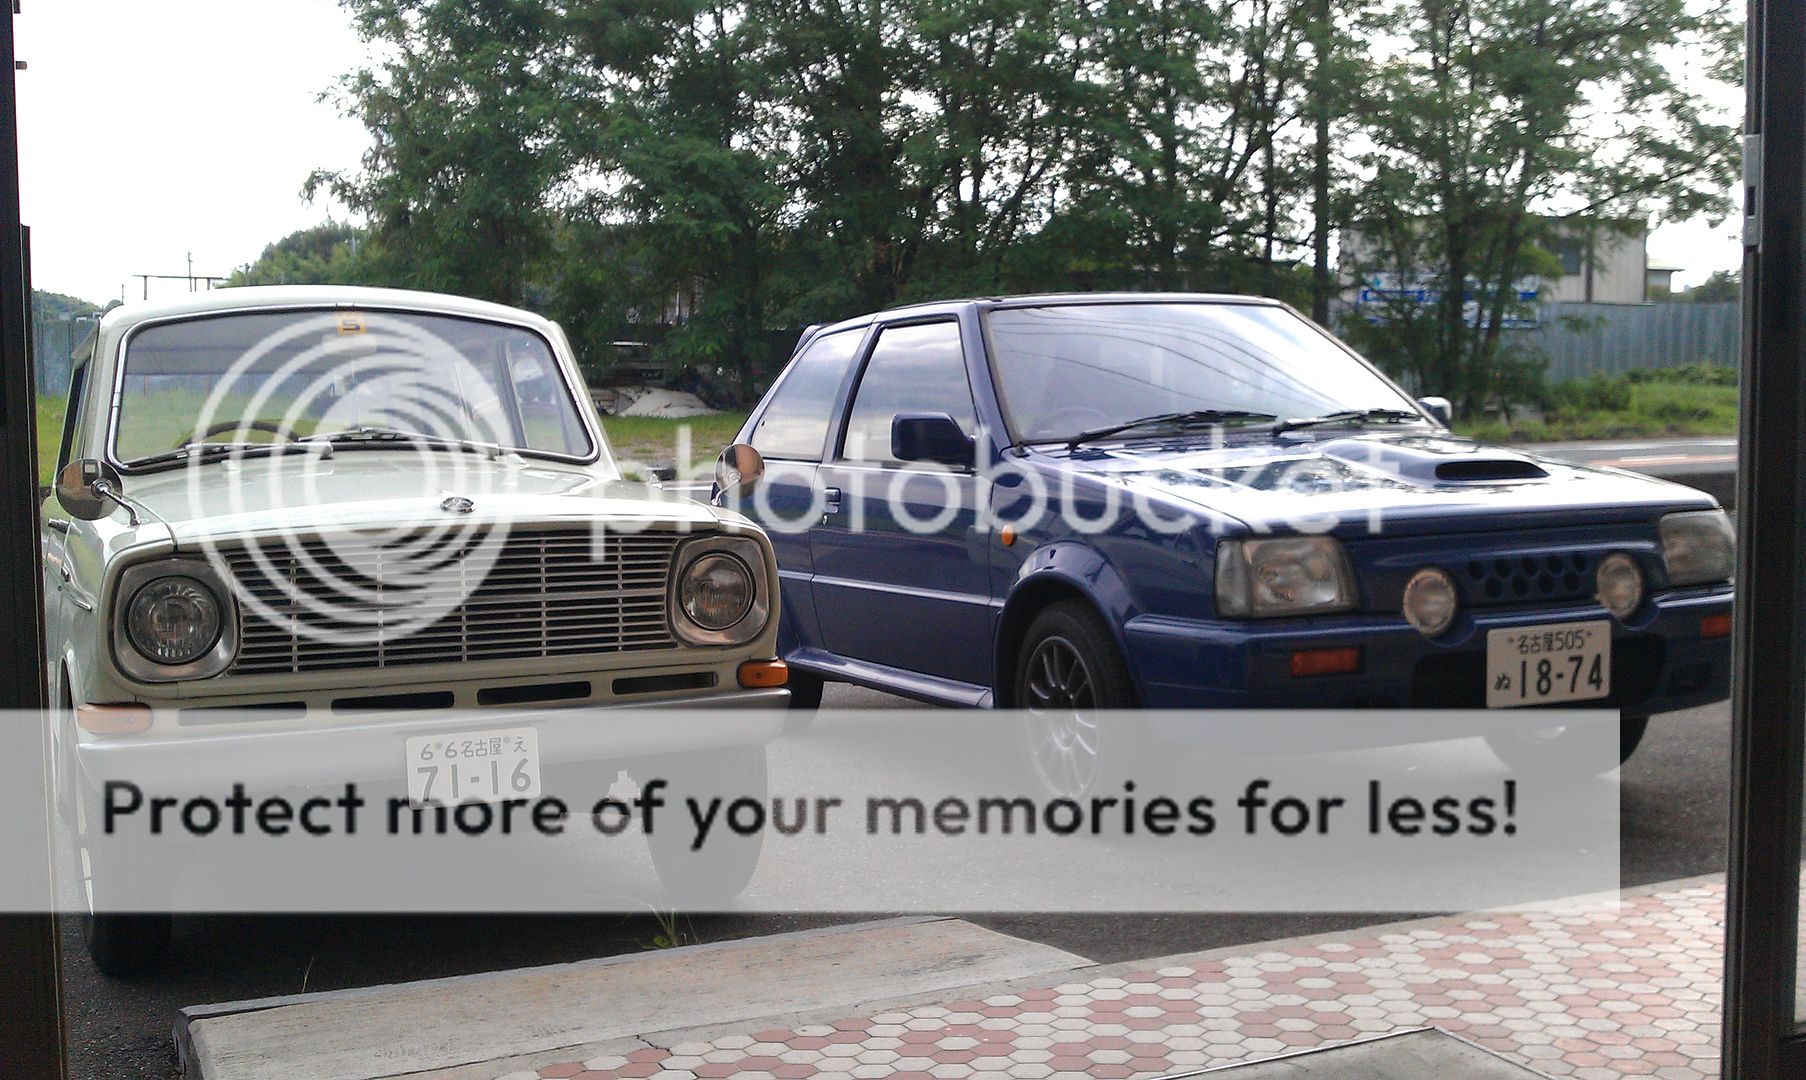
I couldn't help but get my two babies out for a quick "family" photo.
I actually went to Nissan today and ordered 500 bucks of parts. So ya, this thing is coming apart a bit for some good old maintenance work!
More to come in next post!
Cheers
David