So, I though I should finally do a small blog for Jan seeing as my exams have almost finished, I'm going to be tinkering more.
What I plan to eventually do:
Alloy wheels
Lower
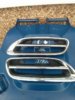
Single grill
Splitter
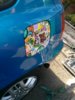
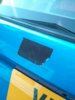
Debadge
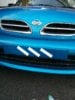
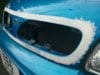
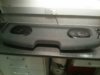
Get rid of the bump strips
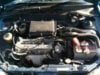
Induction kit
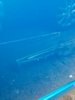
Tow strap
JDM style tailgate
I can't think of others at the moment but I'll keep adding.
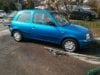
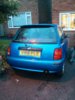
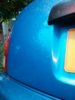
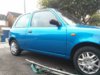
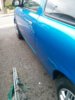
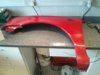
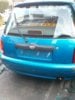
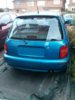
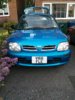
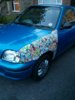
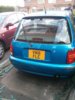
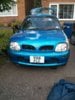
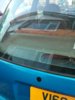
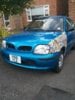
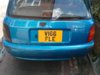
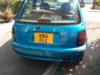
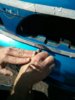
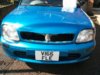
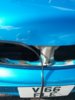
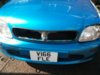
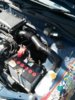
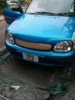
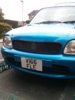
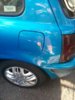
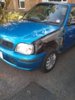
So the story starts. My dads friend had my Micra and had no use for it so he gave it to my dad for me to have. It was very sorry but didn't take much to clean up.
What I plan to eventually do:
Alloy wheels
Lower
Single grill
Splitter
Debadge
Get rid of the bump strips
Induction kit
Tow strap
JDM style tailgate
I can't think of others at the moment but I'll keep adding.
So the story starts. My dads friend had my Micra and had no use for it so he gave it to my dad for me to have. It was very sorry but didn't take much to clean up.